
Skater hair is a medium-to-long shaggy style with choppy layers, natural movement, and usually some kind of fringe, whether that's curtain bangs, a side sweep, or longer face-framing pieces. Getting there from a short cut typically takes 6 to 18 months depending on where you're starting, and the honest truth is that most of that time is manageable as long as you know what to trim, what to leave alone, and how to style the weird in-between stages without feeling like you need to start over.
How to Grow Skater Hair: Timeline, Trims, Styling Tips

Marcus Vickers
28 May 2026

What skater hair actually looks like (so you know what you're aiming for)

The classic skater look sits somewhere between chin and shoulder length, sometimes a little longer, with layers that are deliberately choppy rather than blended smooth. The layers create volume and movement so the hair bounces and falls naturally instead of lying flat. Texture is a big part of it: the style is supposed to look a little undone, slightly tousled, never stiff or over-styled.
Fringe is optional but common. Curtain bangs are the most popular current version: they're center-parted, fall to around eyebrow level at the shortest point, and get longer toward the cheekbones so they frame the face instead of blocking it. A side-swept fringe or longer face-framing pieces work just as well and are easier to grow out if you change your mind. The key feature of skater hair is the combination of those face-framing pieces with the textured, layered length behind them. Without the layers, it's just medium-length hair. Without the fringe or face-framing, it loses some of the personality.
The style works across hair types. Fine hair benefits from the choppy layers because they add the illusion of volume. Thicker or wavier hair naturally picks up the tousled texture that makes the look work. Curly or coily hair grows this style beautifully, though the length will appear shorter than straight hair at the same stage of growth, so timelines shift accordingly.
Figure out your starting point before you do anything else
The single most important thing you can do before growing skater hair is measure where you actually are right now, not where you think you are. Hair grows roughly half an inch per month on average, sometimes faster (closer to three-quarters of an inch) if you're in good health and supporting growth with nutrition and low-stress handling. That number is your planning tool.
Take a flexible tape measure or just use your fingers as a rough guide and measure the longest section of your hair right now. Then measure from that point to where you want your final length to sit: say, chin or collarbone. That distance in inches, divided by 0.5, gives you a rough month estimate. Add two to four months as a buffer because trims will take some length back, and growth isn't perfectly linear.
Your starting haircut also shapes your strategy. A buzz cut, a very short crop, or a pixie means you're starting from close to zero on length and need the most patience. A fade or undercut with length on top means you're actually starting with some usable length but need to manage the sides and back growing in. If your starting point is more like a taper afro, you can use the same growth-and-shape approach to guide your side and back length into the silhouette you want how to grow a taper afro. A bob or lob puts you closest to the finish line, sometimes just three to six months away. Bangs, if you have them and want curtain fringe instead, need their own separate plan running alongside the length growth. Knowing which category you're in lets you set a realistic end date and choose the right phase-by-phase approach.
The growth timeline by starting cut
Starting from a buzz cut, crop, or pixie
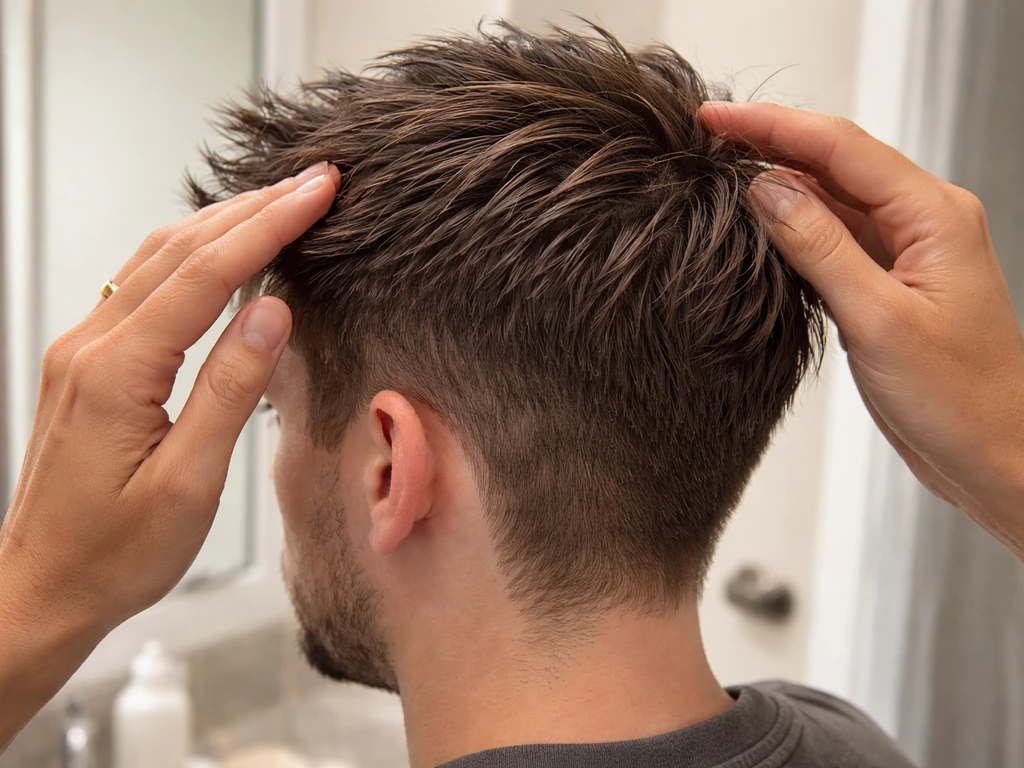
Months 1 and 2 are all about getting through the earliest awkward stage where hair is patchy and has no shape. Don't cut anything. The goal is just length. Use a light pomade or texture cream to push hair in the direction you eventually want it to fall so it starts training into that pattern early. If you like the more lifted look of a pompadour, you can use similar early training with a light pomade or texture cream to guide the direction. Avoid heavy products that flatten everything down.
Months 3 and 4 are when things start looking messy in a real way: the back grows faster than the sides for many people, bangs (if you want them) might be hitting your eyes, and the overall shape looks uneven. This is where most people quit. Don't. You can go to a barber or stylist at this point and ask for a very light tidy-up, specifically to clean up the perimeter without taking any overall length. Tell them to remove bulk only if things are genuinely poofy and unmanageable. No layers yet.
Months 5 and 6 are the turning point for pixie and buzz starters. Hair is typically around 2.5 to 3 inches at this point on the top. You can start requesting very light face-framing layers in the front to begin building the skater silhouette. Once you have the right face-framing layers, you can apply the same grow-out habits to learn how to grow emo hair with that signature edgy texture. The back and sides might still need a little shaping to stop them looking like a mushroom, but keep the trimming minimal, just enough to keep things from looking completely chaotic. For more detailed guidance, you can follow a full faux hawk growing plan that mirrors these phased, gradual length-building steps.
Months 7 through 12 are real progress territory. You're past the hardest part, and the shape starts to cooperate. Around month 9 to 10, most pixie-starters will have enough length to genuinely start building skater-style layers throughout the cut. Work with your stylist on introducing the choppy texture gradually. By month 12, you should be close to or at the early version of the final look.
Starting from a fade or undercut
You have an interesting starting point because the top has some length and the sides and back are much shorter. The main challenge is getting the sides and back to catch up without looking like a mullet in the process. The strategy here is to ask your barber to gradually reduce the contrast on the fade at each visit, blending the short sections up instead of keeping the clean fade line. This is a slower approach than letting it grow free, but it looks intentional at every stage. Expect this process to take 6 to 10 months to get everything to a relatively even length that can then be layered into the skater shape.
Starting from a bob or lob
You're the closest to the finish line. The main work here is transitioning a one-length or minimally layered cut into a choppy, layered skater shape while keeping the length. A shag haircut is commonly described as having choppy layers, tousled volume, and often wispy bangs, with variations from beyond the shoulders to just above the collarbone (long lob) and defining features that fade as the bangs and layers grow out choppy, layered skater shape. Ask for a small amount of interior layering at your next appointment, specifically face-framing layers and some texture through the mid-lengths. Avoid heavy thinning shears, which can make fine hair look stringy. From a chin-length bob, you're typically 3 to 6 months away from a solid skater-length result. From a lob, you might already be there with just the right cut.
Starting with existing bangs you want to reshape
If you have blunt or heavy bangs and want curtain bangs instead, the grow-out takes about 3 to 5 months depending on how short your bangs currently are. During that time, part them in the center or just off-center every day and use a round brush or a low-heat blow-dry to train them to fall to each side. Avoid trimming them into a new shape until they're long enough that a stylist has real material to work with, usually when they hit eyebrow level or below.
Styling through the awkward phases
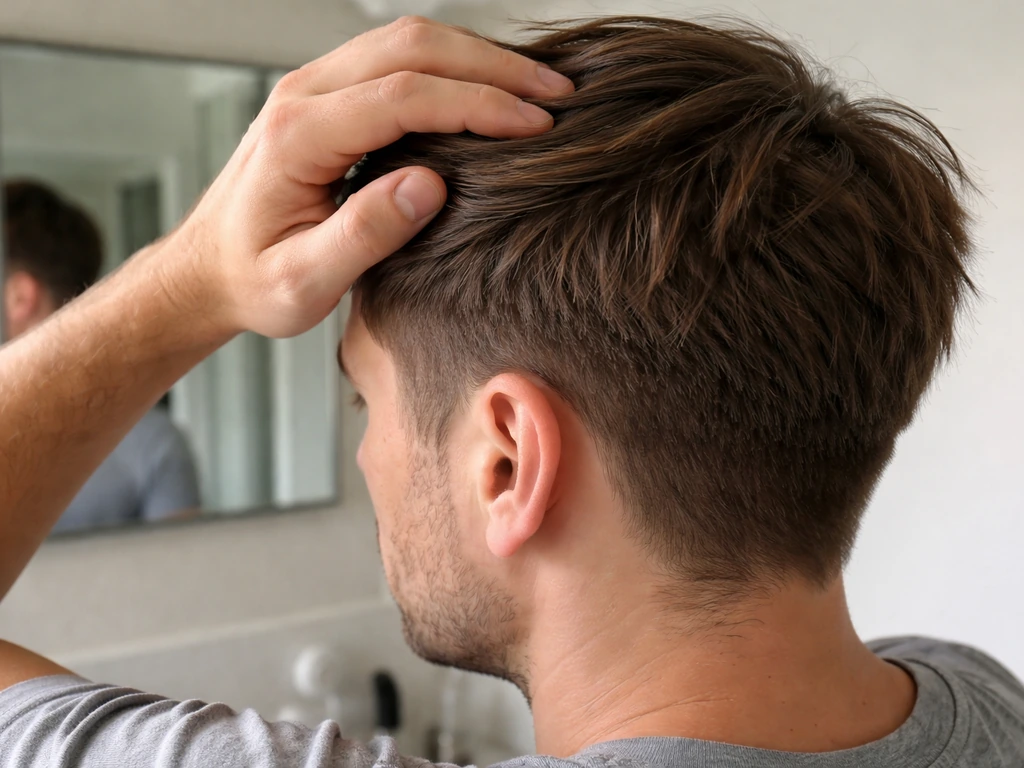
The awkward phase is real, but it's also more manageable than most people expect if you have a few techniques in your back pocket. If you’re specifically aiming for how to grow hippie hair, the same idea applies, so use these techniques to keep your layers and texture looking intentional while length catches up awkward phase. The biggest mistake people make during growth is fighting their hair instead of working with its current length and texture.
The mullet-y back situation
The back almost always grows faster and starts to curl or flip outward before the sides and front have caught up. A small trim on the perimeter of the back (not the top, not the layers) every six to eight weeks keeps this under control without resetting your progress. If you're not ready for a trim yet, a light hold cream smoothed through the back section while damp and then blow-dried downward will flatten the flip temporarily.
Managing bangs while they grow
When bangs are hitting your eyes and you can't stand them but don't want to cut them back, use a small clip or a headband to keep them out of your face during the day while they're training to fall sideways. Bobby pins tucked behind the ear work well for curtain bang grow-outs. Using a medium-hold paste or wax to push them to each side in the morning and letting them air-dry that way speeds up the training process significantly.
Undercut or shaved sections growing in
The sides growing in from an undercut are usually the most visually obvious awkward stage. Longer hair on top can actually cover this for quite a while if you style it right. A side part pushed over the shorter sections, held with a light-hold product, buys you months. This is similar to the approach used when growing out a fade, where the blending strategy does most of the work.
Products and tools that actually help
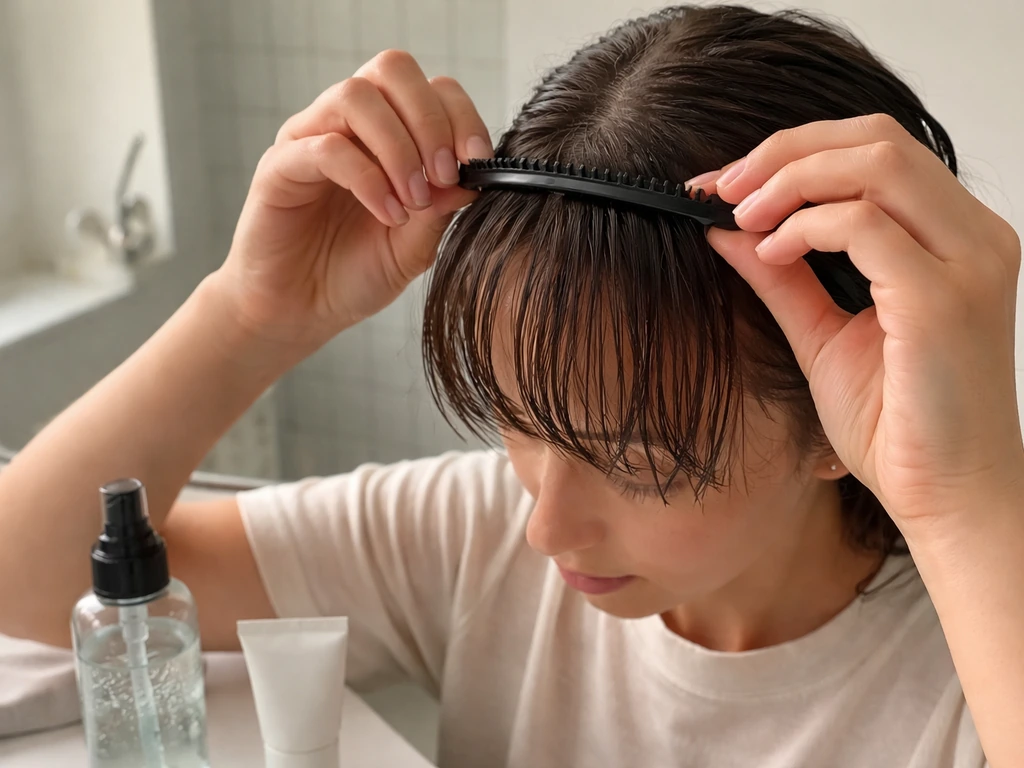
- Sea salt spray: adds the tousled, beachy texture that skater hair relies on. Scrunch it into damp hair and let it air-dry for the most natural result.
- Texture cream or light hold paste: great for defining layers without stiffening them. Especially useful for the shorter stages when you want shape but not product build-up.
- Round brush and a low-heat blow-dryer: lifts roots and encourages layers to fall with movement rather than flat. Use it to train bangs sideways during grow-out.
- Light-hold spray or mousse for frizz: if you have wavy or curly texture, a small amount of curl-enhancing mousse scrunched in while hair is wet lets the natural wave pattern do some of the work for you.
- Microfiber towel or cotton T-shirt for drying: reduces breakage and frizz during the vulnerable growth period compared to a regular terry towel.
Common growth blockers and how to actually fix them
Cowlicks
Cowlicks are a growth pattern in the hair follicle, not something you can permanently fix, but you can absolutely manage them. The most effective technique is to blow-dry the cowlick section against its natural direction while the hair is still damp, using a medium brush, then let it cool completely before releasing it. Once the hair has enough length, a cowlick that used to be a disaster often becomes less visible because the weight of the longer hair overrides the growth pattern.
Breakage and damage slowing growth
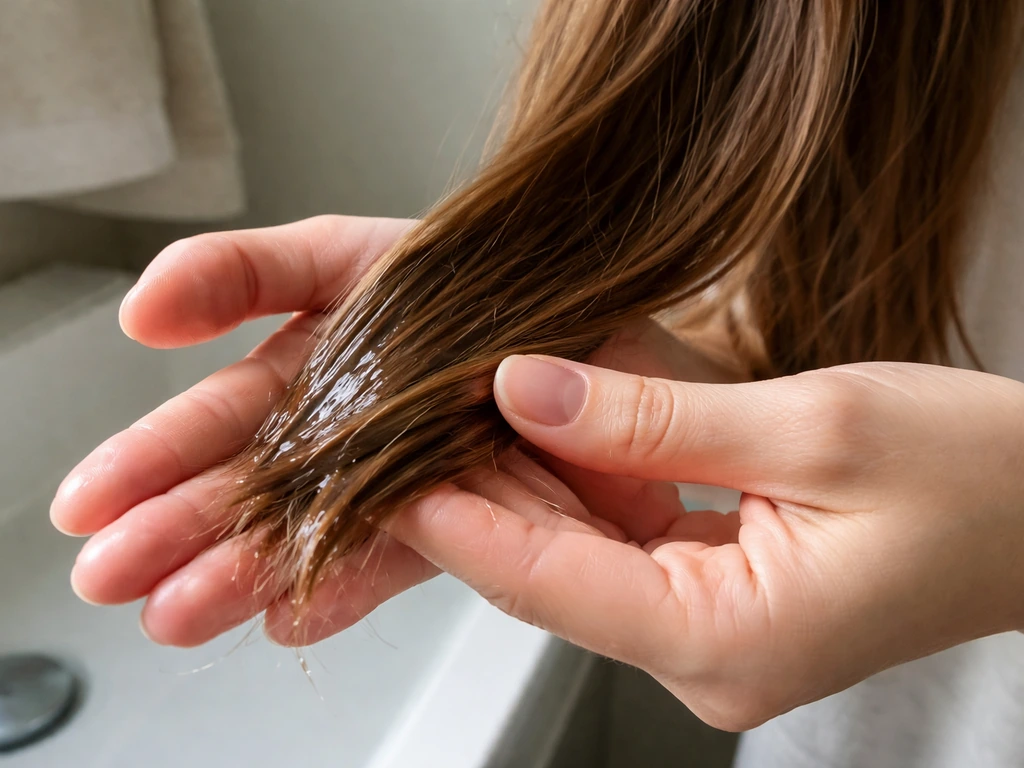
If your ends are breaking off at roughly the same rate as your hair is growing, you'll feel stuck at the same length for months. The fix is two-part: reduce mechanical damage (gentle brushing, sleeping on a satin pillowcase, avoiding tight elastics) and reduce heat damage (lower temperatures, heat protectant every single time, fewer heat styling sessions per week). A protein treatment once a month helps temporarily reinforce the hair shaft. Biotin and adequate protein in your diet won't work miracles, but genuine nutritional deficiency does slow growth, so it's worth covering the basics.
Uneven growth
Some sections genuinely grow faster than others, and this is usually genetic or related to how you sleep (the side you sleep on tends to have slightly more friction-related breakage). Protective styles at night help even things out over time. If one section is dramatically shorter than the rest and it's been that way for months, see a dermatologist to rule out any scalp health issues. For most people, uneven growth sorts itself out over time if you're consistent with gentle handling.
Thinning or fine hair that won't hold the skater shape
Fine or thinning hair can absolutely achieve skater hair, but the approach needs to be adjusted. Avoid heavy products that weigh the hair down. Focus on volumizing mousse at the roots, choppy layers that create the illusion of thickness, and sea salt spray for texture. Very heavy blunt layers on fine hair can look stringy, so ask your stylist for softer, less dramatic layering and more point-cutting at the ends to remove bulk without sacrificing length.
Color, heat styling, and keeping your hair healthy during the grow-out
Color and skater hair go together well aesthetically, but the grow-out period is when color can cause the most damage if you're not thoughtful about it. If you're bleaching or lifting color, the main risk is that weakened hair breaks off faster than it grows, effectively pausing your progress. During active growth phases, keep bleaching sessions spaced at least 8 to 10 weeks apart, use a bond-building treatment like a protein mask or a salon-grade bond protector in each session, and deep condition weekly.
If you want to add color while growing, consider techniques that put the damage further from your roots: balayage, money piece highlights, or simply toning your natural color rather than lifting it. These approaches let you have some color interest without the heavy all-over bleach that causes breakage at the roots right where you need strength the most.
Perms and chemical texture services are popular for achieving the wavy, tousled skater look without relying on daily styling. If you're considering one during your grow-out, wait until you have at least 4 to 5 inches of length to work with, and be aware that a perm will appear to shorten your hair visually by about 20 to 30 percent as it contracts into waves. Plan accordingly.
For heat styling during growth, the rule is simple: always use a heat protectant, keep temperatures under 380 degrees Fahrenheit for most hair types (lower for fine or already-damaged hair), and try to have two to three heat-free days per week. Air-drying with a texture product does most of the work for skater hair anyway, so heavy heat reliance isn't necessary once you have enough length.
When you're close: reassessing the shape and giving your barber the right directions
You'll know you're approaching the finish line when the longest sections of your hair are at or near your target length and you have enough material throughout for a stylist to actually build layers rather than just tidy edges. This is the point to book a dedicated shaping appointment, not just a trim.
At that appointment, be specific. Bring a reference photo if you can, ideally two: one of the overall length and one that shows the texture and layers clearly. Then describe what you want in plain terms: where you want the longest layers to hit, whether you want curtain bangs or face-framing pieces (and how short you want the shortest point to be), and how much texture you want at the ends. If your end goal is how to grow top knot, keep your layers and fringe growing while you learn how to build a stable high bun as the length comes in. Tell your stylist you want point-cutting or razor-cutting for the choppy texture rather than blunt scissor cuts, which will give a smoother edge.
A useful set of directions to give your barber or stylist might sound like this: 'I want the length kept at collarbone level, with choppy interior layers starting at about chin length. I'd like curtain bangs that hit just below my eyebrows at the center and lengthen toward my cheekbones on the sides. Point-cut the ends for texture. Please don't use heavy thinning shears throughout the mid-lengths, just at the ends.' That level of detail gets you the result you've been working toward.
After the final shaping appointment, maintenance trims every eight to ten weeks keep the layers from growing into an undefined, shapeless blob. Unlike the grow-out phase where every trim was a careful calculation, at this stage a regular light trim every couple of months just refreshes the shape without touching the overall length.
If at any point during the process you're finding the grow-out harder because of a specific starting cut, the strategies for growing out a fade or managing undercut regrowth follow many of the same principles covered here, just applied to different sections of the head. The core idea is the same regardless of starting point: protect length, manage shape in small increments, and style intelligently through every stage rather than waiting for perfect hair to magically appear.
FAQ
How often should I trim while growing skater hair, especially if I’m not at the final shaping stage yet?
During months 1 to 4, you generally avoid taking length, but once bangs are in the way or the perimeter starts getting poofy, you can do micro trims that only clean the edge. A good rule is every 6 to 8 weeks for a perimeter tidy-up (back edge and sides), and hold off on layered cuts until you have enough length for your stylist to actually create choppy layers without removing your future base.
What’s the best way to prevent the back from flipping out before the sides catch up?
If you are seeing early curl or outward flip at the nape, try directing it with a damp, smoothing cream or light leave-in, then blow-dry downward in sections using a paddle brush. Let it cool before you touch it, this “set” step makes a bigger difference than product alone, and you can refresh with a quick damp re-styling instead of a haircut.
My bangs won’t grow into curtain bangs. When should I switch to side-swept fringe (or the other way around)?
Switching earlier usually saves time. If your fringe is still above eyebrow height and you cannot get it to fall to the sides after training with a round brush or low-heat blow-dry, consider changing the direction rather than forcing it. As a general target, wait until the shortest area is around eyebrow level or below before committing to curtain-bang shaping, otherwise you can end up with a new awkward cut every month.
Can I grow skater hair if my hair grows unevenly from genetics or how I sleep?
Yes, but manage expectations. If one side or section is consistently shorter for months, focus on gentle handling in that area, increase night friction protection (satin pillowcase or bonnet), and consider protective styling during sleep. If the difference is dramatic or accompanied by shedding, scalp irritation, or patchy thinning, it is worth seeing a dermatologist to rule out scalp or follicle issues.
How do I style skater hair in the awkward stage if I hate the flat or messy look?
Use “direction first, volume second.” For early stages, train the hair to fall where you want it with a light pomade or texture cream, then add root lift using mousse and only a small amount of product. Avoid heavy waxes that lock strands into the wrong shape, and if the sides look too short, use a side part pushed over those sections with a light-hold product to camouflage the contrast.
Is it okay to use thinning shears on my hair to create the skater texture?
Usually no, especially for fine hair. Thinning shears can make strands look stringy or see-through in the mid-lengths, and they can reduce density in exactly the area you need for choppy volume. Ask for point-cutting or razor-cut texture at the ends, and keep any “thinning” targeted to the shortest pieces only if your stylist deems it necessary.
How much color can I add while growing, without stalling my progress?
If you are bleaching or lifting, the key is to prevent breakage that wipes out the length you are trying to gain. Keep sessions spaced about 8 to 10 weeks apart, use bond-building treatment during each session, and deep condition weekly. For lower-damage color, consider balayage or a money-piece that keeps the heaviest lift away from the roots, and lean toward toning if your hair is already fragile.
Can I get a perm or wavy texture during the grow-out, and will it reduce the look of length?
You can, but plan timing and understand the visual change. Wait until you have about 4 to 5 inches of length so the stylist can shape waves without snapping or over-contracting short strands. A perm can make hair appear 20 to 30 percent shorter as it contracts, so your timeline should include that effect when deciding how far along you need to be.
What heat styling approach works best if I want the tousled skater look without frying my ends?
Use heat protectant every time, keep most temperatures under about 380°F, and reduce frequency to 2 to 3 heat-free days per week. Once you have enough length, prioritize air-drying with a texture product, then only spot style (like lifting at the roots or smoothing the fringe) instead of repeatedly heat-setting the whole head.
When exactly should I book the appointment for the final skater shaping?
Book it when the longest sections are at or near your target length and you have enough uniform material through the interior for your stylist to build layers, not just trim the perimeter. At that point, ask for a detailed plan: where the longest layers hit, whether you want curtain bangs or face-framing, and how choppy you want the ends, plus a preference for point-cutting or razor-cut texture.