Growing out bangs doesn't have to mean two months of hiding under a hat. The honest answer is this: with the right techniques for your current length, you can make your bangs look intentional at every stage, from the first awkward inch to the moment they finally blend into the rest of your hair. This guide walks you through what to do today, what to do next week, and what comes after that.
How to Style Bangs as They Grow Out: Step-by-Step Guide

Marcus Vickers
14 Apr 2026
What stage are you actually in right now?
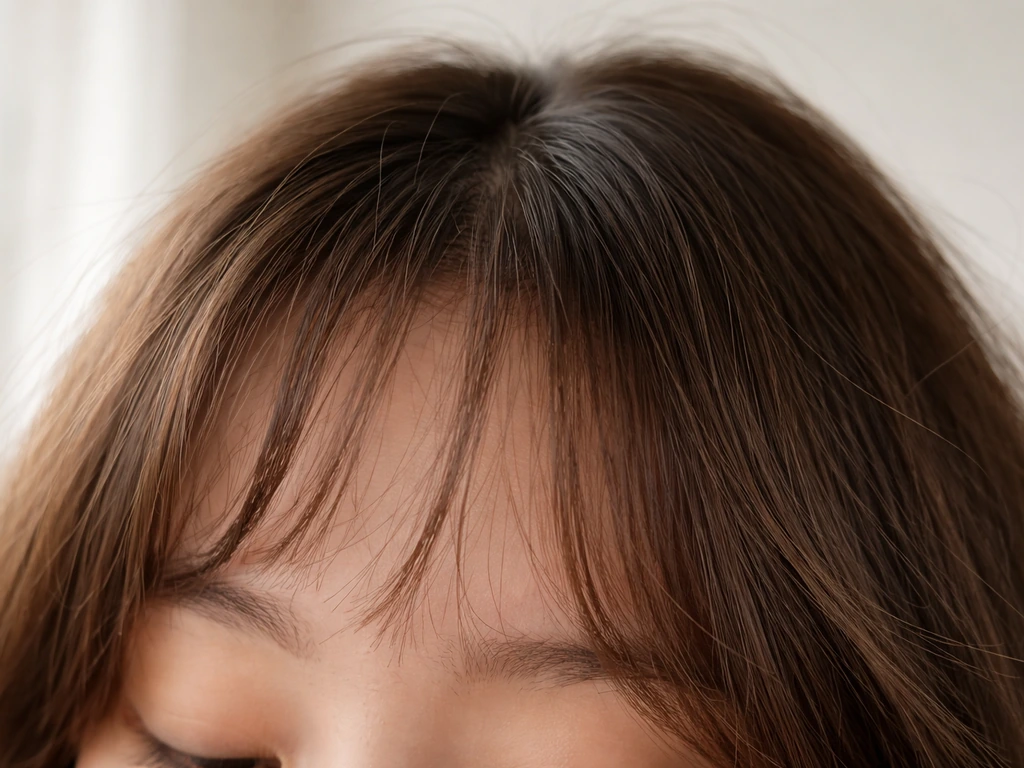
Knowing your stage changes everything about which techniques will work for you. Hair grows at roughly half an inch per month on average, so the math is pretty predictable once you know where you started. A full fringe typically takes about 6 months to fully grow out, but softer face-framing styles can start blending in as early as 8 to 10 weeks. The worst of the awkward phase usually hits around 1 to 2 inches of new growth, which is when your bangs are too long to stay put but too short to tuck behind your ear or pull into a style.
Here's a rough breakdown of the three main stages most people move through:
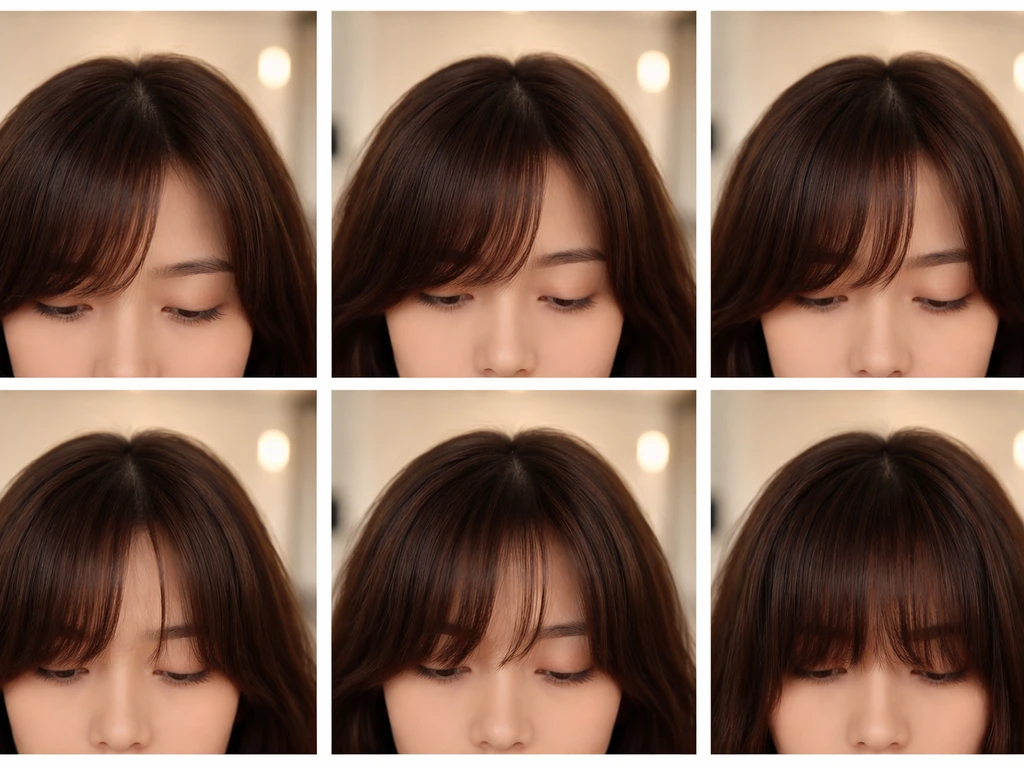
- Early stage (0 to 1.5 inches of growth): Bangs still read as bangs but are starting to fall into your eyes or lose their original shape. They're annoying but still somewhat controllable.
- Mid stage (1.5 to 3 inches of growth): This is the hard part. They're too long to look intentional as classic bangs and too short to blend naturally. Most styling tricks are aimed at surviving this window.
- Late stage (3+ inches, roughly cheekbone length or longer): Bangs are long enough to behave more like face-framing layers. Blending becomes genuinely possible now.
If you're still deciding whether the grow-out is even right for you, it helps to think through the full picture first. The article should i grow out my bangs walks through the real considerations before you commit.
Quick fixes for today: pins, clips, headbands, and tucking
If you woke up this morning with bangs you don't know what to do with, these are your fastest options. None of them require product or heat, and all of them work at the early and mid stages when nothing else will cooperate.
The simplest move is a headband. Sliding a headband back about an inch from your hairline pushes bangs off your forehead without requiring any pinning or styling. It's one of those solutions that looks purposeful rather than lazy, especially with a thicker fabric or structured band. If you want something a little more polished, how to grow bangs out covers more of the day-to-day strategies in detail.
Bobby pins are your next best tool. Part your bangs to one side and pin them flat against your head, sliding the pin horizontally just at the root and hiding it under the layer on top. Two or three pins in a row looks intentional. One pin sticking out looks like an accident. For a slightly more structured look, use a small claw clip or a barrette to secure bangs off to the side.
The tuck-and-pin method works surprisingly well at the mid stage: split your bangs down the middle, tuck each half toward the side of your head, and pin under the layers so they disappear completely. When bangs hit cheekbone length, you can often just tuck them behind your ears without any pins at all.
One product note: if you're spraying hairspray to hold pins or edges in place, keep it away from your roots and the front of your hairline. Spraying too close to the face at the regrowth line leaves a wet, sticky residue that reads immediately as product overload.
Styling as bangs lengthen: side-swept and blend techniques
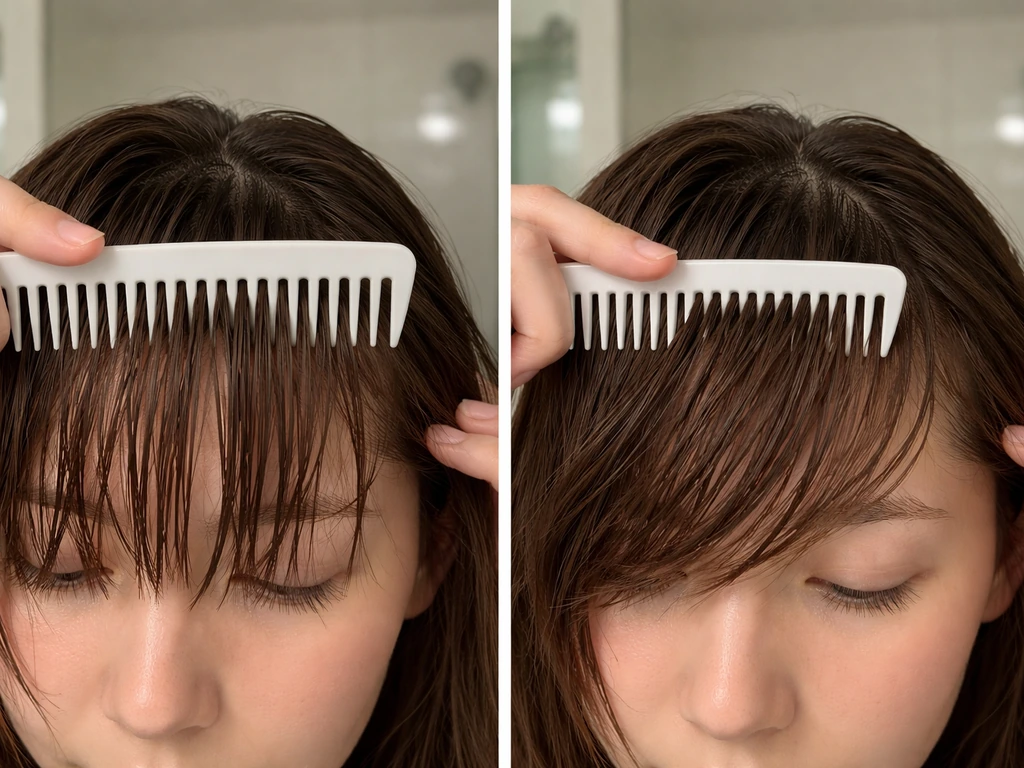
Once your bangs hit about 1.5 to 2 inches, side-sweeping becomes your best everyday look. The key is to work with damp hair, not soaking wet and not fully dry. Cleveland Clinic also recommends using a hair dryer on low heat or cool when you need hair to dry faster, to help reduce potential long-term damage use a hair dryer on low heat or cool. Comb bangs forward and to one side, then use a round brush and blow-dryer to direct them across your forehead. The heat sets the direction so they stay where you put them instead of springing back to center.
For a softer, more blended look as bangs get longer, switch your part to the middle and let them fall to each side naturally. This is the beginning of a curtain-bang effect, and it works incredibly well from about 2 inches onward. Styling with a light texturizing spray or a tiny amount of pomade through the ends helps the bangs lie flat against your face instead of puffing out awkwardly.
Fine hair needs a lighter hand here. Heavy products will flatten your bangs so much they look stringy. Stick to a light mist of flexible-hold spray and let the blow-dry do most of the work. For thicker hair, a small amount of smoothing cream through damp bangs before blow-drying helps control bulk as they get longer.
The flat iron is useful but easy to overdo during grow-out. If your bangs are waving or curling awkwardly at the ends, one slow pass with a flat iron on low-to-medium heat straightens them without the stiff look you get from over-ironing.
Transition styles worth trying: curtain bangs, braids, updos, and ponytails
The curtain-bang style is probably the most useful transitional look you can land on during grow-out. When your bangs reach roughly cheekbone length, they stop behaving like a fringe and start acting like soft face-framing layers. At that point, splitting them down the middle, sweeping each half outward, and letting them fall alongside your face looks fully intentional. If you started with a curtain fringe already, how to grow out curtain bangs goes into the specific techniques for that style's particular grow-out path.
Braids are one of the most underused grow-out tools. At the mid stage, you can incorporate bangs into a loose French braid or a side braid that starts at the hairline. The bangs become part of the braid naturally, so their awkward length completely disappears. Even a simple two-strand twist pinned back at the temple can handle the most stubborn mid-length bangs.
Updos and ponytails solve the problem differently: by pulling the rest of your hair back, you actually make your bangs look more deliberate even at awkward lengths. A low ponytail with bangs softly swept to one side looks polished. A loose bun with bangs pinned or tucked to the side reads as a styled choice rather than a grow-out phase. The contrast between the pulled-back hair and the front pieces works in your favor.
For curly or coily hair, the half-bun approach works especially well. Secure the growing bangs to the top of your head with bobby pins, then cover the pins with a scrunchie or a loose half-bun so the whole thing looks clean and held. This keeps the texture of your curls intact while managing the length that isn't ready to blend yet.
Managing cowlicks, frizz, and uneven regrowth
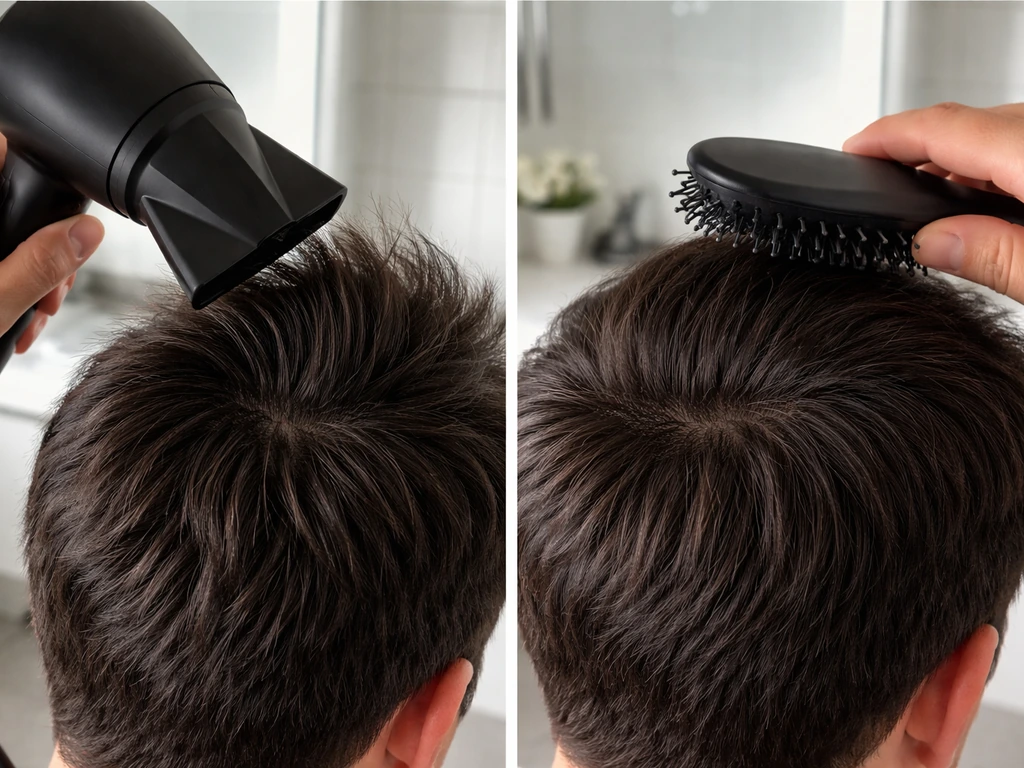
Cowlicks become more visible and more annoying as bangs grow out, because the length that used to weigh them down is gone. The most reliable fix: blow-dry against the grain first. Brush your bangs in the opposite direction of the cowlick and apply heat for 20 to 30 seconds, then flip them the correct way and blow-dry again in the direction you want them to go. Let them cool in that position before touching them. The cool-down step is the one most people skip, and it's the one that actually makes the style hold.
For particularly stubborn cowlicks, try the cross-brush method: use a flat brush and make an "X" movement back and forth across the bang section while blow-drying. This works against the cowlick's natural direction from multiple angles and tends to neutralize it better than one-directional brushing. Keep the dryer moving rather than holding it in one spot. If you're also dealing with a cowlick in a side-parted grow-out, put your thumb under the bang section and use it to guide the hair while you dry, which gives you better control over exactly where the roots land.
Frizz at the grow-out stage usually comes from two places: dryness and heat damage from the original styling you did when the bangs were shorter. A tiny amount of smoothing serum through damp bangs before drying, followed by a light spray after, handles most of it. Don't over-brush once they're dry or you'll create more frizz than you started with.
Uneven regrowth is common and largely unavoidable, especially if your original fringe wasn't cut in a perfectly straight line or if one side of your hair grows faster than the other. The blunt truth is that this is where a small shaping trim helps more than any styling trick. You don't need to cut bangs shorter, just reshape the line so both sides match and the unevenness stops pulling focus. More on that in the next section.
If your bangs are curly or wavy, the grow-out process is a different kind of challenge. How to grow out curly bangs covers the texture-specific techniques that actually work for coily and wavy patterns.
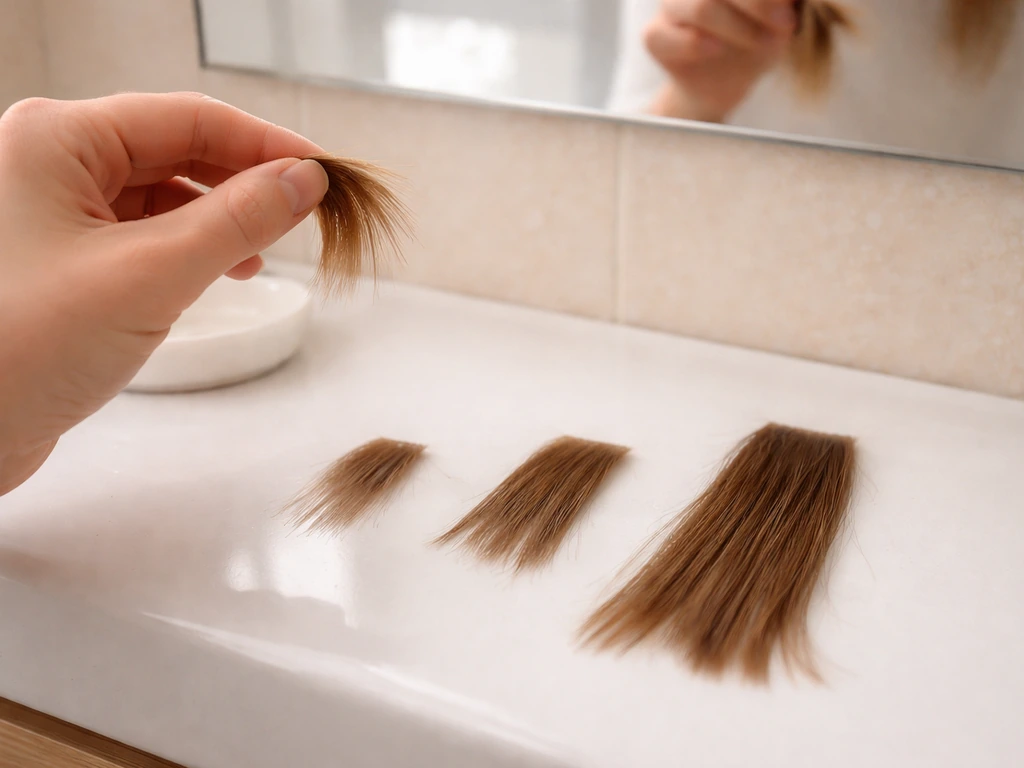
How often should you actually trim during grow-out?
This is where a lot of people get confused. The goal is to grow bangs out, so why would you trim them? The answer is: a small shaping trim is not the same as cutting bangs back short. Micro-maintenance means just cleaning up the line, removing weight from the ends, or angling the sides so they blend better with the rest of your hair. You're not going backward, you're making the current length more wearable.
For general fringe during grow-out, a light shaping trim every 4 to 6 weeks is enough to keep things from looking ragged. If you started with micro bangs, those need more frequent attention, around every 2 to 3 weeks, because the short length grows out proportionally faster and the shape deteriorates quickly. Side-swept and wispy styles are the most forgiving and can usually stretch 6 to 8 weeks between any kind of trim.
You can absolutely do small maintenance trims at home between salon visits. The technique that makes home trims less risky is point-cutting: holding the scissor vertically and snipping upward into the ends rather than cutting straight across. This softens the line and reduces the chance of an accidentally blunt cut that looks freshly shortened. Do it on dry hair so you can see exactly what you're working with.
| Bang Type | Trim Frequency During Grow-Out | Main Goal of Trim |
|---|---|---|
| Micro/baby bangs | Every 2 to 3 weeks | Keep shape as they descend; manage very fast visual change |
| Blunt/heavy straight bangs | Every 3 to 4 weeks | Prevent bulk and clean up the line as they lengthen |
| Side-swept or wispy bangs | Every 6 to 8 weeks | Light shaping to stay wearable; very forgiving length |
| Curtain bangs (growing out) | Every 4 to 6 weeks | Angle sides to keep face-framing shape as they grow |
The realistic timeline: when each style stops working
Here's what you can actually expect, month by month, from when you stop cutting your bangs. These are averages based on typical half-inch monthly growth, so your timeline may run a little faster or slower depending on your hair.
- Month 1 (roughly 0.5 inch of growth): Your bangs still look mostly like bangs but may be falling into your lashes or starting to separate. A small trim to reshape without shortening is often all that's needed. Side-sweeping starts to become viable.
- Month 2 (roughly 1 inch of growth): The most frustrating window begins. Bangs are visibly longer than intended, too short to tuck or braid. Bobby pins, headbands, and the side-sweep with hold spray are your primary tools. Start experimenting with a middle part to begin the curtain-bang transition.
- Month 3 (roughly 1.5 inches): Still awkward but more manageable. The tuck-and-pin method works. You can start incorporating bangs into braids. Some softer fringes start to look intentionally blended at this stage.
- Month 4 (roughly 2 inches): This is when real styling becomes possible. Side-swept looks blend more naturally. Middle-parted curtain-bang styling works well. A light layering trim from your stylist can dramatically speed up the blending.
- Month 5 to 6 (roughly 2.5 to 3 inches, approaching cheekbone): Bangs are now behaving like face-framing layers rather than a fringe. They can be tucked behind the ear, worn in a curtain style, or pulled into updos without any bobby pins required. The awkward phase is mostly over.
- Month 6 and beyond: Full grow-out. Blunt fringes may need the whole 6 months or longer to fully blend; softer styles often get there closer to the 3 to 4 month mark.
If you want to speed up any of these stages, there are evidence-backed approaches worth trying. How to grow out bangs fast covers what actually moves the needle and what's mostly wishful thinking.
The most important thing to hold onto is that the awkward phase is a fixed window, not an indefinite situation. It has a start and an end, and the styling tricks in this guide are designed to make that window livable rather than something you cut your way out of. Give it the time, use the tools that match your current length, and your hair will get there.
FAQ
What should I do if my bangs keep slipping into my eyes no matter how I pin them?
Try pinning at the root but with a slightly angled placement, so the pins create a gentle “lift” instead of lying flat. If they still migrate, switch to a structured headband or a barrette closer to the center, then finish with a light mist of flexible hold only on the mid-lengths, not the roots.
How can I style bangs as they grow out when I wash my hair at night and style in the morning?
If your bangs are at the mid-length stage, refresh with dampening only the fringe, then blow-dry directionally for 30 to 60 seconds. Avoid reapplying heavy product overnight, it can make regrowth look greasy and stiff by morning.
Is it better to use dry shampoo on growing-out bangs, or does it make them look worse?
Dry shampoo can help if your bangs are thinning or getting oily, but use it like a target treatment. Apply a tiny amount to the roots underneath your bangs, then brush through lightly, so you do not get powdery texture along the ends where you need them to lay flat.
What’s the safest way to trim bangs at home if one side grows faster?
Focus on reshaping the fringe line, not shortening. Use point-cutting on dry hair only at the longer side’s edge, removing small amounts until the two sides visually match when your bangs are parted the way you normally wear them.
Can I use heat tools like a blow-dryer and flat iron every day during grow-out?
For best results, keep heat to one daily session and use low to medium settings. If you need a flat iron pass, do it only on the ends and keep a slow, single movement, repeated ironing increases frizz and makes the bangs flip back out of place.
How do I prevent my bangs from looking bulky or puffing up at the crown during grow-out?
Use a lighter product amount and blow-dry with tension downward, then set with a quick cool shot if your dryer has it. If you use a round brush, keep the brush size smaller than you think, and comb the bangs flat against the forehead before the final direction set.
My bangs are uneven even after a trim. Could cowlicks be the reason?
Yes. If the line looks similar but the hair keeps lifting or flipping, it is often a cowlick or growth pattern issue rather than length. The fix is directional blow-drying with cooling in place, not more snipping.
What if my hair is oily at the roots but dry at the ends, how should I balance styling products?
Apply lightweight, water-based product only to the mid-lengths and ends of your bangs, then keep roots product-free. If you need hold, use a flexible-hold spray lightly over the bang section after drying, not at the root line.
At what point should I stop trying to style bangs like a fringe and start wearing them as face-framing layers?
When they reach around cheekbone length and start cooperating without pins, that is the pivot point. Switch to a middle part with a curtain-bang fall, and use only light texturizing on the ends so they blend instead of staying as a hard fringe line.
How should curly or coily bangs be handled if bobby pins flatten my curls?
Pin higher and cover the pins with a loose half-bun or scrunchie so the curls have room. Let them dry in place after blow-drying on a low heat setting (if you do it), then avoid re-combing once they are set to keep the curl pattern intact.
Are there signs I should get a salon shape-up instead of waiting for the grow-out to finish?
If your bangs look asymmetrical after styling multiple times, or you are forced to use pins every morning to hide a stubborn flip, a micro reshaping cut can solve the pattern issue. Also consider it if the ends feel overly heavy or you see a visible shelf where the fringe meets the rest of the hair.
How can I make my bang grow-out routine work with different hairstyles, like ponytails and hats?
For ponytails, pull the back securely and sweep bangs to one side before pinning or using a thin headband. For hats, avoid tucking bangs too tightly under the brim early in grow-out, it can create a permanent crease, use a headband placement instead so the front sits naturally under the hat edge.