Growing out a pixie cut takes roughly 6 to 12 months to reach a full bob, and there is no shortcut around that. Hair grows about half an inch per month on average, which means patience is the real strategy here. But that does not mean you just white-knuckle it through every awkward phase. The difference between a grow-out that feels intentional and one that feels like you gave up is almost entirely about what you do between now and then. This guide walks you through every stage, every styling trick, and every maintenance call so you feel in control the whole way.
How to Grow Out a Pixie Cut: Timeline and Stage Plan

Marcus Vickers
3 Apr 2026
How long this is actually going to take
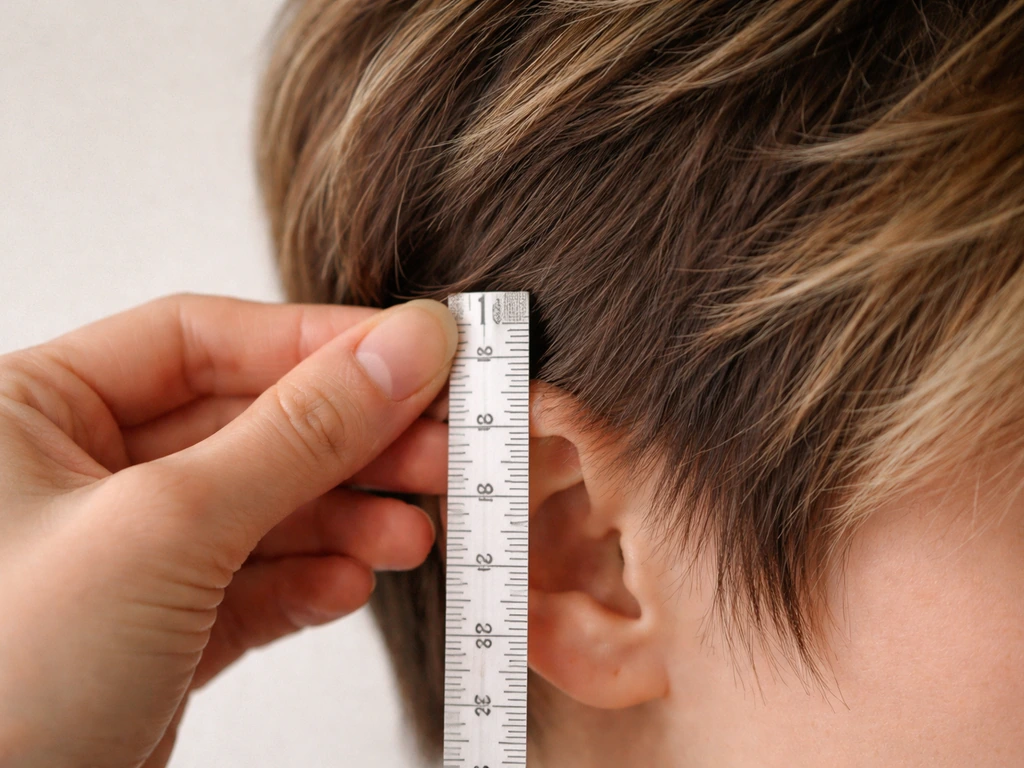
Let's get the honest answer out front. The average scalp grows about 0.35 mm per day, which adds up to roughly 0.5 inches (about 13 mm) per month or around 6 inches per year. That is a well-documented, consistent figure across dermatology and trichology research. The full pixie grow out timeline depends on where you're starting from, but here is a realistic month-by-month picture for most people:
| Timeframe | Approximate Length Added | What You'll Notice |
|---|---|---|
| Month 1–2 | ~1 inch total | Back and sides getting fluffy; top stays relatively controlled |
| Month 3–4 | ~1.5–2 inches total | Awkward ear-coverage stage; nape starts to look shaggy |
| Month 5–6 | ~2.5–3 inches total | Hair grazes or covers ears; front layers start to look like a short shag |
| Month 7–8 | ~3.5–4 inches total | The 'second hurdle'—hair hovers at ear-to-jaw length and looks uneven |
| Month 9–12 | ~4.5–6 inches total | Approaching or reaching chin-length bob territory |
Your actual timeline is shaped by genetics, age, hormones, and overall health, so treat these numbers as a useful guide, not a guarantee. Some people hit the bob stage closer to 8 months; others take a full year or more. If you are still weighing whether the grow-out is right for you at all, it helps to think through whether growing out your pixie fits where you are right now before committing.
Stage-by-stage growth plan: what to do at each point
The biggest mistake people make is treating the grow-out as one long waiting game. It is actually a series of short stages, each with its own look, its own styling needs, and its own maintenance calls. Here is how to handle each one.
Stage 1: Still pretty short (months 1–2)
At this point your hair looks mostly like a pixie but is starting to lose its crisp shape. The back tends to grow faster than the top, so the neckline gets shaggy first. This is when the mullet risk starts, and it is real. Your job right now is to get a neckline cleanup every 6 to 8 weeks without touching the length on top. Ask your stylist explicitly: clean up the nape and around the ears, do not cut anything on top. A soft side part and a little pomade or wax are enough to keep the top looking intentional.
Stage 2: The awkward middle (months 3–5)
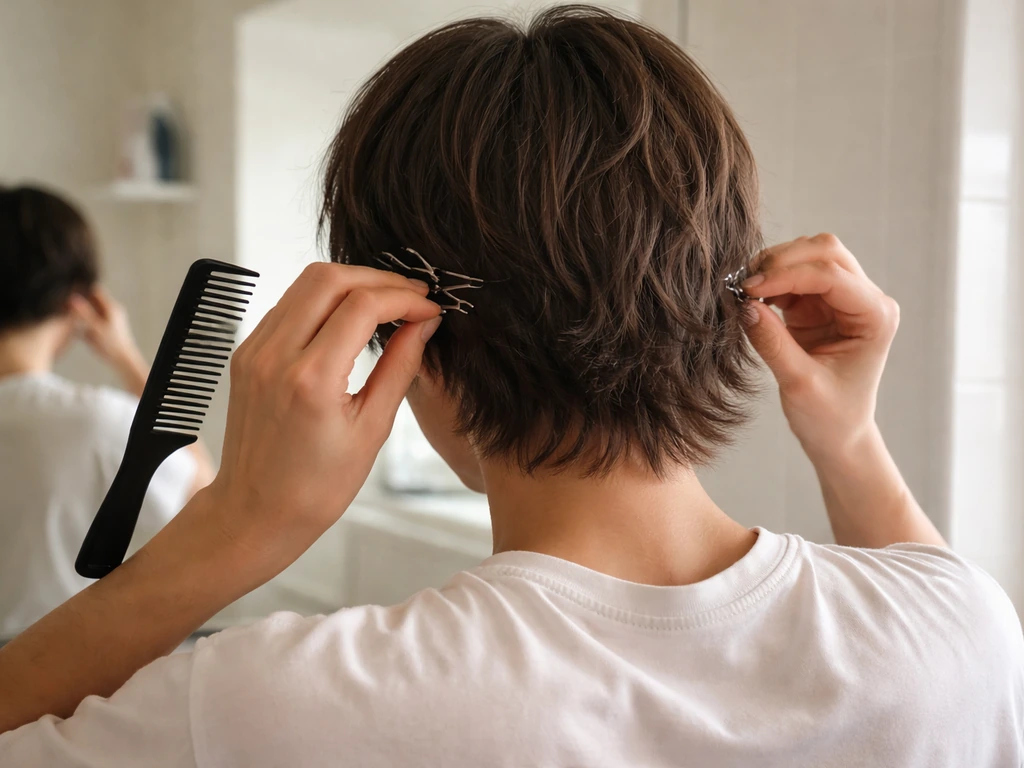
This is the hardest phase and the one that sends most people running back to scissors. The hair around your ears sticks out, the back puffs, and nothing sits right without help. The key is leaning into a deliberate style rather than fighting the shape. A deep side part with the longer side swept over the ear can disguise a huge amount of unevenness. Bobby pins, small clips, and a flexible hold spray become your best tools. Around the 2-month mark many people find transitioning mentally toward a "short shag" or "cropped boy cut" frame of reference helps, because you are effectively in that territory.
Stage 3: Ear length to jaw length (months 6–8)
This is the second hurdle. Hair at ear-to-jaw length is notoriously tricky because it is too long to look like a short cut and too short to tuck behind the ear reliably. A lot of people opt for a small amount of layering at this stage to reduce bulk and help the hair fall cleanly. Headbands, texture spray, and scrunching the ends to encourage wave all work well here. You are very close to bob territory, so the styling goal is simply to give the ends a direction rather than letting them do whatever they want.
Stage 4: Almost there (months 9–12)
By now you have real length to work with. The front and top are likely at chin length or close to it, and the overall shape is starting to look cohesive. This is when a single shaping trim, focused on evening out layers and removing any remaining weight from the back, can make the whole thing suddenly look like a finished style rather than a grow-out. You are not cutting length, you are just cleaning up the shape.
Can you actually grow it out faster?
Biologically, no supplement, oil, or scalp massage is going to push your hair significantly past its natural rate of about half an inch per month. That rate is set by your genetics and health, and while improving your overall nutrition and hydration keeps growth at its natural ceiling, nothing safely exceeds it by a meaningful margin. What you can do is make the hair you have grow out looking longer, healthier, and less broken.
- Minimize heat damage: high heat thins and weakens the hair shaft, which leads to breakage that literally shortens your hair. Use a heat protectant every single time and keep blow dryers on a medium setting.
- Treat split ends early: split ends travel up the shaft if left alone, removing more length than a timely micro-trim would. A trim of 1/8 inch every 6 to 8 weeks costs you far less length than neglect does.
- Be gentle during detangling: rough detangling shreds the cuticle and causes breakage. More on this below in the texture section.
- Protect at night: a satin or silk pillowcase reduces friction on fine, short hair that can snag on cotton overnight.
- Keep your scalp healthy: a clean, well-moisturized scalp is the foundation for growth. Nothing exotic required, just regular shampooing and a lightweight scalp oil if you tend to run dry.
The appearance of faster growth is very real though. Keeping the shape managed so that the hair looks intentional at every stage means you are not starting over with a fresh cut, which is the single biggest reason grow-outs feel slow. Every time you go back to the scissors out of frustration, you lose months. A detailed guide on how to grow your hair out from a pixie cut covers this mindset shift in more depth, and it is worth reading early in the process.
Styling through every awkward phase
Every stage of the grow-out has a go-to styling approach. The goal is not to make your hair look longer than it is, it is to make it look like you chose this length on purpose.
Bangs growing out
Pixie bangs are usually the fastest thing to grow out because they start short and every millimeter of new growth is visible. As they approach brow length, a side sweep is the cleanest solution: apply a small amount of pomade to damp bangs and sweep them to one side. Once they hit below the brow, you have curtain bang territory and they start to blend into the rest of the front section naturally.
Sideburns and around the ears
This is the area most people find hardest. Hair growing in front of and around the ears tends to grow outward before it grows down, which creates a puffed-out silhouette. Keeping this area moisturized and brushed downward (rather than letting it air-dry in whatever direction it wants) helps a lot. A small amount of gel or cream applied when the hair is still damp, then brushed flat, trains it to lie closer to the head. By month 4 to 5 this area usually settles and the hair starts to tuck more naturally.
The back and nape
The nape grows faster than almost anywhere else. A far-over side part that draws the eye to the front can visually minimize what is happening at the back. Ask your stylist to keep only the nape cleaned up every 6 to 8 weeks. This is the one area where regular trimming actually helps the grow-out look better, not worse, because an untrimmed nape is the fastest path to the dreaded mullet shape.
Accessories that actually help
- Thin elastic headbands: push hair back from the face at the ear-length stage and give it a polished, deliberate look
- Bobby pins and small barrettes: pin side sections back during the months when they're too long to style but too short to tuck
- Texture spray: adds grip and separation to flat, growing-out hair so it looks styled rather than limp
- Braids and mini twists: once you have about 3 to 4 inches of length in key sections, small braids pinned back can buy you weeks of cohesive styling
Handling tricky cuts and textures
Growing out an undercut pixie
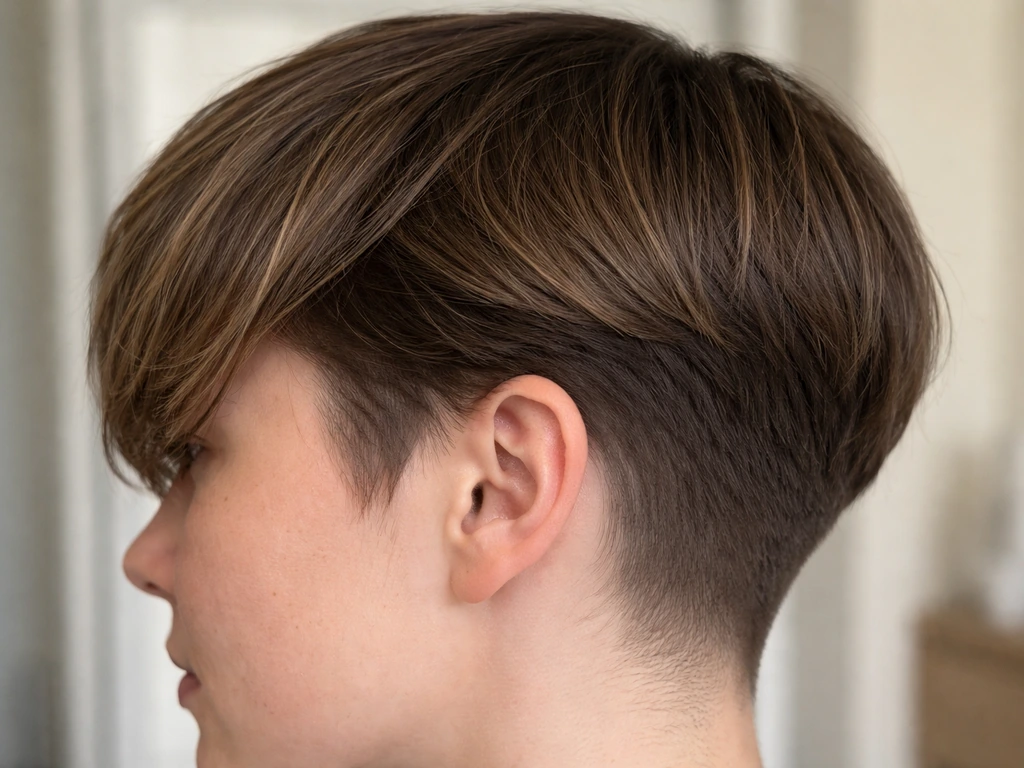
An undercut adds a separate growth challenge because the shaved or very short underneath section grows at the same rate as everything else, but it starts from a much shorter baseline. If the undercut covers the nape and lower sides, expect a period of several months where the underneath section is noticeably shorter and a different texture than the top. The strategy is to blend the undercut section gradually rather than let it catch up on its own: ask your stylist to taper the line between the undercut and the longer hair every 6 to 8 weeks, bringing them closer together in length over multiple visits. Letting the line grow out sharp and abrupt is what causes the visible contrast that looks unfinished. If you are starting with a significantly asymmetrical cut, growing out an asymmetrical pixie cut has specific guidance on managing the length discrepancy between sides.
Curly and coily pixie grow-outs
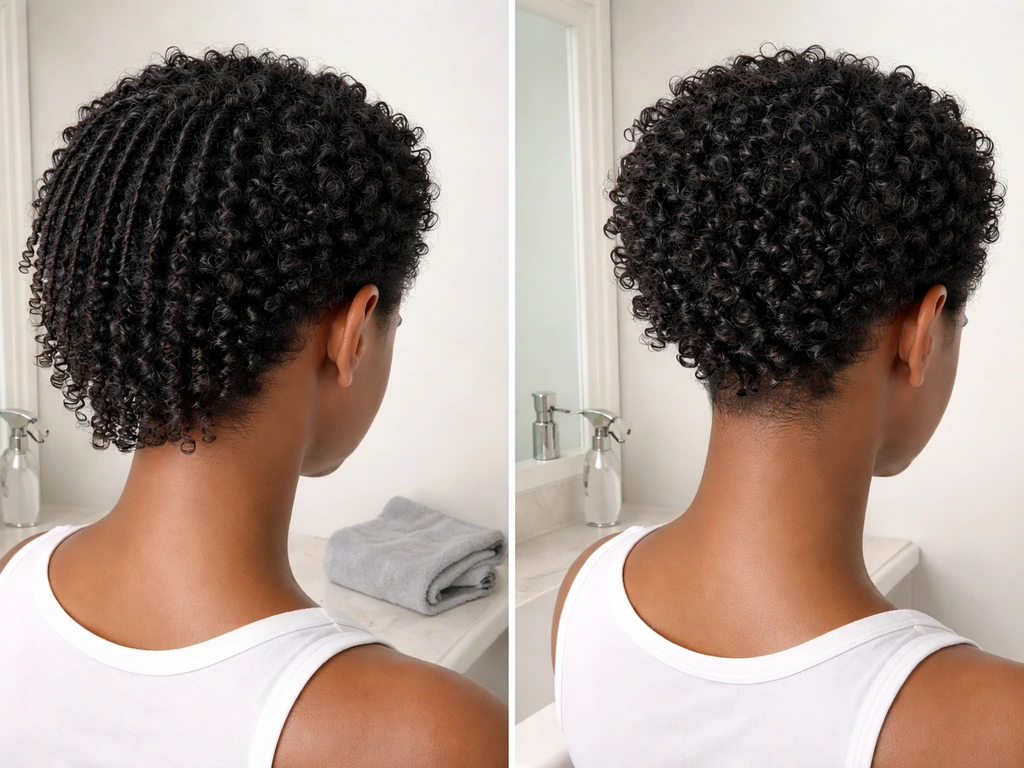
Curly hair has an important wild card: shrinkage. Wavy, curly, and coily hair can appear significantly shorter when dry than when it is wet or stretched, because the curl pattern tightens as the hair dries. This means your curly pixie may look barely grown out at month 3 even though you have gained a full inch and a half of actual length. Do not let this discourage you. The real length is there. Growing out a pixie cut with Black hair covers the shrinkage and texture experience in detail and is especially useful if your curl pattern means the growth stages look different from what straight-hair timelines describe.
For curl care during the grow-out, moisture and gentle handling are non-negotiable. Rough detangling tears the cuticle and causes breakage that sets your length back. Always detangle curly hair when it is damp and has slip from conditioner or a detangling product, using your fingers first and then a wide-tooth comb if needed, never forcing through resistance. ELLE's guidance for coily and curly hair also emphasizes using nourishing products throughout the maintenance and trimming stages to keep hair healthy during short growth phases. Growing out a pixie cut with thick hair is another good companion read if your curl comes with density, because the bulk management is a separate challenge from the curl management. If you have density and want extra help tailoring the bulk and styling plan, see how to grow out a pixie cut thick hair for more targeted tips.
Very short pixies and buzz-adjacent cuts
If you are starting from a very short pixie, close to a buzzed length, add about 4 to 6 extra weeks to every stage of the timeline because you are starting from further back. The same monthly growth rate applies, but the stages arrive later. If you are starting from an actual buzz cut, the buzz cut grow out timeline is a better starting point than the standard pixie guide, and for anything closer to a shaved head, the shaved head grow out timeline gives you a more accurate picture of what to expect in the first 8 weeks.
Maintenance that keeps the grow-out looking good
Maintenance during a grow-out is not about cutting your hair. It is about managing the shape while you protect the length you have earned.
Trim schedule
See your stylist every 4 to 6 weeks, but be explicit about what you want. You are there for shape management, not a length cut. Ask for neckline cleanup, ear cleanup, and removal of only split ends or obviously damaged tips. Hair density and texture affect how often you actually need this: fine hair gets away with every 6 weeks, very thick or coily hair may need the 4-week schedule to stay manageable. Micro-trims focused on the neckline and around the ears are the single most effective way to prevent the mullet effect during the first 6 months.
Color during the grow-out
If your pixie was colored, you have two main options. Grow out the color with the hair, which means managing a visible line of demarcation but requires no chemical processing. Or opt for a gradual shift: as the hair grows, a colorist can blend the existing color into the new growth through balayage or a soft root shadow, which makes the grow-out much less visually obvious. Avoid full bleach processes on short hair that is already fragile from recent cuts, since chemical damage compounds breakage risk at a stage when you cannot afford to lose length.
Detangling and daily care tools
For straight and wavy hair at the early grow-out stages, a paddle brush or a fine-tooth comb works fine on dry hair. Using a satin pillowcase may reduce friction that could otherwise contribute to frizz and breakage. As your hair gets longer, switch to a wide-tooth comb used on damp hair with conditioner. For curly and coily textures, finger detangling is the gentlest method and should always come first. A wide-tooth comb or a wet-hair detangling brush can follow, but only without forcing through resistance. Detangling curly hair dry is a reliable way to cause the breakage that makes your grow-out feel stuck.
Heat tools during the grow-out
Short hair looks great styled, but short hair is also fragile hair. Heat damage at this stage creates split ends and breakage that directly shortens your usable length. If you use a blow dryer, keep it on medium heat with a nozzle attachment. If you use a flat iron or curling iron on growing-out sections, keep the temperature under 380°F and always use a heat protectant. Better yet, embrace air-dried texture during the grow-out and reach for tools only when you need a polished look.
Visual checkpoints: what your hair should look like at each stage
Since a lot of people searching for how to grow out a pixie want to see stage-by-stage pictures, here is a text version of those visual checkpoints so you know exactly what you are looking at and what to do next.
- Month 1 checkpoint: Your pixie still looks like a pixie but with a slightly shaggy neckline and soft, growing fringe. Action: book a neckline cleanup, do nothing to the top. Style with a light pomade and side part.
- Month 2 checkpoint: The back is noticeably longer and the sides are starting to cover or graze the ears. Action: keep neckline managed. If the sides are sticking out, use a small amount of gel or cream when damp and brush flat to train them downward.
- Month 3 checkpoint: Hair around the ears is at a tricky length, not tucking but not short either. The back is clearly longer than the top if you have an undercut. Action: deep side part to minimize the ear-area puff. Pin sections if needed. Begin blending undercut sections at the stylist.
- Month 4–5 checkpoint: The overall silhouette is getting closer to a crop or short shag. Bangs are likely brow-length or past it. Action: sweep bangs to the side. Embrace a messy textured look rather than fighting for sleekness. Accessories become your friend.
- Month 6 checkpoint: Hair is at or past ear length. This is the second hurdle. Action: use a headband or tuck behind the ear with product. Consider a single light-layering trim to remove weight and help the hair fall cleanly.
- Month 8 checkpoint: Approaching jaw length in the front, shorter in the back if you had an undercut. Action: this is the final straightening-out stage. A shaping trim that evens out back-to-front length makes a dramatic difference. You can see the bob from here.
- Month 10–12 checkpoint: You have a bob, or you are close enough to call it one. Action: decide on the final shape: blunt, layered, or asymmetrical. This is a celebratory stylist visit, not a maintenance trim.
The most useful thing you can do at every single one of these checkpoints is look at reference photos for that specific length, not for the finished bob you want. If you are at month 4, look at styled month-4 grow-out photos. It reframes the stage from "wrong" to "a real style that happens to be temporary," and that shift in perspective is what keeps people from cutting everything off and starting over.
The grow-out is genuinely manageable when you treat each phase as its own thing rather than a problem to fix. Half an inch a month is slow, but with the right trims, the right styling, and some protection of the length you have, that bob arrives faster than you expect. Stick with it.
FAQ
How often should I trim during a pixie grow-out, if the goal is not cutting length?
Use “shape-only” maintenance as your baseline every 4 to 6 weeks. Plan micro-trims that remove only split ends and visibly damaged tips, plus targeted neckline and around-ear cleanup. If your nape grows fast or you already see the mullet outline, keep the neckline visit closer to every 6 to 8 weeks and ask your stylist to avoid any top-length cutting.
What if my hair grows unevenly (one side longer, cowlicks, or a crooked neckline)?
Tell your stylist at every appointment which areas are drifting out of balance. Ask for gradual blending, not correction with heavy thinning, and request a taper between sides where possible. For daily styling, use a consistent part and train stubborn sections with damp product plus brushing, so you are not constantly reworking the silhouette.
Can I just stop scheduling salon visits and only trim when it looks really bad?
You can, but it usually backfires during the first 6 months because the nape and ear areas are the fastest to lose their clean line. When those areas get too shaggy, the grow-out can look unintentional, which increases the odds you will cut back or start over. Even one scheduled neckline or ear cleanup can prevent that “late fix” problem.
Will hair growth supplements or scalp massage speed up the timeline?
They usually will not meaningfully increase growth beyond your natural rate. If you do them, treat them as general hair-health support, not as a shortcut. The practical win is reducing breakage and split ends (which effectively preserves length), rather than trying to force faster growth.
My pixie is colored. What’s the safest way to manage the growing-out color without damage?
Choose either grow-out with the existing color, which creates a visible line but requires no new processing, or gradual blending (soft root shadow or balayage) as new growth appears. Avoid full-bleach refreshes on short hair because chemical damage increases breakage risk when you are trying to protect every usable millimeter.
How do I detangle during the grow-out without losing length?
Detangle curly and coily hair only when it is damp with slip from conditioner or a detangling product. Start with fingers, then use a wide-tooth comb if needed, and never force through resistance. For straight or wavy hair, detangle gently with a brush or comb before styling so you do not snag ends when the hair is short and fragile.
What should I do when my hair puffs out around the ears and won’t tuck?
Focus product on the puff-prone section while the hair is still damp. Apply a small amount of gel or cream, then brush or comb the hair downward and away from the ear, hold until it sets, and use a flexible styling aid like clips if needed. This is often the phase where training works by days 3 to 5 of consistent styling.
When should I switch from “pixie mode” styling to “bob mode” styling?
Switch when the front and top consistently reach chin length or close to it and the overall shape starts looking cohesive rather than spiky. At that point, a single shaping clean-up can make the cut look finished, and your styling goal becomes directing the ends and laying layers rather than disguising uneven back growth.
How do I use heat tools safely while growing out a pixie?
Keep heat moderate and consistent: blow-dry on medium heat with a nozzle, and if you use a flat iron or curling iron, stay under about 380°F with a heat protectant every time. If you are unsure, prioritize air-dried texture for everyday and reserve hot tools for special occasions to reduce split ends and breakage.
My hair looks like it’s not growing, especially when curly. Is that normal?
Yes. Shrinkage makes curly hair appear shorter when dry, so a stage can look stalled even when you gained real length. Track progress in wet or stretched sections (or with a consistent styling method) rather than judging only how it looks dry at each month.
Do I need a different timeline if I started from a very short pixie, a buzz cut, or a shaved head?
Yes. If you are starting very close to buzzed length, add roughly 4 to 6 extra weeks to each stage since you are working from a shorter baseline. The first 8 weeks are especially different for shaved starts, because the hair becomes “stubbly” before it becomes “styleable,” which changes how often you need shape management.
How can I find the right reference photos for my exact stage?
Search for photos that match your current month of grow-out and your texture, not just the “finished bob” result. If you are at month 4, look for month-4 grow-out styling examples and similar hair types, because the ear, neckline, and fringe behavior can differ drastically by texture and haircut baseline.