
The styles that actually work when you're growing out short hair are the ones that work with your current length, not against it. That means half-up clips when hair won't tie back, texture and product to make in-between lengths look intentional, strategic accessories to manage bangs and cowlicks, and occasional micro-trims to keep things from looking ragged. You don't have to look like you're "in between" anything. You just need the right moves for each stage.
Hairstyles When Trying to Grow Out Short Hair: Step-by-Step

Marcus Vickers
30 May 2026
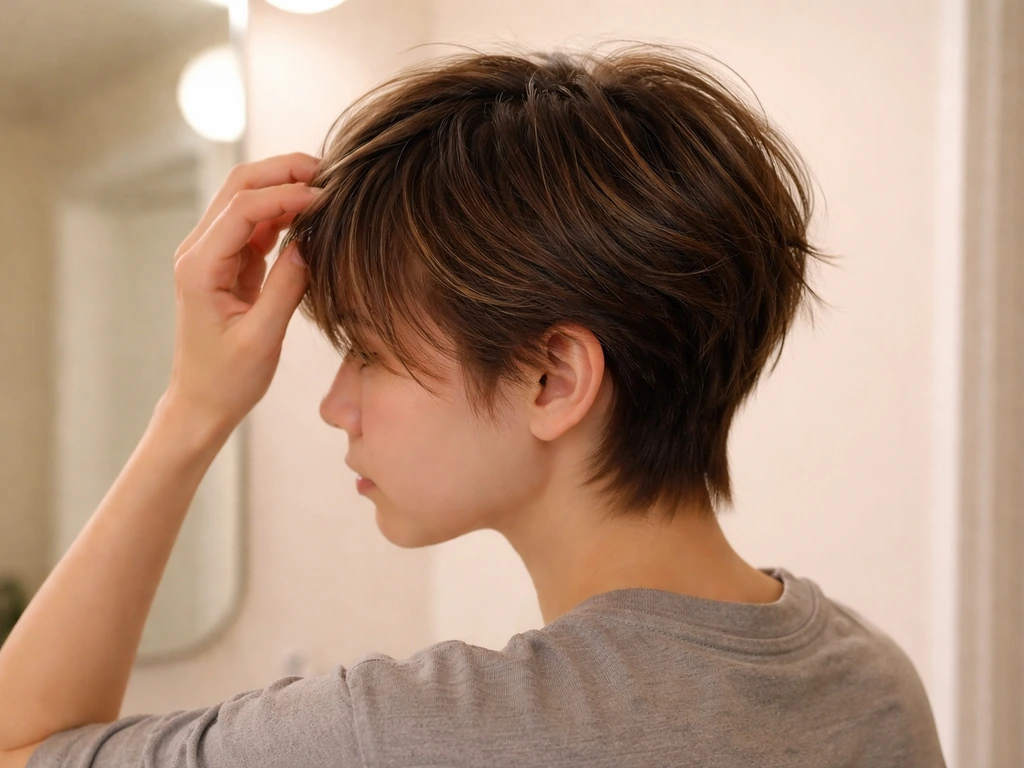
How to think about styling during the in-between stages
The first thing to get straight: growing out short hair isn't one awkward phase, it's several. A pixie grows into a short shag, which grows into a bob, which grows into a lob. Each mini-transition has its own challenges and its own styling toolkit. The mistake most people make is treating the whole grow-out like one long holding pattern where they just... wait. That usually leads to frustration, a random trim that takes you back to square one, and starting over.
A much better approach is to keep your goal length in mind and make every decision, including every trim, work toward that goal. Hair grows about half an inch per month on average, so you can actually map out rough milestones. If you're at two inches now and want shoulder length, you're looking at roughly eight to ten months depending on your starting point. That's a real timeline, not a vague "it'll get there eventually." Knowing the timeline helps you choose styles that make sense for where you are, instead of fighting your length.
One mindset shift that helps a lot: stop trying to make your hair look longer than it is. Instead, make it look deliberate. A pixie growing into a short crop looks great when it's styled with purpose, whether that's a slicked side part, a piece-y textured look, or a little volume through the crown. It looks awkward when it's unstyled and just hanging there. The difference is almost entirely in technique and product, not length.
Best hairstyles when your short hair won't fully tie back
This is the phase almost everyone dreads: long enough to feel annoying, too short to actually pull up. You've got maybe two to four inches on top and it's getting in your face. Here's what actually works at this length.
The half-up claw clip
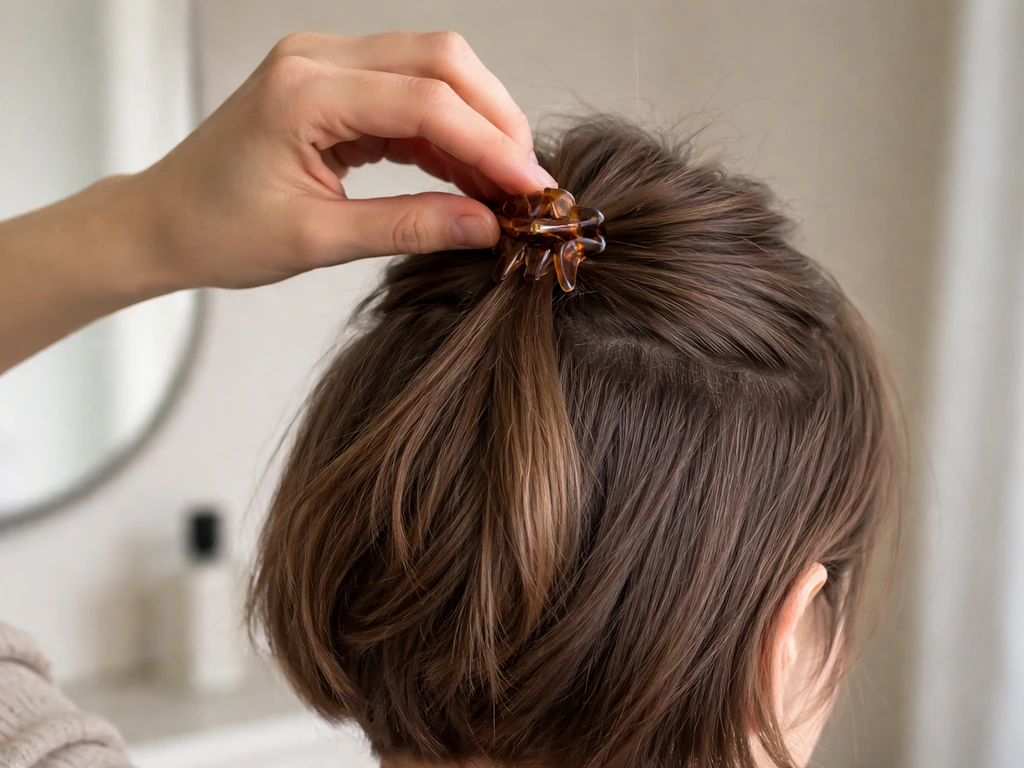
The claw clip is genuinely one of the best tools for this phase. You don't need a full ponytail's worth of hair to use it. Open the clip, start at your hairline, and pull just the top section back, gathering loosely as you go down toward the crown. Clip it in place and let the rest fall. It's a half-up, half-down situation that looks intentional and keeps hair out of your face. Even two to three inches on top is enough to work with here.
Bobby pins and mini clips as styling tools
Don't underestimate what a few well-placed bobby pins can do. Pin the sides back at the temples for a sleek, controlled look. Use two or three crossed pins to create a small twist or tuck at the side. On wavy or natural-textured hair, pinning one side back while leaving the other loose creates an asymmetrical look that reads as totally on purpose. Cross pins in an X pattern for extra hold, and use pins that match your hair color so they blend in.
Slicked and pomade styles
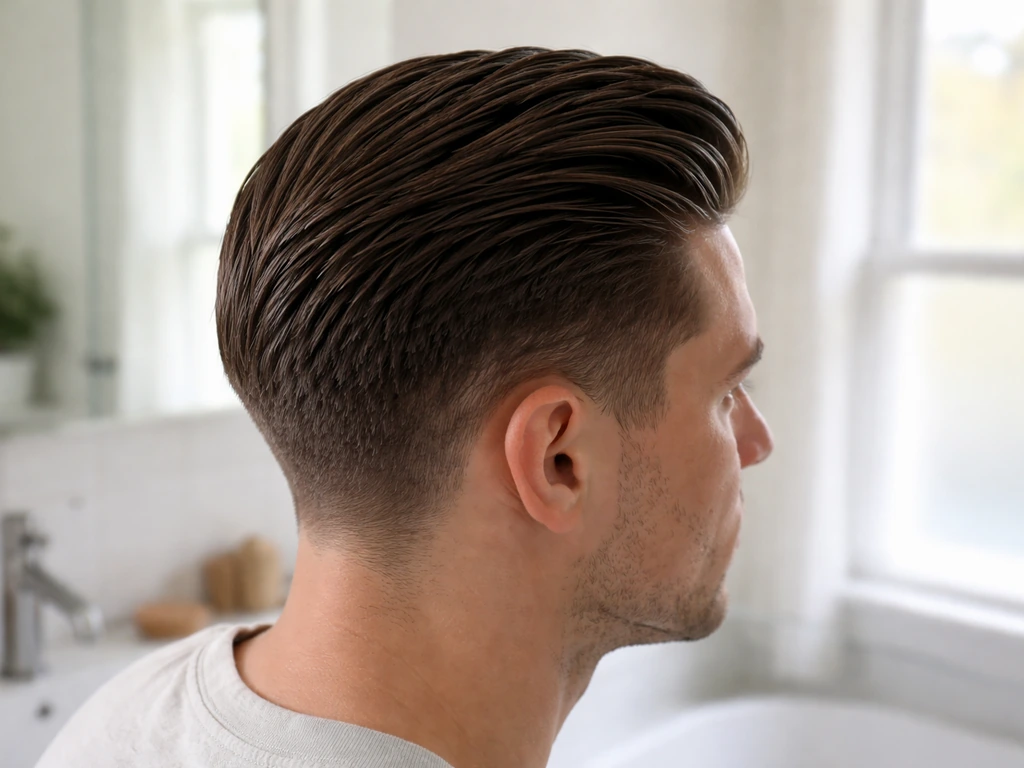
When your hair is between two and four inches, a medium-hold pomade or styling cream lets you work the hair into a defined shape rather than just letting it do whatever. Try a defined side part with the longer side swept across, or work a small amount of pomade through damp hair and push it all back into a mini pompadour shape. These styles genuinely look polished at short lengths and are much easier to execute than most people think.
Hairstyles for uneven lengths, cowlicks, and the "sides stick out" phase
If you had layers, a graduated cut, or any kind of texture in your original short style, you're going to hit a phase where different sections are at wildly different lengths. The back might be longer than the top. The sides might be puffing out. You might have a cowlick at the crown that your longer-on-top pixie was managing to cover, but now that the sides are catching up, it's doing something weird. This is all normal and there are real solutions.
Managing cowlicks with blow-dry technique
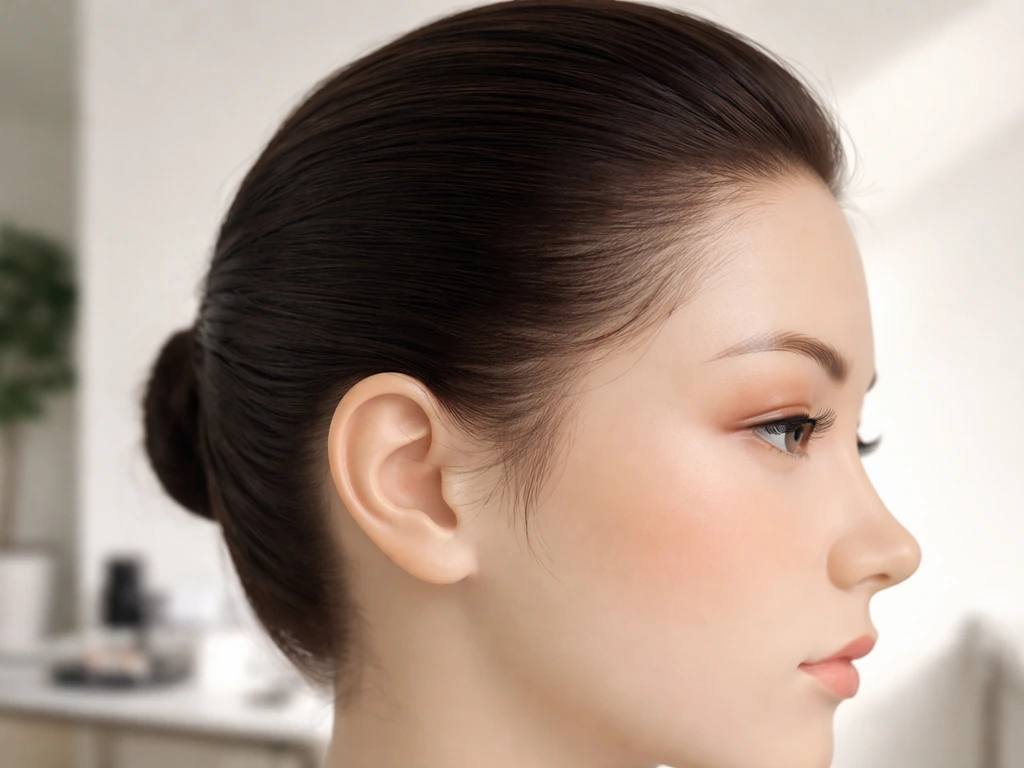
Cowlicks are areas where your hair grows in a different direction than the rest, and you can't change the growth pattern, but you can consistently redirect it with heat. The key is blow-drying with tension. Place your thumb underneath the section at the root, pull gently, and direct the airflow in the direction you want the hair to go, not the direction it naturally wants to go. Keep tension on that section until it's fully dry and cooled, and it'll stay in place. This technique works at nearly any length and is worth practicing until it becomes automatic.
When the sides are sticking out
The "sides puffing out" phase usually happens around the three to five inch mark when the hair at your temples and ears is long enough to have weight but not long enough to lie flat. A light smoothing cream or anti-humidity spray applied to damp hair before blow-drying helps a lot. Blow-dry the sides downward with a round brush, pulling the hair toward your face slightly rather than away from it. If you're air-drying, use a curl cream or a gel with light hold to encourage the hair to clump rather than frizz outward.
Dealing with uneven overall length
If your cut had very specific shaping (like a graduated bob or a heavily layered pixie), parts of your hair are going to hit the awkward zone at different times. A side part is your best friend here because it creates asymmetry on purpose, which makes uneven lengths look like a stylistic choice. Wearing the longer side forward and the shorter side tucked or pinned back is a classic trick for this. You can also ask your stylist for lightweight feathered layers around the crown and sides during a micro-trim, which helps all the different sections blend as they grow rather than looking like distinct chunks at different lengths. Tyme Style also emphasizes shaping over holding patterns, including asking for lightweight feathered layers around the crown and sides to help stretch structure as a pixie transitions into a short-bob stage.
Bang and fringe grow-out styles that keep them wearable
Growing out bangs is its own specific challenge, and the timeline is genuinely long. Full curtain bangs can take close to a year to grow out completely, and blunt fringe takes even longer depending on how short they were cut. But there are ways to keep them looking good at every awkward length.
When bangs hit the eyes and nose bridge
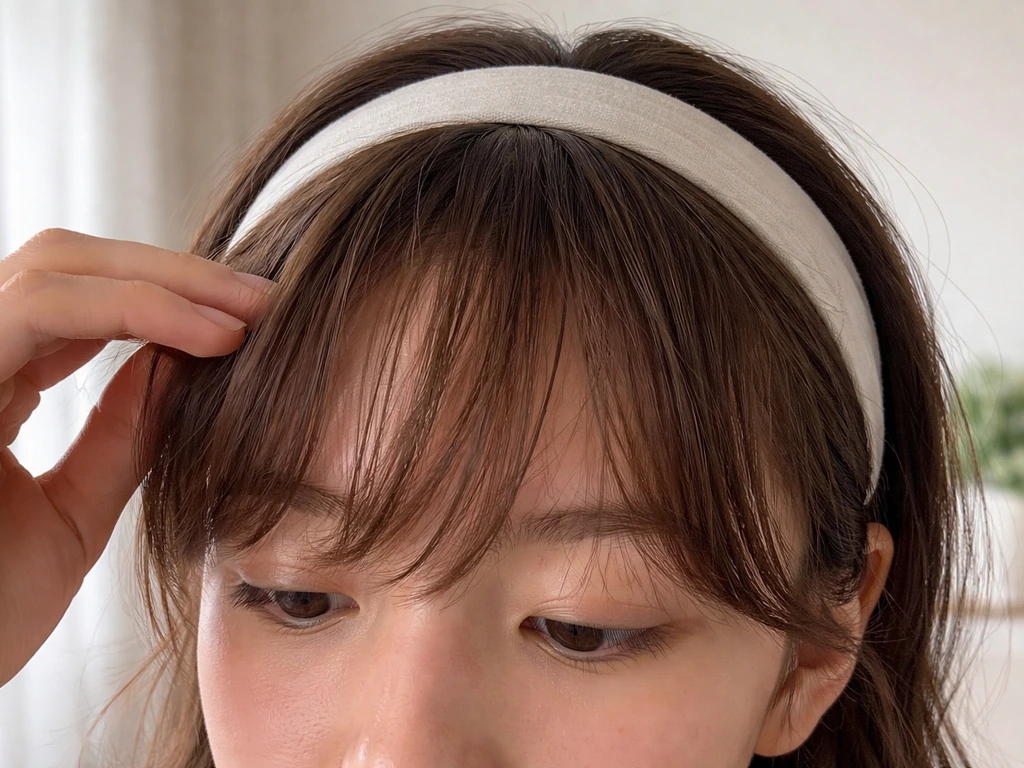
This is the worst stage, usually around the two to three inch mark for fringe. A headband is the simplest and most effective solution here. A thin elastic or fabric headband pushed back slightly from the hairline tucks the fringe back without flattening the whole front. It looks intentional, it's comfortable, and it immediately solves the "bangs keep falling in my eyes" problem. Alternatively, use a small claw clip or two bobby pins to pin the fringe to the side, which works especially well if you're letting them grow into a side-part style.
Curtain bangs in the in-between stage
Curtain bangs are a bit more manageable because they're already shaped to fall to the sides. As they grow, the middle section gets longer and heavier. A multi-pin setup works well here: brush the bangs forward and to each side, then secure each side with a pin or small clip tucked behind the ear or at the temple. The bangs look swept and intentional rather than just long and shapeless. If the center is getting heavy, a light hold cream and a round brush blow-dry will keep them from flopping down the middle.
The pouf and push-back technique
This works beautifully when bangs are at that in-between length where they're too long to sit as fringe but too short to blend into the rest of your hair. Brush the fringe forward and toward the crown, creating a small lift and volume, then pin at the crown with two or three bobby pins. It creates a loose, voluminous look at the front of the head that reads more retro-chic than awkward. A little texture spray before you do this helps the style hold.
Side parting your way through fringe regrowth
One of the simplest long-game moves for growing out bangs is to gradually side-part them. How originally short or full your bangs were will affect how quickly this is possible, but generally once bangs hit two and a half to three inches, you can start training them to sweep to one side with a paddle brush and blow-dryer. The trick from stylists is to use tension: hold the bang section firmly and blow dry it in the direction of the part while it's still damp. Do this consistently every wash day and the hair will start to naturally fall that direction within a few weeks.
Blending undercuts and layers while you grow out short hair
An undercut adds a specific challenge to the grow-out process because you have a dramatic difference in length between the shaved or closely cut sections and the longer top. That disconnect doesn't just disappear over time. It has to be actively managed. A short undercut can take around six months to grow out to a point where the difference is workable, and a full shaved undercut takes longer.
In the early stages, keeping some upkeep on the undercut itself (roughly twice a month) can actually help the overall look stay polished while the top catches up. This sounds counterintuitive but it prevents the undercut from looking grown-out and ragged while the top is still too short to cover it. Once the top section is long enough to start overlapping the undercut, your stylist can add layers and texture to blend the two lengths gradually. The goal isn't to hide the undercut forever, it's to create a transition that looks like a deliberate style, not a mistake.
For growing out layers in general, the same principle applies: micro-trims that shape and blend are more useful than letting everything grow at the same rate with no maintenance. A micro-trim removes less than an inch and targets split ends and straggly sections without resetting your length progress. Done every two to three months, micro-trims keep your growing layers looking like a real style at each stage rather than a cut that's just been neglected.
Color and texture changes during regrowth (what to do, what to expect)
If you're growing out short hair that was also colored, you're dealing with two things at once: length and color. The new growth comes in at your natural color or texture, and the previously processed hair is sitting at the ends. With short hair, the line of demarcation (where natural meets color) is very visible, very quickly.
Managing a visible regrowth line
The classic option is to get your color refreshed as it grows, but if you're trying to transition back to your natural color or to a new color, that's not always what you want. A smarter move for most people is to ask a colorist for a shadow root or a root smudge technique: this blends the natural regrowth into the colored ends with a soft gradient rather than a hard line. It's much lower maintenance than full color touch-ups and looks intentional even as your roots grow out.
Texture differences in regrowth
Chemical processing, heat damage, or simply the age of the hair can mean that your new growth has a noticeably different texture than your processed ends. This is especially visible on natural-textured or curly hair where the regrowth has tighter curl than the processed section. Keeping both sections moisturized helps reduce the visual contrast. A leave-in conditioner applied to damp hair, followed by a curl cream or light gel if you have texture, helps both sections behave more similarly. Deep conditioning treatments every one to two weeks make a real difference in how healthy the older, processed ends look while they grow out.
Should you cut the color off?
Sometimes the answer genuinely is yes. If you're growing out a very short style and your ends are heavily bleached or damaged, you might reach a point where the ends are so different in texture from the roots that styling both at once is near impossible. A micro-trim to remove the most damaged section can actually help both color and grow-out look better, even if it feels like going backward. It's not going backward if it means the hair you're keeping is healthy enough to style well.
A simple timeline + next-step plan for which styles to try by length
Here's a practical, month-by-month framework based on the half-inch-per-month average. Your actual timeline will vary based on your starting cut and your hair type, but this gives you a real roadmap instead of just hoping things work out.
| Approximate length | Rough timeline from a pixie/buzz | Best styles to focus on | Key moves |
|---|---|---|---|
| 1 to 2 inches | Months 1 to 3 | Textured/pomade looks, defined side part, slicked styles | Use pomade or wax to add definition; blow-dry with tension to control cowlicks |
| 2 to 3 inches | Months 3 to 5 | Half-up claw clip, bobby pin styles, headband for bangs | Half-up sections with a claw clip; use pins at temples to keep sides back |
| 3 to 4 inches | Months 5 to 7 | Tuck-and-pin styles, mini twists, side-swept bangs | Train bangs to the side with a paddle brush; use lightweight feathered layers to blend |
| 4 to 5 inches | Months 7 to 10 | Soft bun at the crown, braided sections, low half-ponytail | Most hair can now be gathered; a micro-trim to remove split ends keeps ends clean |
| 5 to 6 inches | Months 10 to 12 | Short bob styling, low ponytail, textured waves | You're in bob territory; a shape-building trim can make this look intentional rather than grown-out |
| 6 inches and beyond | Month 12+ | Lob styles, loose waves, all standard updos | Focus on health; consider a shadow root if managing color regrowth |
A few things worth remembering as you move through these stages: trimming doesn't make your hair grow faster, that's a myth, but it does keep the ends from splitting up the shaft and making your hair look thinner and frizzier than it is. Micro-trims (less than half an inch) every eight to twelve weeks are usually enough to keep things tidy without sacrificing length progress. And if you're managing an undercut or heavy layers, that schedule might be every six to eight weeks in the early stages.
The other articles in this grow-out guide go deeper on specific scenarios, like how to style hair at each individual growth phase, the best styles specifically designed for growing out short hair, and how to handle the particular challenges of letting short hair grow without cutting too soon. If you want a quick refresher on how to style short hair while letting it grow out, follow the step-by-step ideas for each growth stage next. If you want style ideas for each growth stage, start with the section on hairstyles when letting your hair grow out. If you want more hands-on options by length and challenge, use this guide on how to style hair as you grow it out. If you want ideas tailored to each length, check out the best styles to grow out short hair for what to try at every stage. Think of this timeline as your anchor point, and the other pieces as your stage-by-stage detail guides.
The most important thing is to keep going. Almost everyone hits a point around month three to five where the hair looks its most chaotic and the urge to just cut it back short is really strong. That's exactly the stage where the right accessories and a micro-trim make the biggest difference. Push through it with the right tools and you'll be surprised how quickly the awkward phase becomes the "oh, this is actually working" phase.
FAQ
What should I do when I can’t seem to make one hairstyle work from day to day during the awkward 2 to 4 inch stage?
If you are at the 2 to 4 inch top phase (claw clip, bobby pins, creams), choose one “anchor” style you can repeat every wash. For example, half-up with a claw clip on top or a consistent side part with light pomade, then add heat-tension only to problem areas (cowlick or sides). Repeating the same setup prevents the hair from settling into a random shape overnight.
How do I make the blow-dry and cowlick “redirect” last longer?
Heat-tension works best when you dry the hair almost all the way, then finish with a cool shot or by cooling the section while it is still stretched in the direction you want. If you let the section “relax” before it fully cools, it will flip back by the end of the day.
How can I get trims without losing too much length, especially if my stylist offers a bigger cut?
Use trims strategically, not frequently. If you need maintenance, ask for a micro-trim that targets split ends and bulk at the perimeter, request that they keep your overall length line intact, and confirm the amount in inches. A good rule is less than an inch, and no “reset” buzz-approach during the grow-out.
What’s the best way to reduce tangles and breakage during the uneven grow-out stage?
If your hair tangles easily because of a short-to-long mismatch (for example, undercut growing out or uneven layers), switch your detangling routine. Detangle only when hair is damp with conditioner, use a wide-tooth comb starting at the ends, and detangle the shorter pieces first so the longer pieces are not being pulled through knots.
If I’m growing out dyed hair, how do I decide between root refresh and refreshing the full length?
For colored hair, a shadow root or root smudge blends the regrowth line, but you still want to refresh the ends less often than the roots. Ask your colorist to focus on the root transition and to match undertones, then use a color-safe, sulfate-free shampoo to slow fading at the ends.
What are practical signs that it is time for a micro-trim during the grow-out timeline?
You can time a micro-trim around “real styling milestones.” For instance, if your bangs or sides start permanently separating from your intended shape (not just occasionally misbehaving), that is a signal to tidy the edges so the style looks intentional while you wait for more length.
What options do I have if my hair is too short for a ponytail, but my bangs and sides keep falling forward?
If your hair is too short to tie back, plan for “front management” instead of “back management.” Thin elastic or fabric headbands pushed slightly back, small claw clips that only secure the top section, and side-pinning at the temples are usually more effective than trying to force a ponytail.
How should I manage bangs that are between fringe and side part length, especially if they flip the wrong way on humid days?
Bangs can often look better when you treat them as a two-part system: a front sweep for style, and a pinned or clipped section to control length while it grows. If your bangs are at the 2 to 2.5 inch point, start training a gradual side sweep, but use a quick pin or clip on bad days so you do not undo the direction you trained.
When growing out an undercut, how do I avoid the “ragged” look without cutting the top too soon?
For undercuts, keep the perimeter clean before the top reaches overlap. That means brief maintenance on the shorter sections (roughly twice a month early on), while using layers and texturizing only when your top can actually blend into the undercut length.
My roots and ends have different texture, and it looks obvious even after styling. What can I change in my routine?
If your new growth has a different texture from the processed ends, use different “behavior” products for each section instead of one uniform product. Apply a heavier leave-in and curl cream to the ends, then a lighter leave-in or styling cream on the roots so you do not weigh down the regrowth or make the texture contrast worse.