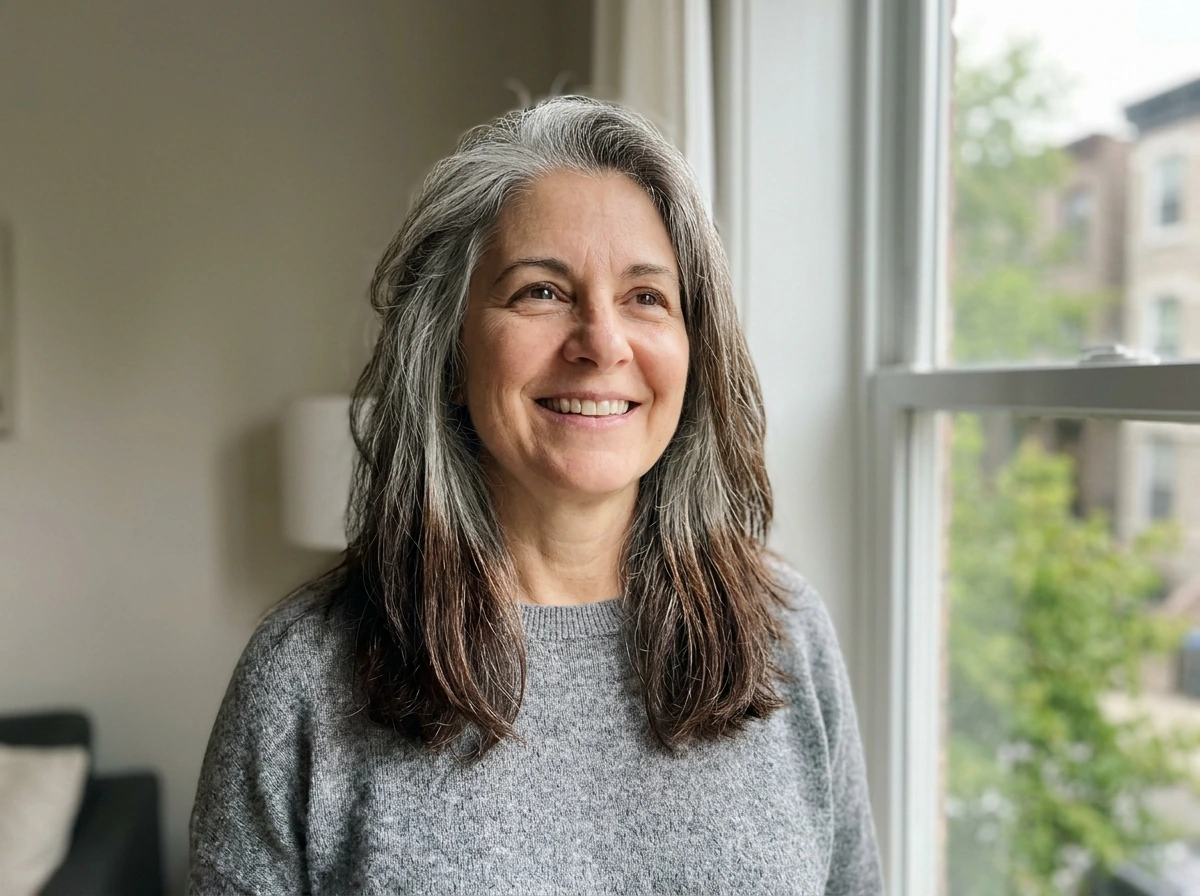
blank" rel="noopener noreferrer">Growing out dyed hair to your natural gray is completely doable, but it takes a realistic plan. The core challenge is managing the contrast between your incoming gray roots and the dyed color sitting on the rest of your hair, which can range from a soft stripe to a stark line depending on your original shade. The good news: with the right care routine, a few smart styling tricks, and a clear picture of the timeline, you can make this transition look intentional the entire way through, without starting over with a short cut. With the right timeline, the grow-out can look intentional from the first visible roots to the final transition to fully gray curls grow out gray curls. You can make the transition look intentional the entire way through, especially if you follow a step-by-step approach like this guide on how to grow out grey hair gracefully.
How to Grow Out Colored Hair to Gray: Step-by-Step Plan

What the grow-out timeline actually looks like
Hair grows roughly 0.5 to 1.7 cm per month, with most people landing around 1 cm per month on average. That range matters because it means timelines are personal, not fixed. If you have a pixie or short bob, you could be mostly grown out in under a year. If your colored hair is shoulder-length or longer, you're realistically looking at two to three years before the last of the old color is gone, unless you trim regularly.
Here is a rough month-by-month picture of what to expect when you stop dyeing permanently colored hair:
| Time Since Last Dye | What You'll See | Main Challenge |
|---|---|---|
| Months 1–2 | 0.5–2 cm of gray or silver roots emerging at the scalp | The 'stripe' effect, especially on dark dye |
| Months 3–4 | A visible regrowth band of 2–4 cm; color line becomes more defined | Contrast between roots and mid-shaft dye |
| Months 5–8 | Gray grows past the ears on short hair; clear two-tone look on longer hair | Managing the band as hair gets longer |
| Year 1–1.5 | Significant gray length on medium hair; old color moves to ends | Ends looking faded, dry, or brassy |
| Year 2+ | Natural gray fully replaces dye on long hair as ends are trimmed away | Patience and end-condition maintenance |
Permanent oxidative dye doesn't fade the way semi-permanent color does. It stays in the hair fiber until that fiber is cut off or chemically stripped, because the oxidation process creates insoluble pigment molecules inside the strand. That's why the grow-out line tends to look crisp rather than soft, especially with darker shades. Semi-permanent and demi-permanent colors (which typically last around 24 washes) will fade more gradually on their own, which makes the transition less jarring if that's what you've been using.
Pick your grow-out strategy before you do anything else
There are three main approaches, and which one is right for you depends on how much contrast you can tolerate, your budget for salon visits, and how fast you want to get there.
Option 1: Stop dyeing and let it grow
This is the simplest and cheapest route. You stop coloring entirely, maintain your hair health, and trim as needed. The downside is that the contrast line is the most visible with this approach, particularly in months two through six. It works best for people with shorter hair, very light dye (blonde or soft brown), or enough gray coming in that the roots blend somewhat naturally. If you are wondering which choice is the best hair colour to grow out grey, start by matching your dye level and contrast to your timeline and maintenance budget.
Option 2: Gradual fade with blending techniques
A colorist can use techniques like gray blending (a balayage-style approach that softens the line between your gray roots and the dyed length) or reverse balayage to blend darker regrowth into highlighted ends. Done well, this can extend time between color appointments to several months while making the grow-out look intentional. Most colorists recommend letting roots reach about 3 to 4 inches before they can really work with them in a blending appointment. This is the best option if you have a medium to long length and darker dye, because it dramatically reduces the stark two-tone effect.
Option 3: Trim your way out
Regular small trims (every six to eight weeks) progressively remove the dyed ends and shorten the distance between your natural roots and the bottom of your hair. This works well in combination with either of the above options and is the most practical choice for people who are also trying to improve overall hair health. You keep the grow-out moving without ever having to fully commit to a drastic cut.
A step-by-step care routine for the grow-out period

How you wash and care for your hair during the transition has a real impact on how the grow-out looks and feels. The goal here is to slow down fading on the dyed portions (so the color line doesn't get raggedy), keep the natural gray looking healthy and bright, and minimize breakage where the two textures meet.
- Switch to a sulfate-free shampoo immediately. Sulfates strip color faster and can make the dyed portion fade unevenly. Color-safe formulas designed to protect dyed hair help keep the old color from going patchy while it grows out.
- Wash less frequently. Washing once or twice a week (instead of daily) is one of the most effective things you can do to slow color fading on the dyed portion. If your scalp gets oily between washes, a dry shampoo at the roots solves it without touching the lengths.
- Use cool or lukewarm water when rinsing. Hot water opens the hair cuticle and accelerates color loss. Cool water rinses help seal the cuticle and keep color locked in longer.
- Deep condition weekly, focusing on the mid-shaft to ends. The dyed portion of your hair is more porous and prone to dryness than the incoming gray. A weekly mask or deep conditioner keeps breakage down and makes the ends look intentional rather than damaged.
- Add a toning shampoo (purple or blue) once or twice a week to manage warmth. This applies both to any fading yellow tones on the gray coming in and to brass on the dyed ends. More on timing and frequency in the maintenance section below.
- Minimize heat styling, especially on the junction where natural root meets dyed length. This area is already under stress from two different hair textures and histories. If you do use heat, always use a heat protectant spray first.
- Protect hair from UV exposure and chlorine. Sun and pool water both accelerate brassiness and fading. A UV-protective hair product or a swim cap goes a long way, especially in summer.
How contrast and brassiness differ by your original color
The experience of growing out to gray varies a lot depending on what shade was used. Here's what to expect, and what to do about it, for the four most common scenarios.
Growing out brown dye to gray

Brown is the most common starting point. The contrast between brown dye and silver-gray roots is noticeable but usually not as stark as with black. As the brown dye fades over time, it can develop warm, brassy undertones (orange or gold hues), particularly with lighter or medium browns. A blue shampoo used once or twice a week helps neutralize orange brassiness, since blue cancels orange on the color wheel. In community discussion about purple versus blue toning, blue pigment is used specifically to target orange tones (while purple targets yellow) blank" rel="noopener noreferrer">blue cancels orange on the color wheel. Blending techniques work very well here because the color difference between medium gray and light-to-medium brown isn't enormous.
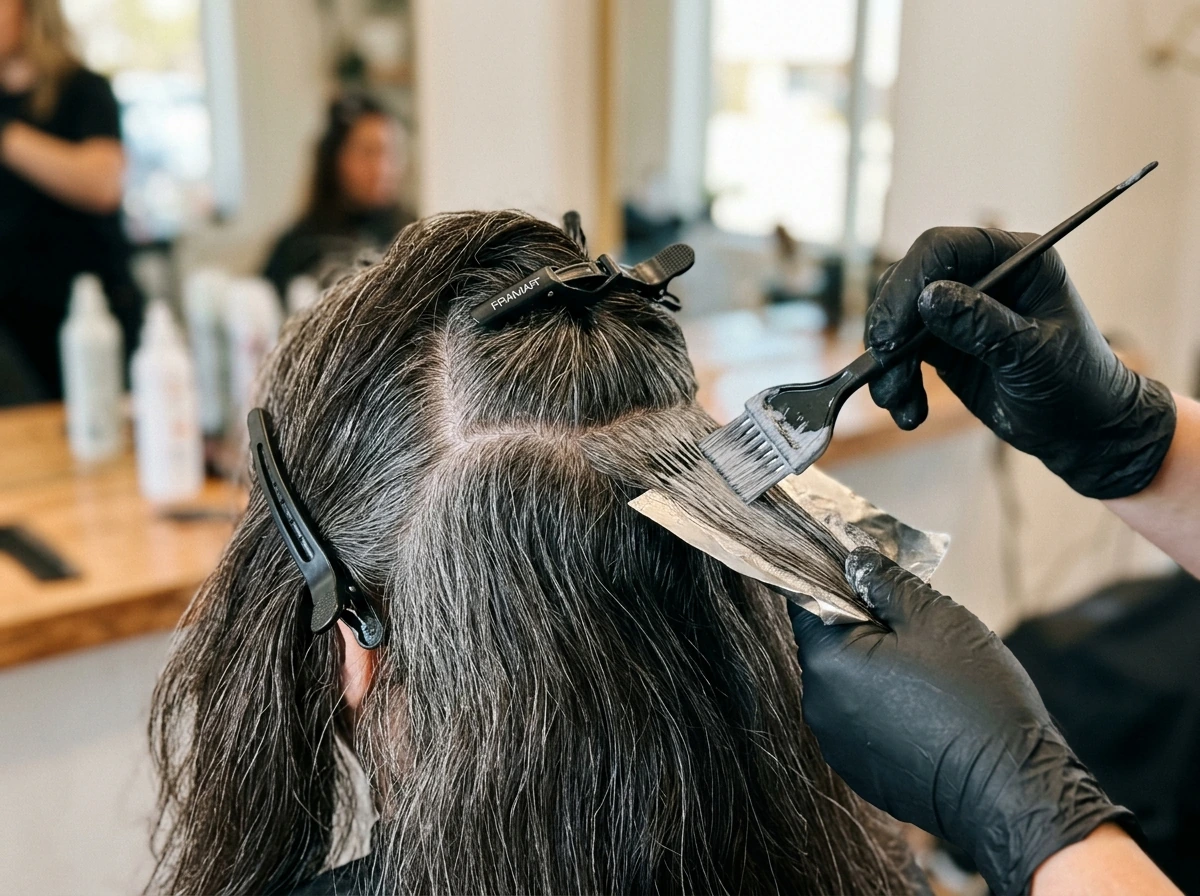
Growing out black dye to gray
This is the most challenging transition visually. Black dye on gray-incoming roots creates a very sharp two-tone line. If you're going cold turkey, expect the most noticeable demarcation band. Blending appointments are especially worth the investment here, because a colorist can soften the line with a technique that brings the black gradually lighter toward the roots over a few sessions. If you want to do this at home, a toning gloss in a dark gray or graphite shade can soften the line slightly between appointments without adding more permanent pigment. Avoid over-washing so the black end holds as long as possible and doesn't fade to unexpected greenish or muddy tones.
Growing out red dye to gray
Red dye has the fastest fade rate of all permanent shades, often becoming noticeably different within about four weeks. As it fades, it typically shifts to orange or brassy tones rather than simply going lighter, which means the ends can look very warm while the roots look cool and silver. This combination can look really nice if you lean into it, framing it as a warm-to-cool gradient, or you can manage it with a blue shampoo to cool the orange tones on the ends and a purple shampoo on the roots to brighten the incoming gray. The fast fade of red actually works in your favor here: the contrast between roots and ends softens faster than with brown or black.
Growing out blonde dye to gray
This is often the easiest transition in terms of contrast, because silver and blonde sit close on the lightness scale. The main issue is warmth: as highlighted or blonde-dyed hair ages, yellow and gold tones appear. On gray or white roots, those yellow tones also show up. Purple shampoo (used one to three times a week, left on for one to three minutes depending on how porous your hair is) neutralizes yellow tones on both the incoming gray and the fading blonde ends. Davines notes that blue shampoo neutralizes orange tones, while purple shampoo is used to neutralize yellow tones using complementary hues. Be careful not to leave purple shampoo on too long, as porous strands can pick up a lavender tint you didn't want. Many people find that growing out blonde dye requires the least blending intervention because the two-tone line is subtle enough to manage with toning alone.
Styling through the awkward in-between stages
The middle months are when most people give up when you’re growing out gray hair. If you're also looking for a clear timeline, check out this guide on how to grow out gray hair so you can match your styling plan to each stage. The roots are visible, the color line is obvious, and nothing seems to sit quite right. If you want more help keeping your roots looking polished as they grow, use this guide to learn how to grow out grey roots gracefully. These styling strategies are what get you through each stage looking like you made a deliberate choice. how to grow out grey hair gracefully If you want more styling guidance, see our tips on how to grow out dyed gray hair gracefully.
Months 1–3: Working with a visible root stripe
In the first few months, the goal is to make the root look like a style choice, not an overdue appointment. Part changes are your best friend here: switching from a center part to a side part or a zigzag part breaks up the stripe and makes roots look less uniform and more dimensional. Loose waves or curls also help, because texture breaks up the visual line between roots and dyed hair far more than straight styles do. At this stage, avoid slicking hair back tightly or wearing it completely straight, which emphasizes the contrast line.
Months 4–8: Managing the two-tone band
By this point you have a clear band: gray roots, dyed mid-shaft, and possibly faded or brassy ends. Half-up styles (like a loose half-bun or a clip at the crown) pull the gray section up and away from the dyed length, which actually looks quite stylish rather than transitional. Braids are another excellent tool: a loose braid blends the color boundary naturally and is genuinely flattering at this stage. Headbands and hair scarves can be used to mask the root-to-color junction on days when you don't have styling time.
Managing visible layers and undercuts during grow-out
If you had layered hair or an undercut when you stopped dyeing, the grow-out looks different at each layer level. The underlayers or shorter sections may show gray first while the top layers are still mostly dyed, creating an uneven patchwork. Keeping the layers maintained (not the length, just the shape) helps the overall silhouette look intentional. For undercuts specifically, you can either keep the undercut trimmed short while the top grows, or let it grow in and use the textural difference to create contrast styles. Both approaches work, just pick one and commit to it.
The home stretch: gray is mostly grown in
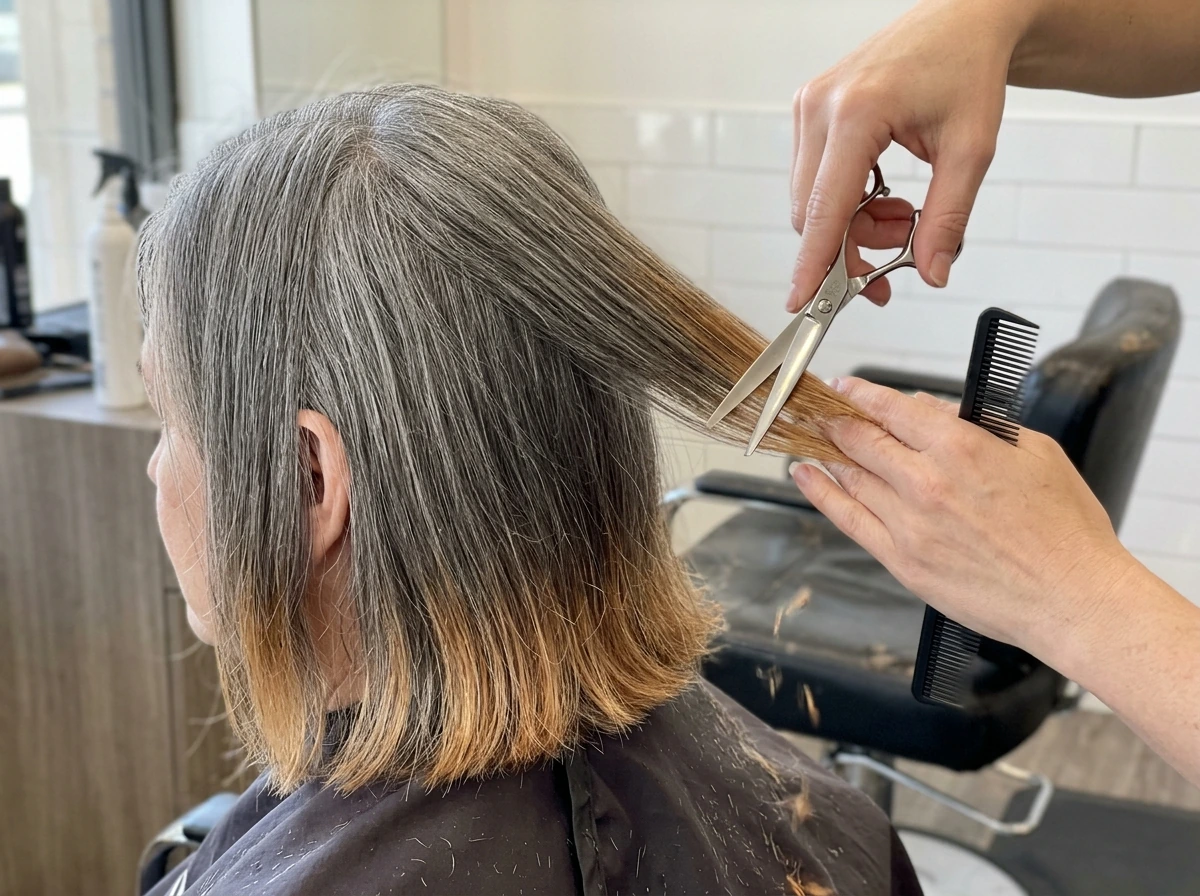
When you're in the final stage, the dyed color is mostly confined to the ends. At this point, a blunt trim every six to eight weeks takes off a little more of the dyed portion each time. Wearing hair up or in low buns makes the remaining dyed ends less visible. You're so close that the focus shifts entirely to keeping the growing gray looking its best: bright, moisturized, and not dull.
Keeping the hair healthy: brassiness, dryness, and breakage
Dyed hair and natural gray hair have different needs, and during the grow-out you're managing both at once. Here's how to handle each issue.
Brassiness
Purple shampoo handles yellow and gold tones on lighter hair and incoming gray. Blue shampoo handles orange tones on medium and darker faded dye. Use either one one to three times per week, not every wash. The contact time matters: leave it on for about one to three minutes for most hair, and stay closer to one minute if your hair is very porous (bleached, heavily processed, or fine). Over-toning with purple shampoo can deposit a lavender cast that looks patchy, especially on porous ends. If brassiness is severe and toning shampoo isn't cutting it, a professional toning gloss is the next step up without committing to more color.
Dryness
Colored hair, particularly anything that's been permanently dyed, is almost always more porous and dry than virgin hair. Gray hair also tends to be coarser and dryer by nature, partly due to changes in the hair structure as pigment production decreases. Use a moisturizing conditioner every wash and a deep conditioning mask or hair mask once a week. Look for products that are specifically sulfate-free and designed for color-treated or damaged hair. Leave-in conditioners and hair oils applied to the mid-shaft and ends (not the scalp) help maintain moisture between washes.
Breakage at the transition zone
The point where natural gray meets dyed hair is a weak spot. The two sections have different levels of porosity and elasticity, which makes that junction vulnerable to snapping if hair is handled roughly. Use wide-tooth combs on wet hair, avoid tight elastics directly on that zone, and sleep on a silk or satin pillowcase to reduce friction. If you notice a lot of breakage at that line specifically, temporarily reduce heat styling and add a protein treatment once a month to reinforce the strand structure.
Want to speed things up or reduce contrast? Here are your real options
If the two-tone look is genuinely bothering you and you want to move faster or soften the transition, there are several practical routes. None of them are instant, but they all help.
Trim more frequently
Increasing trim frequency from every twelve weeks to every six to eight weeks directly accelerates how fast the dyed portion disappears. Even a half-inch trim per visit adds up. This is the lowest-effort, lowest-cost option to speed the process.
Professional gray blending or highlights
A colorist skilled in gray blending can use a balayage-style technique to soften the regrowth line and blend the dyed length into the incoming gray with much less visual contrast. This is not the same as covering your gray: the goal is to make the transition zone look like a natural gradient. One or two blending sessions can dramatically change how the grow-out looks and buy you months before you need to return. This works best once you have at least 3 to 4 inches of natural regrowth for the colorist to work with.
Color removal (for dark dyes)
If you have very dark permanent dye and the contrast is significant, a professional color remover (not bleach) can strip the artificial pigment from the dyed portion without as much damage as traditional bleaching. This won't restore the hair to gray, but it lifts the dye enough to make subsequent toning or a lighter shade possible, reducing the visual gap between roots and ends. This should be done by a professional, as color removal on already-stressed hair can cause breakage if done incorrectly.
Toning glazes at home or in the salon
A toning gloss or glaze (available for home use or as a salon service) can deposit a sheer layer of cool or neutral tone over the dyed portion, bringing it closer in tone to the incoming gray. This won't change the lightness level, but it can dramatically reduce warmth contrast and make the grow-out look more cohesive. Semi-permanent glazes fade gradually over about 20 to 24 washes, so they don't lock you into anything.
Wash your hair more to fade semi-permanent or demi-permanent color faster
If the dye you used was semi-permanent or demi-permanent (which fade over around 24 washes rather than growing out permanently), washing more frequently will speed up the fade. This is the opposite advice from above, where the goal was to preserve permanent dye during grow-out. Knowing which type of dye you used determines whether you should wash more or less for your specific situation.
Whatever route you pick, the underlying principle is the same: protect what's growing in, manage what's fading out, and keep trimming. There's no version of this transition that happens overnight, but there is a version that looks good every step of the way, and the plan above gets you there. Whatever route you pick, the underlying principle is the same: protect what's growing in, manage what's fading out, and keep trimming. There's no version of this transition that happens overnight, but there is a version that looks good every step of the way, and the plan above gets you there. If you're also navigating curly texture during this process, or wondering how to handle the specific nuances of growing out gray when you've been using techniques like lowlights, those scenarios have their own specific guidance worth looking into separately. If you're also navigating curly texture during this process, or wondering how to handle the specific nuances of growing out gray when you've been using techniques like lowlights, those scenarios have their own specific guidance worth looking into separately.
FAQ
How do I know whether I’m growing out permanent dye or semi/demi color, and does that change the plan?
If your dye was permanent oxidative (it tends to sit “inside” the strand), it won’t fade much just from time. If it was demi or semi, you can usually speed the transition by washing more often (within reason for your hair’s dryness). To identify which you used, check the product type on the box or receipts, or ask your colorist, and look at your logs if you remember whether the color lasted around 20 to 30 washes (more likely semi/demi) or stayed until cut off (more likely permanent).
Can I tone instead of trimming to make the line between gray and colored hair less obvious?
Yes, but only in a “tone control” way. Avoid trying to dye over your roots to cover them because that can create a new line to grow out later. Instead, use temporary toners or toning shampoos to adjust warmth on the parts that are fading (and keep the roots healthy), then let regrowth win. If you want a more cohesive look without creating new permanent pigment, consider a professional gray-blending session once you have enough regrowth to work with.
What’s the fastest safe way to grow out dyed hair to gray?
Going gray faster usually means removing dyed ends sooner, because fade is slowest for permanent color. The quickest low-risk tactic is increasing trim frequency (for example, every 6 to 8 weeks instead of every 12), and pairing it with styling that hides the junction (half-up, braids, scarves). If your goal is “fewer months,” you can also ask a colorist about blending or color removal, but be cautious with repeated lightening or DIY bleach because the junction is already prone to breakage.
How do I avoid purple/blue shampoo turning my hair lavender or uneven during grow-out?
If you apply purple or blue shampoo directly to dry or very porous ends and leave it too long, you can get patchy lavender or muddy tones, especially around the transition zone. Use small amounts, dilute with a splash of water if needed, follow the 1 to 3 minute contact window (shorter if porous), and always rinse thoroughly. When in doubt, start with the lower end of the timing and increase only if brassiness persists.
What hairstyles help most when the root line is still very noticeable?
Wear it intentionally. In the first months, avoid high-contrast styles that make the roots look like a single stripe, like tight sleek back or perfectly straight center splits. Instead, use a side part or zigzag part, embrace loose waves or curls, and keep the roots from looking “flat” by using root-lifting spray or gentle volume. Texture and part placement make the transition look like a design choice rather than an appointment line.
My hair has layers or an undercut, how do I prevent the grow-out from looking patchy?
Expect a different grow-out pattern if your layers or undercut show gray at different rates. To keep it from looking accidental, maintain the shape of layers (not necessarily the length) so the silhouette stays consistent even as some layers show gray earlier. For undercuts, decide whether you want a clean contrast style (keep the undercut) or a softer transition (let the undercut grow), then commit so the overall haircut reads cohesive.
What should I do if the area where gray meets dyed hair is breaking?
At-home protein can be helpful if the junction is snapping, but overdoing it can make hair feel stiff or rough. If you’re using heat, first reduce heat and focus on gentle detangling. Then, if breakage at the transition line is specific and persistent, use a once-per-month protein treatment as suggested in the plan, and follow with a moisturizing conditioner. If your hair suddenly feels extra dry after protein, scale back and focus on moisture for a few weeks.
Will a color remover or bleach make my hair gray faster, and is it worth it?
Yes, for permanent color, a professional color remover (not bleach) can reduce the visible gap, but it won’t turn hair into gray automatically. It can make subsequent toning more effective because the ends are closer in tone. This is best when you need to soften a strong contrast quickly, but because hair is already stressed, have a professional evaluate strand condition first.
Are gray hair and colored hair care needs the same during the transition?
If your hair is naturally coarse or your gray is thicker, you may need slightly more conditioning and careful detangling, because dryness and coarseness can make the transition feel harsher. Keep conditioner on every wash, add a weekly mask, and focus leave-in hydration on the mid-shaft and ends. Also consider that gray can look more “silvery” when hydrated and less dull when not over-toned.
What if my grow-out looks greenish or muddy instead of just fading?
If you’re seeing unexpected green or muddy tones, it often means the dyed pigment has shifted while fading, and toning products may be interacting with it. Pause aggressive toning for a couple of washes, then reassess which direction it’s going (greenish, muddy brown, or patchy). A professional toning gloss is a good next step when shampoo toning isn’t correcting the color, because it gives more controlled, even coverage without adding more permanent pigment.