Yes, you can grow out your fringe, and for most people it's worth doing at least once. But whether it's the right move right now depends on why you want to do it, how much patience you have for the awkward middle weeks, and what your end goal actually looks like. This guide will help you figure that out, then walk you through every stage so you're not standing in the bathroom mirror wondering what to do with hair that's too long to behave and too short to sweep anywhere useful.
Should I Grow Out My Fringe? A Practical Timeline Plan

Marcus Vickers
11 Apr 2026
What growing out your fringe actually changes (and whether you should do it)
A fringe changes your face more than almost any other cut. It shortens the appearance of your forehead, frames your eyes, and requires maintenance every few weeks to stay sharp. Growing it out does the opposite: it gradually opens up your forehead, shifts the visual balance of your face, and eventually eliminates that trim schedule entirely. That's a meaningful shift, not just a styling preference.
The most common reasons people decide to grow their fringe out: they're tired of the upkeep (a classic blunt fringe needs a trim every 3 to 4 weeks to stay looking intentional), they want a different overall look or longer style, they're bored, or they've changed their face shape assessment and think life without a fringe might suit them better. All of those are valid reasons. The less solid reason is "I'll just see how it goes" without any plan, because that's what leads to weeks of frustrating in-between hair and an impulsive trip back to scissors.
If you're second-guessing the decision at all, think about this: what are you growing toward? A side part? Curtain bangs? Full hair blended into a bob? Knowing your target end point matters because it determines how long you'll need to wait, what kind of trims help along the way, and which styling tricks are worth learning. If you don't have a destination in mind, it's still fine to start, but pick one within your first month so you can make smart choices along the way.
One thing worth flagging: if you're also thinking about growing out hair elsewhere, the logic is similar. If you're weighing up whether to grow out your undercut at the same time, you'll be managing two growth timelines simultaneously, which is doable but worth factoring into your patience budget.
How long it's actually going to take
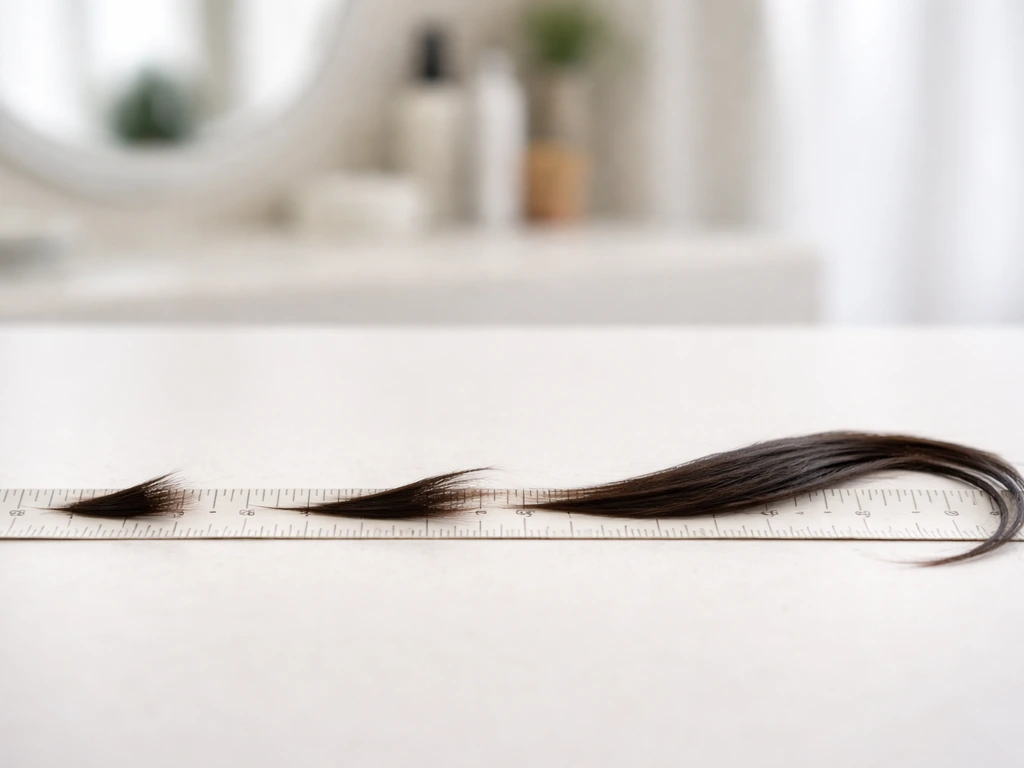
Hair grows roughly half an inch (about 1. Johns Hopkins Medicine notes that scalp hair grows about half an inch per month Hair grows roughly half an inch. 25 cm) per month. That's the average for scalp hair and it's pretty consistent across most people, though some grow slightly faster, some slower. Everything in this section is built around that number, so you can do the math for your specific situation.
| Starting fringe length | Target length | Estimated time |
|---|---|---|
| Classic blunt fringe (eyebrow level) | Side-swept / curtain bang length | 2–3 months |
| Classic blunt fringe (eyebrow level) | Blended into surrounding hair | 6–9 months |
| Short cropped fringe (above brow) | Eye level / sweepable length | 3–5 months |
| Curtain bangs already in place | Fully blended / grown out | 3–5 months |
| Chin-length fringe / face framing | Blended into a bob or layers | 8–10 weeks |
| Any fringe → full chin length | Chin-length all over | ~8 months total growth |
These are realistic windows, not best-case scenarios. A full fringe grown out completely can take anywhere from 6 to 12 months depending on how short it started and where you want it to land. The face-framing or curtain-bang version is on the shorter end of that range because there's less distance to cover. If you're working from a short cropped fringe and want everything blended into your hair at chin length, you're looking at something closer to the longer end.
The good news: you don't have to white-knuckle through the whole timeline. There are defined stages, and each one has a specific strategy that makes it look more intentional than it is.
The awkward phase: what to do at every stage
The awkward phase isn't one moment, it's a series of them. There are multiple distinct stages during a fringe grow-out, and each one has its own specific problem. Knowing what to expect at each removes most of the frustration.
Weeks 1–4: too long to behave, too short to do anything with
This is the stage where your fringe stops lying flat but has nowhere to go. It hits your eyelashes, pokes into your eyes, and refuses to cooperate. This is also when most people give up and go back to scissors. Don't. The main move here is to get it off your face. Creaseless clips, bobby pins, and small barettes are your tools. Clip it to the side at an angle rather than pushing it straight back, which creates a weird bump. Alternatively, a thin headband sits just behind the hairline and holds the fringe back cleanly without looking like you're trying too hard.
You can also start conditioning it to grow in a side-swept direction during this stage. Use a round brush and blow-dry it slightly to the side every morning, even if you end up pinning it anyway. Training hair to fall a certain way takes a few weeks of consistent effort, but it pays off later when you actually have length to work with.
Weeks 4–8: cheekbone length and the worst of it
Once your fringe reaches cheekbone level, it's genuinely the most uncomfortable-looking stage. It's too long to clip neatly, too short to tuck behind the ear, and the ends tend to curl under or fly out at angles. This is the stage where braids actually work well as a daily style. A simple French braid or two braids from the front can incorporate the growing fringe strands and make everything look intentional. If braiding isn't your thing, a half-up section that scoops the fringe back with the top layer of your hair reads as a style choice rather than a cover-up. Stick with this stage. It's the peak awkwardness, and it passes.
Months 2–4: finally sweepable
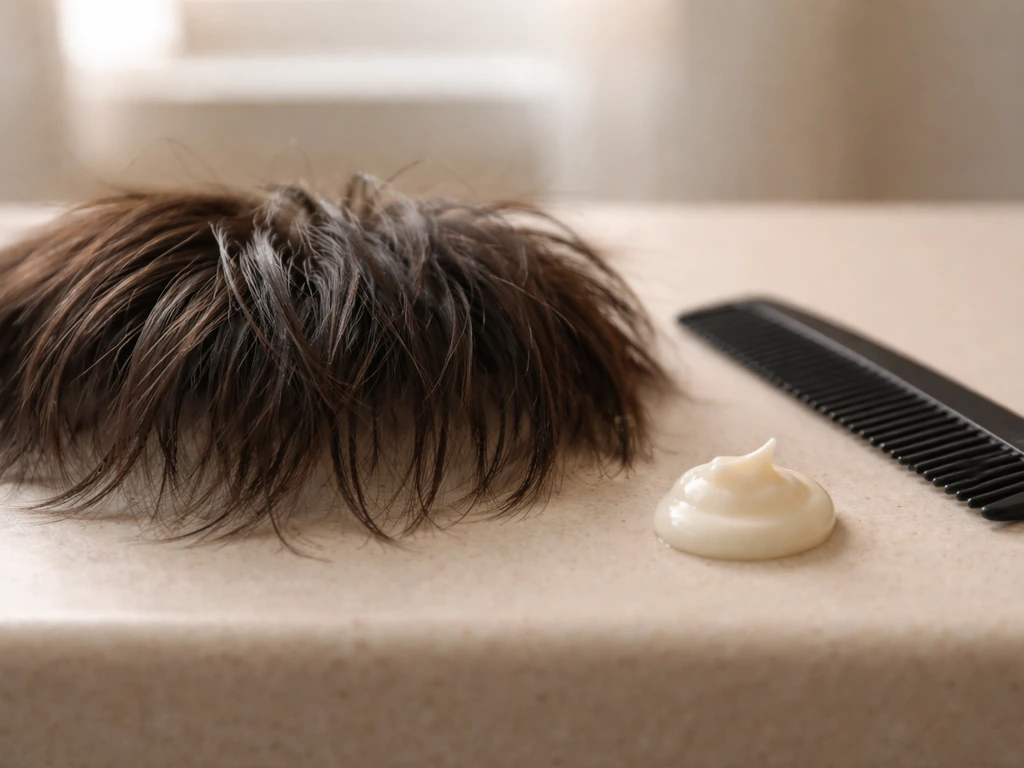
By month two or three, most fringes reach a length where a side sweep starts to work properly. This is a major milestone. You can now use a small amount of styling cream or gel to hold the sweep in place through the day. This stage also opens up the curtain-bang look naturally, where hair falls to either side of a center part. If this is your target end point, congratulations, you're essentially there. If you're going longer, keep going and add layers at your next trim appointment to help the fringe blend with the rest of your hair.
Months 4–12: blending in
This final stretch is the least problematic but requires the most patience. The fringe is long enough to style as part of your full hair, but the ends might still be a slightly different texture or weight than the rest. Strategic layers at your regular appointments help enormously here. Keep getting the hair around your fringe trimmed and slightly angled to meet the growing strands so everything blends rather than looking like a section that was stuck on separately.
Transition techniques that make the process easier
Growing out a fringe doesn't mean you just stop cutting it entirely. Strategic shaping along the way is what separates a grow-out that looks intentional from one that looks neglected.
- Side-sweeping: start training your fringe to fall to the side from week one. Blow-dry it slightly off-center every morning. By the time it's long enough to stay put, it'll already know where to go.
- Partial trims: trimming only the corners of your fringe (not the center) while growing it out keeps it from looking ragged while still adding length. Ask your stylist specifically for this.
- Blending layers: once the fringe reaches your cheekbone or below, ask your stylist to add face-framing layers that taper toward your growing bangs. This eliminates the harsh line between fringe and the rest of your hair.
- Texturizing: having your stylist add a little texture to the ends softens the look and helps the growing fringe fall more naturally, especially useful if you're working toward a curtain-bang shape.
- Side part introduction: shifting your part slightly while the fringe grows helps redistribute the weight and volume so nothing looks too heavy or blunt during the in-between stages.
Trim frequency depends on which style you're maintaining while you grow. A blunt fringe that you're actively keeping tidy needs attention every 3 to 4 weeks. If you're letting a curtain bang grow, micro-trims every 6 to 8 weeks are usually enough to prevent scraggly ends without losing ground. A face-framing fringe can often be blended into the surrounding cut within 8 to 10 weeks with the right approach from a stylist who understands what you're doing.
This same principle of thinking ahead applies when people are deciding between different styles at once. Growing out the sides of your hair at the same time as a fringe creates a very different overall shape through the transition, so it's worth thinking through those decisions together.
Products and tools that actually help
Most of the real work during a fringe grow-out happens at home, in the morning. Getting your tools and products right makes the daily routine a lot less painful.
For cowlicks
Cowlicks in a growing fringe are one of the most common complaints. The technique that works best: brush the hair in the opposite direction of the cowlick, blow-dry it briefly that way, then flip it in the direction you actually want it to go and blow-dry again for a few seconds. This resets the hair's memory. For a straight-hanging fringe, brush against the cowlick immediately when the hair is still damp, let it cool for 30 seconds, then brush straight down. A fine-tooth comb used during blow-drying, combined with a round brush to shape, gives you much more control than fingers alone. The key tool here is your blow-dryer, not the product. Blow-drying method matters more than almost anything you can put in your hair.
For flyaways
Flyaways are especially bad during grow-out because you have shorter strands at different lengths that don't want to lie flat together. After blow-drying, use a light-hold hairspray or finishing spray to lock everything in place. Apply it by spritzing into a clean brush and brushing over the surface of the fringe, rather than spraying directly onto it, which can make hair look stiff. If you want a smoother result before blow-drying, apply a smoothing spray (about 4 to 6 sprays into damp hair) before you even pick up the dryer. This significantly reduces the frizz and flyaway problem before it starts.
For oiliness and texture
Fringes get oily faster than the rest of your hair because they sit against your forehead all day. During grow-out, this can flatten the hair and make the in-between length look worse than it is. Dry shampoo is useful here: hold the can about 10 inches from your hair and apply at the roots of the fringe, not along the length. On days when you can't do a full wash, a light mist of water and a quick blow-dry is often enough to reset the shape without starting from scratch. Creaseless clips at night (or during workouts) keep the fringe off your skin so oils don't accelerate the buildup.
For texture differences
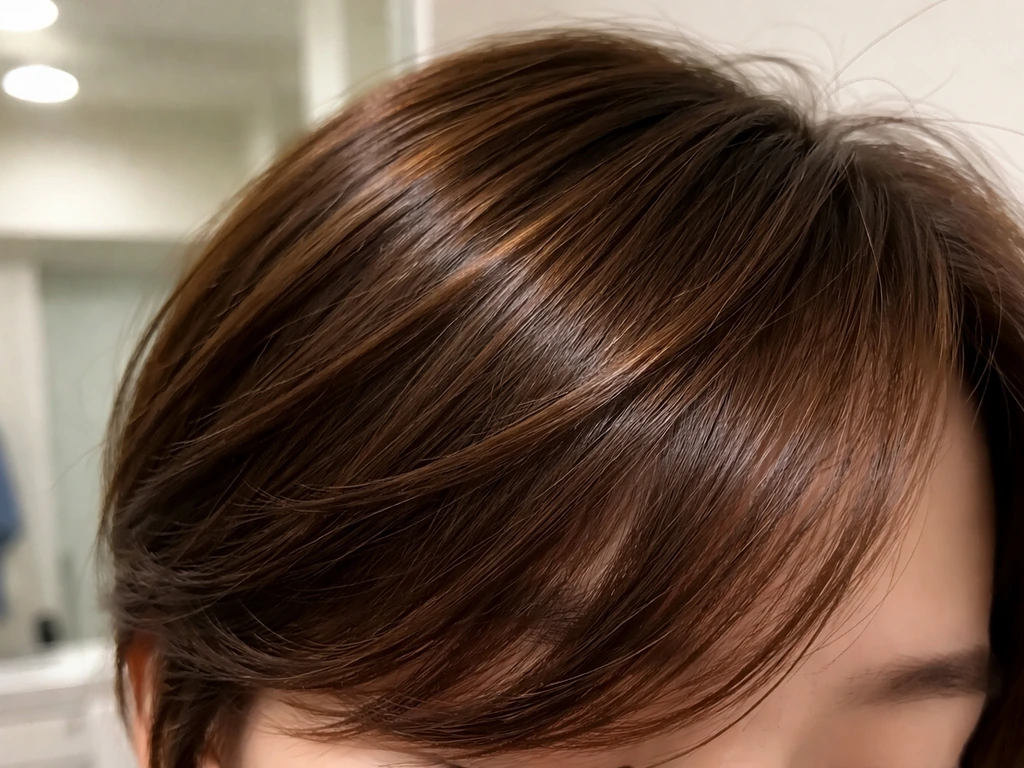
If the growing fringe has a different texture or curl pattern than the rest of your hair, a small amount of styling cream smoothed between your fingers and pressed lightly through the fringe helps unify the texture. For anyone working with a natural curl pattern under a previously blow-dried fringe, you might find that letting the fringe air-dry without interference actually gives you a better result than fighting it. Blowing hair in several different directions briefly before settling on the final direction can neutralize strong curl or wave tendencies that would otherwise leave your fringe splitting unevenly.
Decision checkpoints: when to keep going vs when to cut back
Growing out a fringe isn't a one-way commitment. There are natural reassessment points, and knowing when they are means you're never stuck past the point of no return.
Your first checkpoint is at 4 weeks. By this point you'll have about half an inch of new growth and a clear sense of whether your daily styling routine is manageable. If you're finding the pinning and clipping genuinely frustrating every single morning, that's information. It doesn't mean stop, but it means you need a better toolkit or a different daily habit before continuing.
Your second checkpoint is at 8 to 10 weeks, which is roughly the cheekbone-length stage. This is statistically when most people either quit or commit. If you've made it here, you're past the worst of it. The question to ask: does the direction you're heading still match what you wanted? If you started growing out toward curtain bangs and you like where it's landing, you might already be done. If you wanted full blended hair and you're still going, stay the course.
Cut back if: you've changed the style you're targeting and a shorter fringe fits the new direction, you have a specific event or reason where your current look is genuinely causing you stress (not just normal adjustment frustration), or you've reached the cheekbone-length stage and you simply hate every style available at that length. All of those are legitimate reasons to trim back and start again later.
Keep growing if: you're past the 8-week mark and the daily styling is becoming easier, you're seeing glimpses of what the finished look will be like, or you're motivated by a clear end goal that still excites you. At that point, you're closer to the other side than to the beginning.
For anyone navigating broader hair-length decisions alongside this, it helps to look at the full picture. Deciding whether to grow your hair out involves a lot of the same logic as the fringe decision: clear goal, realistic timeline, and a plan for the middle bit.
Your practical plan for the next few weeks
Here's what to actually do starting this week, in plain terms.
- Decide on your target look before you do anything else. Side-swept, curtain bangs, fully blended, or a specific longer style? Write it down if it helps. This shapes every decision you'll make for the next several months.
- Get a round brush and a blow-dryer if you don't have them. These two tools will do more for your daily fringe management than any product you can buy.
- Start training the direction now. Every morning, even if you're pinning the fringe back, blow-dry it in the direction you want it to grow into. This matters from week one.
- Book a trim appointment at around week 8 to 10. Not to cut your fringe back, but to have your stylist blend the surrounding hair toward the growing fringe with angled layers. Tell them specifically what you're doing.
- Stock up on creaseless clips for nighttime and dry shampoo for between washes. These two things remove most of the daily annoyance during the early weeks.
- Set a calendar reminder for week 4 and week 10 to check in with how you're feeling about the grow-out. If at week 10 you're still frustrated, reassess. If you're starting to enjoy it, keep going.
That's the whole plan. The grow-out isn't glamorous in the middle, but it is manageable. Most people who stick past the 10-week mark are glad they did. Most people who stop at week 3 try again six months later. May as well get the awkward part out of the way now.
If you're considering a bigger style shift as part of this, like growing toward a style that needs significantly more length overall, it's worth reading about what that journey looks like specifically. There's a lot of useful real-world perspective in what people actually say about growing their hair out, which reflects the full range of experiences rather than just the polished highlights. And if you're thinking about a longer-term goal like growing enough length for a man bun or similar tied-back style, the fringe grow-out is just the first chapter of a longer process, and starting now puts you ahead.
FAQ
My fringe keeps getting in my eyes, should I still grow it out or just cut it?
If your fringe is hitting or crossing into your eyes, treat it as a safety and comfort issue, not a styling problem. Use side-angling clips or a thin headband for a few weeks, and book a quick “shape check” rather than a full trim, so the stylist keeps it growing but removes the eye-catching length.
I’m thinking about growing out my fringe, but I don’t know what style it should become. What should I decide first?
Don’t rely on “waiting it out” when the goal is a specific end point. Pick whether you want a side sweep, curtain bangs, or full blend within the first month, then ask for guiding work at your next appointment (like keeping the length even across the fringe) so it grows toward that style instead of becoming patchy.
Can I change my part (for example from straight to side or center) while growing out my fringe?
Yes, but only if you can maintain the overall direction. Train it in the awkward stage by blow-drying slightly to the side and securing with a clip, then switch to holding products (light gel or cream) once it reaches a point where it naturally lays. If you try to force the final parting immediately, you can end up with a permanent uneven fold.
What if my fringe never stays in place, even with clips and product?
If your fringe looks worse after wash days, it’s usually a drying and cool-down issue. Blow-dry with the brush in the opposite direction of the cowlick until it is fully dry, then flip and blow for a few seconds. Let it cool in the final direction before touching it, this reduces the “spring back” that makes it stand up or split.
My fringe gets oily faster during the grow-out, how often should I use dry shampoo?
Dry shampoo is best for the roots of the fringe, but if you notice buildup at the hairline, alternate with a quick rinse or partial wash. A useful fallback is to mist just the fringe area with water, then blow-dry briefly to reset the shape, rather than adding more dry shampoo and making flyaways stickier.
My fringe has a different texture than the rest of my hair, will it ruin the final look?
Sometimes it can. If you have very coarse hair, tight curls, or a strong wave pattern, you may see the fringe grow out unevenly because shorter strands behave differently. In that case, try letting it air-dry once it is long enough to style as a section, or use a small amount of smoothing cream to unify texture rather than heavy blow-drying every day.
I hate the cheekbone-length stage. Is there a middle option between pinning and cutting?
If you keep getting “stuck” at cheekbone length, don’t jump straight to a full haircut. Reset the look with a daily style strategy (braid or half-up) and schedule a micro-trim that angles the ends to blend, then reassess after another few weeks. The goal is to reduce the look of two separate sections without losing growth.
How should I ask my stylist to trim during a fringe grow-out, so it blends instead of resetting the timeline?
Not always. A blunt trim is useful when you are maintaining an intentional fringe, but during a grow-out you usually want shaping that helps it merge with the surrounding cut. Bring your “target end point” to the stylist and ask for micro-trims that keep the direction and blend rather than creating a new blunt line.
What’s the quickest way to make it look good for an event while my fringe is still growing out?
If you have a formal event or a date where you need it to look good quickly, plan around the awkward stages rather than the final length. Most people get their best “managed” look by using braids or a half-up style during the cheekbone phase, then adding a side-swept hold with a small amount of product once it reaches a usable sweep length.
What are the real signs I should stop growing out my fringe versus just adjust my routine?
Reassess at week 4 and again around week 8 to 10, but also use a practical trigger: if you have consistent full-day frustration despite better clips, headbands, and a blow-dry routine, that’s a sign your plan needs adjustment. The change can be smaller trims, different styling tools, or switching the target direction.