Growing out a shag is absolutely doable, but it helps to go in with a clear plan. The core challenge is that shags are built on layers, and layers grow out at different rates depending on where they were cut. That means your hair won't just get uniformly longer month by month. Instead, the shorter pieces on top and around the face will start catching up with the longer pieces underneath, and for a stretch of time, the whole thing can look uneven, poofy, or just plain weird. The good news: that phase is manageable and temporary. Here's exactly how to navigate it.
How to Grow Out a Shag Without the Awkward Stages

Marcus Vickers
15 Apr 2026
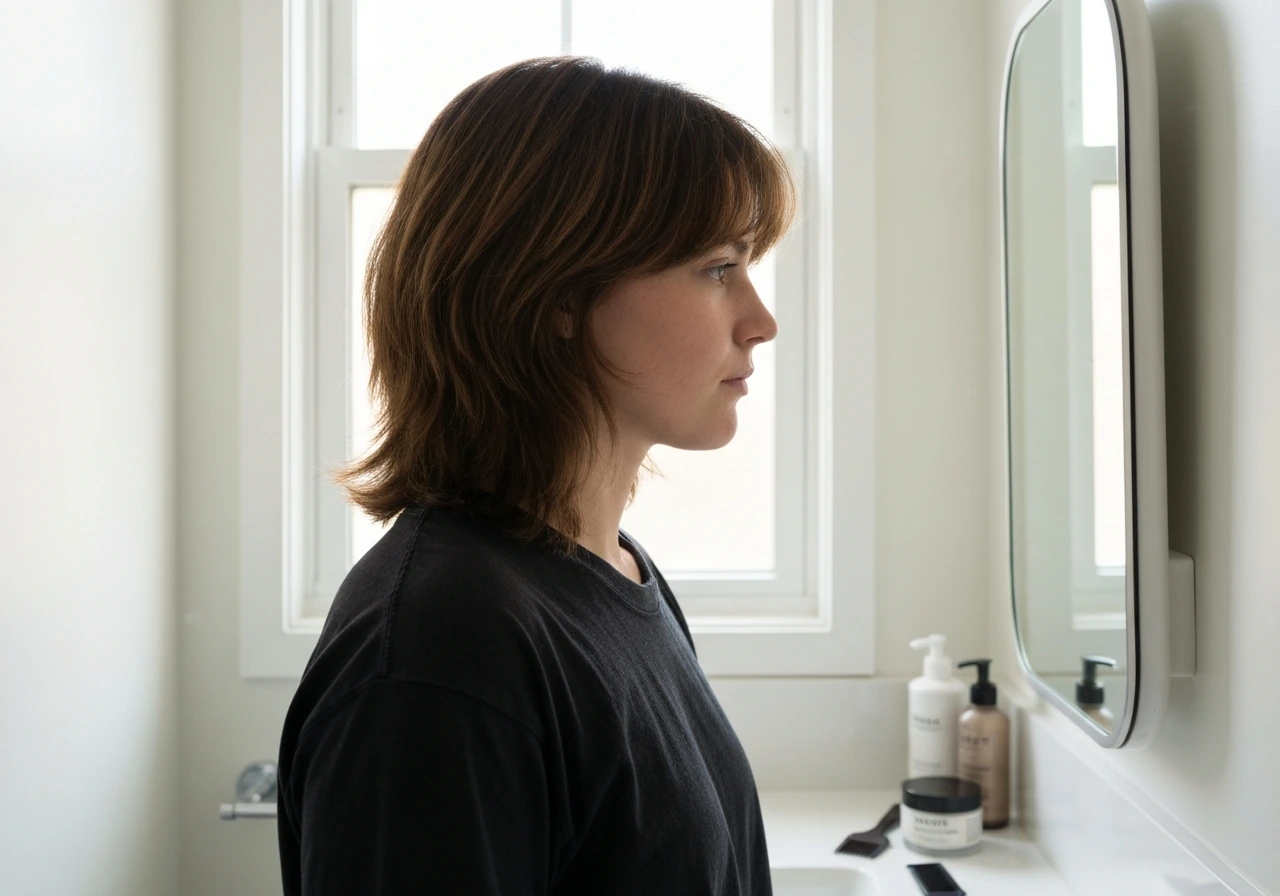
Figure out your shag type and what's causing the awkward phase
Before you do anything else, identify which version of the shag you're growing out. This matters because the grow-out plan shifts based on where your layers are concentrated, how much texture was cut in, and whether you have bangs. The most common types people are working with right now are:
- Short modern shag (chin-length or above, heavy crown layers, curtain or face-framing bangs)
- Long shag (mid-back length with lots of interior layers and wispy ends)
- Textured/wavy/curly shag (cut with razoring or point-cutting to enhance texture)
- Straight shag (blunt-ish base with layered top, relies heavily on heat styling to look polished)
- Shag with an undercut (shorter sections underneath or at the nape)
The awkward phase shows up differently depending on your type. A short shag typically creates a near-mullet silhouette as the back grows faster than the top layers. A long shag gets stringy and uneven at the ends before it transitions into a smoother layered look. A heavily textured cut tends to lose its shape but gain volume in odd places. Once you identify your type, the specific problem you're dealing with is usually one of these: the top layer is too short and poofs up, the ends flip out instead of lying flat, the sides are uneven, or the crown looks like a tumbleweed. Knowing which problem you have tells you which fix to prioritize.
Realistic growth timeline: what to expect month by month
Hair grows about half an inch (roughly 1.25 cm) per month on average. Some people grow slightly faster, some slower, and factors like nutrition, stress, scalp health, and genetics all play a role. Medical News Today reports that average scalp hair growth is about half an inch per month but notes that growth speed varies based on genetics, age, health, and other factors growth speed varies by genetics, age, and health. With that baseline in mind, here's a realistic picture of what you're looking at:
| Timeframe | What's happening to your shag | Primary challenge |
|---|---|---|
| Weeks 1–4 | Short top layers start to fill in; fringe grows toward the eyes | Fringe management, crown poof |
| Months 2–3 | Top layers reach the ears or jaw; back grows past collar | Uneven sides, near-mullet silhouette |
| Months 4–6 | Layers start blending; shape becomes less defined | Stringy ends, loss of structure |
| Months 7–9 | Hair approaches one length or a long layered look | Weight distribution, dryness at ends |
| Months 10–12+ | Near-full transition to longer layered hair | Split ends, maintaining condition |
If your shag was very short (above the ears on top), budget at least 6 months before it stops feeling chaotic. A chin-length shag might feel manageable within 3 to 4 months with the right styling. The honest truth is that there is no shortcut through time, but there are ways to make every stage look intentional rather than accidental.
The early wonky phase: styling from week one
The first month or two is when most people get frustrated and run back to the salon for a fresh cut. Resist that impulse. Your job during the early phase is damage control: keep the hair looking styled rather than just grown-out. The biggest issues are a floppy fringe, crown pieces that stick up or flip out, and the back growing noticeably faster than the top. Here's what actually helps:
- Use a lightweight mousse or curl cream on damp hair and scrunch the layers upward. This encourages the hair to move together rather than each layer doing its own thing.
- Blow-dry the crown flat using a medium round brush and downward airflow. Don't let it air-dry unsupervised in the early weeks, or it will set into whatever weird shape it naturally wants.
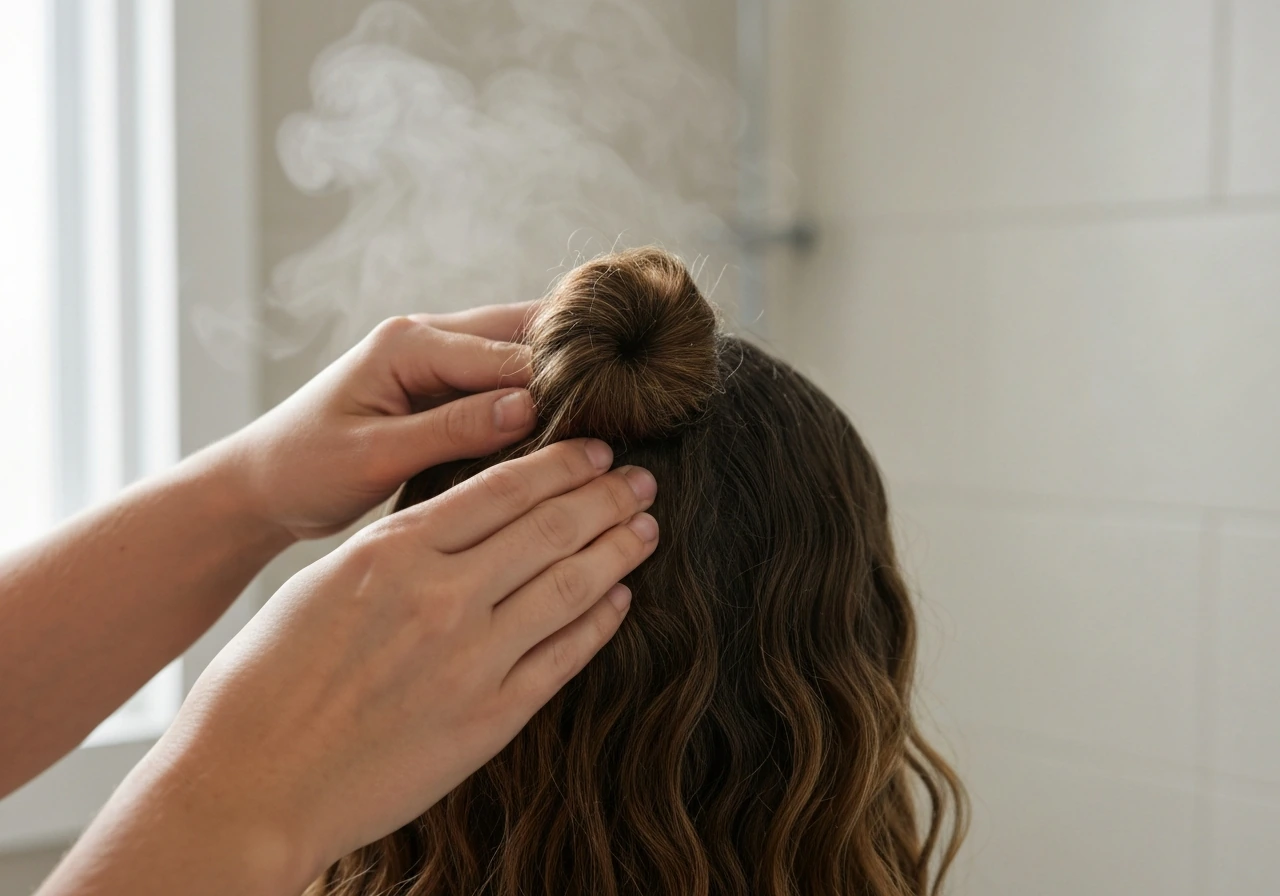
- Pin back the top layer with small clips or a half-up section while you're at home. The less the short crown pieces are flopping around, the less they'll train into a bad pattern.
- For the back-heavy silhouette, wear your hair in a low loose bun or half-up style two or three times a week. This keeps the nape length from looking dramatically longer than the top.
- Use a satin pillowcase. Friction is the enemy during the grow-out because it creates frizz exactly at the shortest pieces, which are already the hardest to manage.
If you find that your layers are particularly rebellious in these early weeks, it helps to read how others have navigated the same frustrations. The grow-out advice people share on Reddit is surprisingly practical, especially for troubleshooting specific problem spots like cowlicks and crown poof that styling guides don't always address.
Blending layers as length increases: fixing uneven sides and the crown
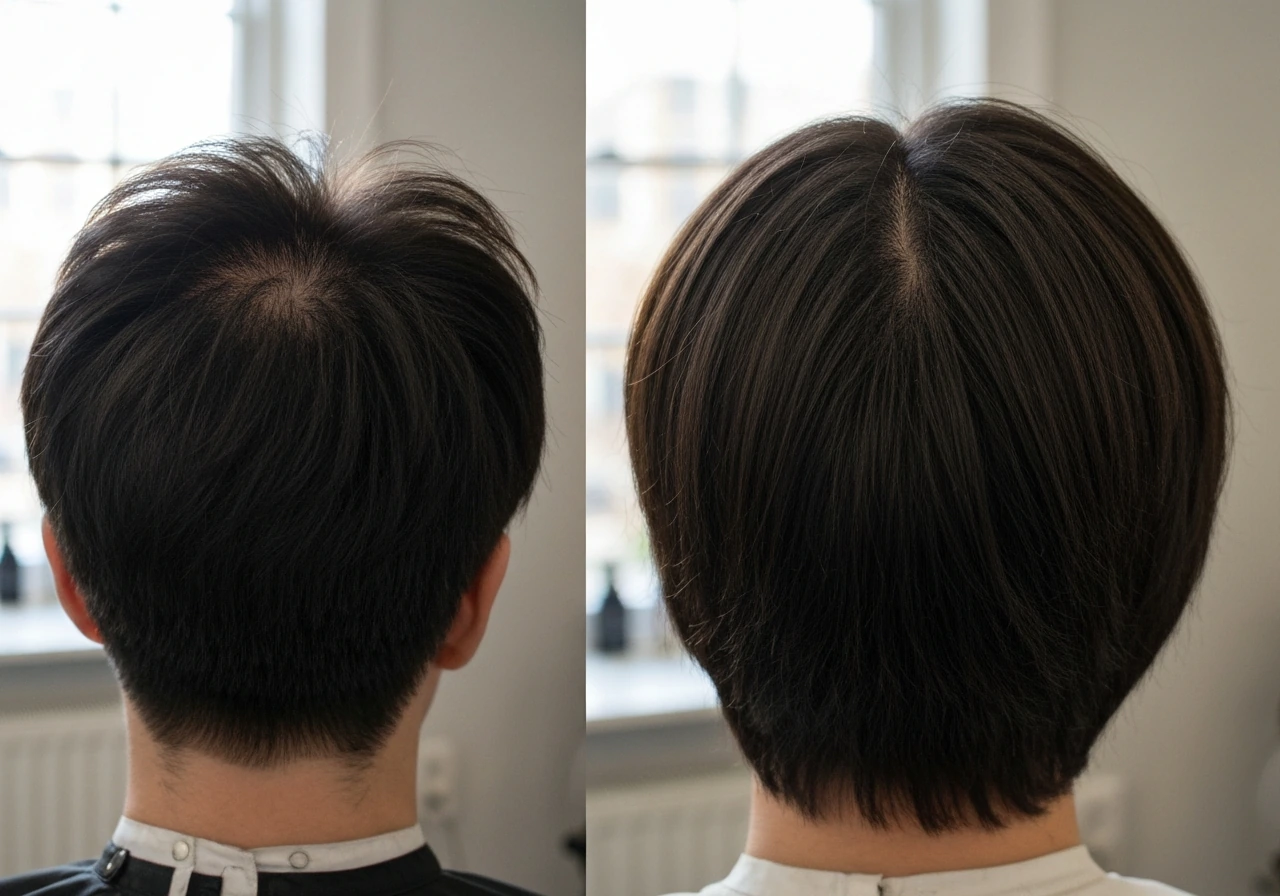
By months 3 through 6, the main problem shifts. Your layers are growing but they're not growing at the same rate across your head, which means the sides may look different lengths, the crown may have a ridge or bump where one layer ends and another begins, and the overall silhouette looks more "in between" than styled. This is the phase where strategic blending becomes your best tool.
First, stop parting your hair the same way every day. A center part shows uneven side lengths immediately. A deep side part redistributes the weight and hides the fact that one side might be half an inch longer than the other. Switching your part every few weeks also prevents your hair from training itself into a fixed line, which makes blending later much easier.
For the crown specifically, a small amount of pomade or wax worked through just the top layer gives you control without weight. Smooth it in the direction you want the hair to lie, then either leave it as-is or hit it with a cool shot from the dryer to lock it in. If the crown is genuinely too short to control, a loose scarf or headband is not a cop-out. It's a legitimate styling tool, and it keeps the focus away from the awkward length while things catch up. Growing out face-framing layers alongside the crown requires the same patience but responds well to being tucked behind the ear or pinned with a barrette during the blending phase.
Managing bangs, fringe, and volume control
Bangs are the most time-sensitive part of growing out a shag. Curtain bangs and side-swept fringe tend to grow out more gracefully than blunt-cut fringe because they already have some angle to them. If you have a blunt fringe, plan for about 4 to 6 months before it fully blends into the rest of your layers. If you have curtain bangs, they can often be swept to the side and incorporated into the overall shape by month 2 or 3.
During the nose-to-lip length phase (often around months 2 through 4), bangs are most annoying because they're too long to style short but too short to tuck away. Here's how to handle it: blow-dry them with a round brush in a sweeping motion to one side, or braid them loosely back and pin them at the temples. Using a small amount of gel or pomade specifically on the fringe section prevents it from flopping into your eyes while letting you skip the dramatic styling. For a thorough breakdown of how to handle growing fringe alongside layers, the guide on growing out layers and bangs together is worth reading in full.
Volume control during the grow-out is mostly about managing the crown and top layer, not the sides. If your hair is getting wide and puffy around the crown, the fix is adding weight. A medium-hold cream or a light oil applied to just the top third of your hair while it's still damp will encourage it to lie flatter. Avoid volumizing products entirely during this phase unless your hair is flat to the point of being unmanageable, because shag layers already have a lot of internal movement built in.
Product routine and styling to cut down on frizz and flip-out
Flip-out ends are the signature problem of growing out a shag. The shorter internal layers push the longer outer layer up and out, which makes the ends curl away from your face or neck instead of falling straight. The fix is weight and moisture. Here's the routine that works:
- Wash 2 to 3 times per week maximum. Daily washing strips natural oils that are actively protecting your ends during the grow-out, and dry ends flip and frizz more.
- Use a moisturizing conditioner every wash and a deep conditioning mask once a week. Focus the mask on the mid-shaft and ends, not the scalp.
- While hair is still damp (not soaking wet), apply a leave-in conditioner or lightweight cream. This is your frizz defense layer and it matters more than any heat product.
- If you're diffusing or blow-drying, use a medium heat and a nozzle attachment to direct airflow downward. Upward-moving airflow lifts the cuticle and creates frizz.
- Finish with a small amount of serum or light oil on the ends only. This flattens the cuticle and reduces the flip-out effect significantly.
- For no-heat days, apply curl cream or mousse to damp hair and let it air-dry in sections, clipping the roots up while the lengths dry. Once fully dry, release the clips and smooth the crown gently.
If your shag was cut with razoring or heavy point-cutting to create texture, those ends are already thinner and more prone to frizzing. Be especially consistent with the leave-in step. The thinner the ends, the more they need that moisture buffer.
When to trim and when to just wait it out
This is where most grow-out advice goes wrong. People either trim too often (which stalls length) or never trim (which leaves them with split, damaged ends that break off and actually slow progress). The right approach is strategic trimming, not maintenance trimming on autopilot.
As a general guideline, every 8 to 12 weeks is a reasonable window for a light dusting of the ends if your hair is in good condition and you're not using a lot of heat. If you're using hot tools regularly or your hair is color-processed, a trim closer to every 6 to 8 weeks makes sense to keep damage from traveling up the shaft. Hair Cuttery recommends trimming every 6, 8 weeks as a useful baseline when hair is color-processed or when you use hot tools regularly to keep damage from traveling up the hair shaft trimming closer to every 6–8 weeks. But the key word is light. You're asking your stylist for a quarter-inch maximum, specifically to clean up split ends without sacrificing any real length.
What you should not do is ask for a "shape-up" every 6 weeks if growing out is genuinely your goal. A shape-up on a shag typically means trimming the layers back into place, which puts you right back where you started. Instead, tell your stylist explicitly: "I'm growing this out. I want to keep length. Please only remove damage at the ends and soften any layer that's causing a specific problem." Be specific about which layer is bothering you, because a good stylist can spot-blend one section without cutting the whole thing back.
There's a distinct difference between growing out shaggy layers and growing out a more defined shag cut, and understanding that difference helps you communicate better with your stylist. If you had heavy internal layering, the guidance on how to grow out shaggy layers specifically covers how to handle that scenario without losing progress.
Curly and wavy hair, colored shags, and undercuts
Curly and wavy hair
If your shag was cut to work with waves or curls, the grow-out actually tends to look more intentional for longer because curl pattern adds visual cohesion even when lengths are uneven. The main problem is shrinkage: your curls may be growing more than you realize, but the curl spring is hiding that progress. Measure your growth stretched, not curled, so you have an accurate sense of where you are. For wavy and curly grow-outs, the product routine above matters even more. Moisture is everything, and diffusing on low heat (or simply plopping with a microfiber towel and air-drying) keeps the curl pattern from separating into frizz as the layers come together.
Straight hair
Straight shags show every millimeter of unevenness because there's no texture to disguise it. If this is you, the flat iron is both your best friend and your worst enemy during the grow-out. A light pass over the ends on low to medium heat (around 300 to 350°F) can make uneven lengths look like a deliberate style choice rather than a grow-out problem. But daily heat on already-layered ends will lead to breakage, so alternate heat days with no-heat days and always use a heat protectant.
Colored hair and root regrowth
If your shag was colored, the grow-out adds another visual layer to manage: visible roots and possibly faded or brassier ends while the new color grows in. The strategic move here is to shift toward a softer, more blended color technique (like a shadow root or a lived-in balayage) rather than maintaining a precise all-over color. This makes the regrowth look intentional rather than neglected. Toning every 4 to 6 weeks can keep brassiness at bay on color-processed ends, and a blue or purple shampoo used once a week helps maintain tone between salon visits. Avoid frequent full-color applications at home during the grow-out, because overlapping color on already-processed ends dries them out and creates breakage.
Undercut sections
If your shag included an undercut (shorter sections at the nape or underneath), those sections will take significantly longer to catch up with the rest of your hair. Expect 12 to 18 months for a significant undercut to blend fully, depending on how short it was cut. In the meantime, keep those sections moisturized and avoid heat on them specifically, since shorter hair breaks more easily. Wearing your hair down with a little backcombing at the crown can help hide the undercut perimeter while it grows, and a light wax or pomade will keep the shorter sections from poking through the top layer.
Your plan for this week
You don't need to overhaul your entire routine today. Start with the two things that will have the biggest immediate impact: switch to washing your hair no more than three times this week, and apply a leave-in conditioner to damp hair every single time. These two changes alone will reduce frizz and flip-out noticeably within a few weeks. If you have bangs that are in the annoying middle stage, spend five minutes this week practicing sweeping them to the side with a round brush. If your crown is your problem, buy a small tub of medium-hold pomade and practice smoothing just that top section downward. One tweak at a time is how the grow-out actually gets manageable.
The full grow-out from a short shag to longer hair takes real time, and there's no getting around that. But every week, your hair is half an inch closer to where you want it. The goal for right now isn't perfect hair. It's hair that looks like you meant it. With the right product routine, the right trim timing, and a clear sense of which growth phase you're in, you can absolutely pull that off at every stage of this journey.
FAQ
Can I trim my shag while growing it out without stalling the progress?
Yes, but do it with a purpose. Schedule trims based on damage, not the calendar: if you see splitting, extra frizz at the ends, or breakage, ask for a quarter-inch dusting. If your ends look healthy, wait longer, because trims that are too frequent can keep layers from ever blending.
What happens if I stop using styling products during the grow-out?
If you stop styling products, the hair may still grow, but the uneven layers will read more clearly (poof, flips, and crown bumps). A practical compromise is to keep only the essentials, leave-in conditioner every wash, and a small amount of medium-hold product on the top layer (not the ends) to control direction.
How often should I change my part to avoid the hair training itself into an obvious uneven look?
Switching your part helps, but the best timing is when you start noticing a visible “line” where one side is longer. Change it every 3 to 6 weeks, and avoid making dramatic part jumps too often (for example, center to a very extreme side) because that can create its own awkward fall.
My crown poofs up no matter what, what’s a fix if pomade alone doesn’t work?
If your crown is sticking up even after product, try drying that area with the nozzle aimed downward and hold the heat source briefly while you press the hair flat. Many people add product but skip airflow direction, which lets cowlicks reassert themselves as soon as the hair cools.
How do I stop flip-out ends specifically, without making my hair look greasy or too heavy?
For flip-out ends, the biggest lever is layering moisture and weight. Use leave-in on the ends every time, and add a small amount of lightweight oil or cream only to the outer last inch or two after styling, then brush the ends downward once to train them. Too much product right on the scalp can increase puff at the crown.
Does growing out a colored shag require different care to make the awkward stages less obvious?
Color can change how you perceive length because faded or brassy ends feel drier and tangle more, which can exaggerate unevenness. If you are in the middle stage, prioritize toning and hydration over further processing, and try to avoid overlapping dye on already-processed sections.
How can I tell real growth from shrinkage when growing out a shag on curls or waves?
Yes. For wavy or curly hair, check growth using stretched or blow-dried reference sections, otherwise shrinkage can trick you into thinking nothing is changing. A simple method is to take a photo with hair air-dried, then another with hair fully stretched (diffuse on low or lightly towel-dry and comb) every 2 to 3 weeks.
What’s the best way to handle undercut grow-out when the nape perimeter keeps showing?
Undercuts usually create a visible perimeter, so hide the transition with styling strategy rather than cutting. Keep the undercut sections moisturized, then wear hair down when you can, and use a light backcombing or controlled texture at the crown only to soften the line between long and short areas.
Can I use a flat iron to speed up the look of a grown-out shag?
Heat can accelerate breakage in layered areas, especially when ends are already thinner from texture cutting. If you need a straight look, use low to medium heat for short passes, apply heat protectant every time, and build an alternating routine (heat one day, no-heat the next) to reduce cumulative damage.
My blunt bangs won’t blend, what should I do during the months when they’re too short to tuck?
If your bangs are blunt and start turning into a stubborn line, stop trying to force them into the rest of the haircut too early. Focus on sweeping and blending at the edges, then let them graduate gradually by month 3 to 4, using a round brush or loose pinning when they hit the awkward nose-to-lip length zone.