You can grow your hair out without getting trapped in the awkward stage by picking a growth plan that matches your current cut, scheduling strategic trims that preserve length, and using targeted styling tricks to bridge every weird in-between phase. If you want the same kind of practical guidance on staying stylish through each awkward phase, see how to grow long hair without looking stupid.
How to Grow Out Hair Without the Awkward Stage

Marcus Vickers
26 Apr 2026
Hair grows roughly half an inch (about 1 cm) per month, so the journey from a pixie or buzz cut to shoulder length takes around 18 to 24 months. That sounds like a long time, but most of that stretch is actually manageable with the right approach. The awkward part only lasts as long as you let it.
What the awkward stage really is (and why it happens)
The awkward stage is not one single moment. It is a series of them. Each time your hair hits a length where it is too long to sit flat and too short to tuck behind your ear or pull back, you are in an awkward stage. It happens because hair does not grow in a uniform, coordinated sheet. Different sections grow at slightly different rates, layers at different levels reach critical 'floaty' lengths at different times, and the shape your stylist cut into your hair was designed for a specific length, not for the inches that come after it.
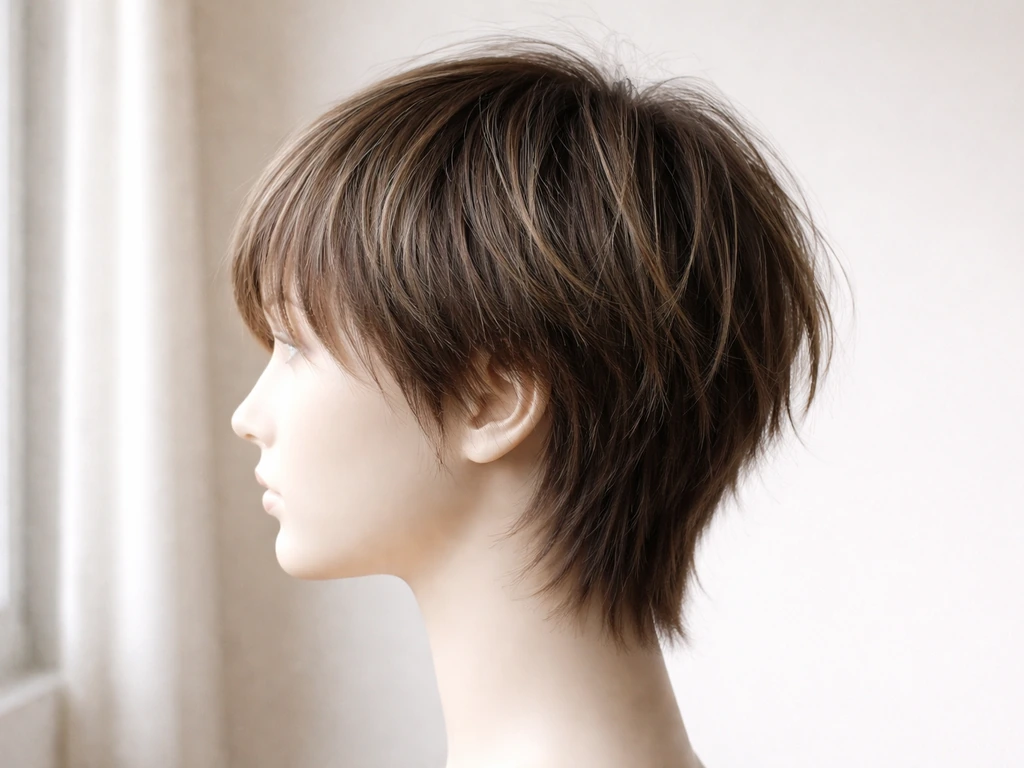
At the crown, many people also deal with cowlicks: sections of hair that grow in a circular or opposing direction around a visible center point. These are completely normal and genetic, but they become especially visible during growth because the hair around them is not long enough yet to weigh them down or blend them in. The result is a tuft or flip that no amount of brushing seems to fix. Understanding that this is a mechanics problem, not a hair quality problem, is the first step to not panicking and cutting it all off again.
The other reason the awkward stage feels so bad is purely psychological. When hair is short, it looks intentional. When it is growing out, it can look like neglect unless you are actively managing it. The fix is not to wait passively. It is to stay one step ahead of what each phase is going to do.
Pick the right growth plan based on your starting cut

Where you are starting from changes everything about how you grow out. The challenges of a pixie cut are completely different from those of a bob, a buzzed undercut, or a set of blunt bangs. Here is what to know for each.
Growing out a pixie cut
The pixie is the longest road because you are starting close to the scalp on all sides. The back and sides will grow noticeably faster than the top feels like it is growing, which creates a mullet-adjacent shape around months two through six. The plan here is to let the top grow untouched while getting the back and sides lightly shaped every six to eight weeks, just enough to keep them proportional without losing the length you need them to eventually become your sides and nape. Resist the urge to cut the top just because it looks floppy. That flop is progress.
Growing out a buzz cut
A buzz cut grows out more evenly than a pixie because there is less variation in starting length, but the first three months can look patchy if your hair has different textures or densities in different areas. The main challenge is the two-to-four-month window where hair is long enough to show your natural growth pattern (including any cowlicks) but not long enough to style over them. Keeping the hair moisturized and using a light hold paste to define texture is the way through this phase.
Growing out a bob
The bob is actually one of the easier starting points because you have length to work with. The struggle is usually the chin-to-collarbone zone, where hair flips out instead of curving in, and the weight line from the original blunt cut creates a heavy ledge that looks boxy. The goal is to gradually soften that weight line with light layers over two or three appointments rather than removing them all at once. You will get to a lob (long bob) shape that sits beautifully around month four to six from a chin-length bob, and from there the grow-out is much smoother.
Growing out bangs
Bangs have their own awkward arc. Blunt fringe grown past the brow but not yet to the chin goes through a curtain phase where it falls in your eyes and resists being tucked behind the ear. The fastest shortcut is to start training bangs sideways with a round brush and a bit of heat from week one. Pin them to the side with clips or a barrette while they are damp and let them air dry in the direction you want them to eventually fall. Most people get through this phase in about three to four months.
Growing out an undercut or shaved sections
Undercuts are their own category because you have a very short underlayer growing beneath a longer top layer. The challenge is that as the underlayer grows in, it pushes the longer hair up and creates visible bulk or a ridge at the neckline. You have two options: keep the undercut trimmed and fade it down while the overall length grows (this extends the overall grow-out timeline but keeps things neat), or go cold turkey and let everything grow at once (faster overall but the two to six month period will look noticeably uneven). Most people find a middle path, gradually raising the fade line over time so it disappears before the underlayer reaches the same length as everything else.
Timeline: what to expect month by month
Hair grows at roughly 0.3 to 0.4 mm per day, which works out to about half an inch or 1 cm per month on average. Some people grow faster (up to 1.5 inches per month in optimal conditions), some slower. Here is what the average timeline looks like from a short starting point, along with what is actually happening and when things start to improve.
| Month | Approximate length gained | What you are dealing with | When it gets better |
|---|---|---|---|
| 1–2 | 0.5–1 inch | Hair looks longer but sits funny; cowlicks and growth patterns become visible | Doesn't improve yet — focus on styling |
| 3–4 | 1.5–2 inches | The hardest phase: too long to look short, too short to style easily; nape looks heavy | Slight improvement with the right products and accessories |
| 5–6 | 2.5–3 inches | Reaches ear length; tuck-ability starts; bob territory begins for pixie starters | Noticeably more manageable |
| 7–9 | 3.5–4.5 inches | Chin-length range; more styling options; ponytail stubs become possible | Most people feel a real turning point here |
| 10–12 | 5–6 inches | Collarbone approach; hair starts behaving like 'real' longer hair | Major improvement in confidence and styling flexibility |
| 18–24 | 9–12 inches | Shoulder to mid-back length; full transition complete for most starting points | Fully through the awkward stage |
The real turning point for most people is around months six to nine, when the hair is long enough to tuck behind the ear consistently, pull into a tiny ponytail or bun, and respond to products in a predictable way. If you can get to month six without cutting it back short, you are through the worst of it.
Styling fixes for each awkward phase
The right technique at the right moment can make two months of growth look intentional. Here is how to handle the specific problems that come up at each stage.
Taming bulk and heaviness

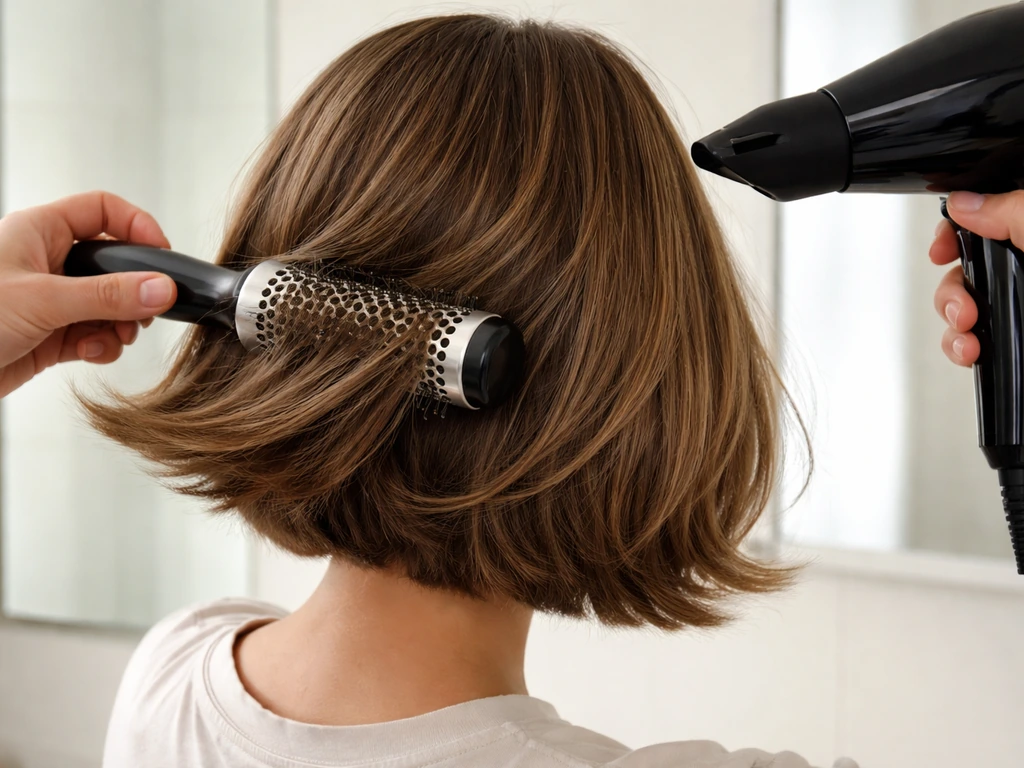
A blunt cut grown out creates a heavy perimeter that looks boxy at the chin and collarbone. The solution before your next trim is to use a round brush and a blow dryer to direct the ends inward rather than letting them flick out. Dry your hair by wrapping the brush under the ends and rolling them toward your face, then blasting with cool air to set the shape. It takes five extra minutes and makes a significant difference.
Blending layers and uneven lengths
When shorter layers are growing through longer lengths, you will often see a step or ledge where the two lengths meet. A texturizing spray or salt spray applied to damp hair and scrunched in can break up that visible line by encouraging natural movement. If your hair is straight, a soft wave from a large-barrel curling iron (1.5 to 2 inch barrel) blends multiple lengths together almost invisibly by making everything move as a unit rather than sitting in distinct shelves.
Dealing with cowlicks and flyaways
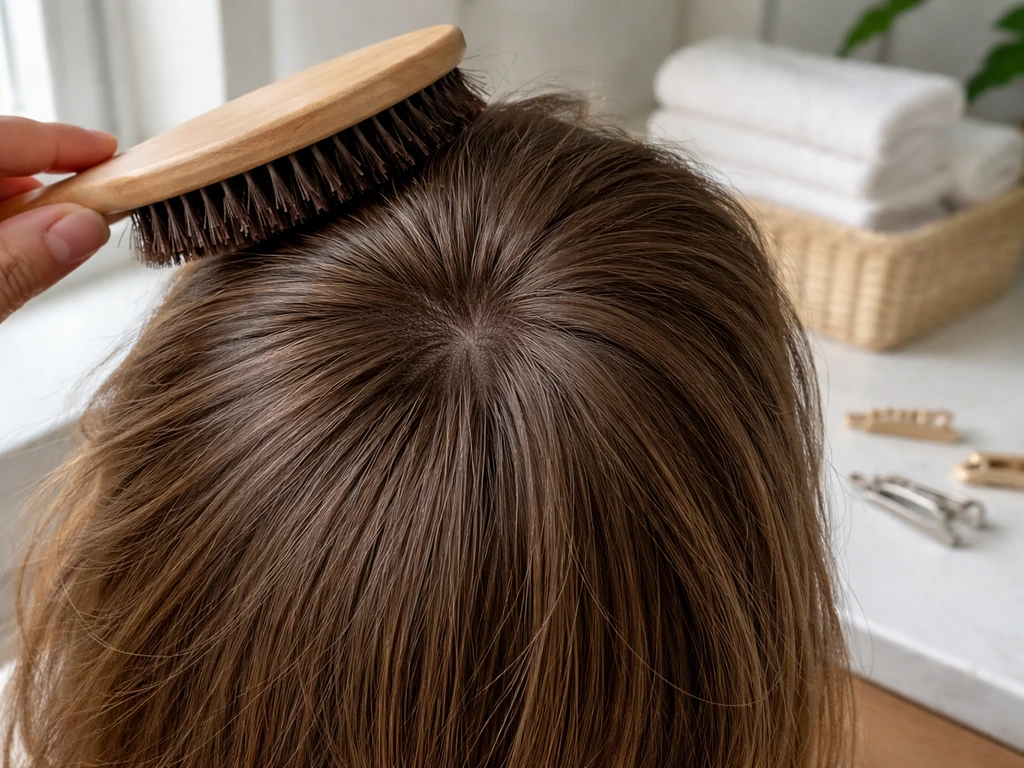
Crown cowlicks are most stubborn in the three-to-six-month window. The practical approach is to work with the direction the hair wants to go rather than against it. Use a boar bristle brush to smooth the surrounding hair over the cowlick while the hair is slightly damp, then hit it with the cool shot on your dryer to set it in place.
The American Academy of Dermatology notes that combing and brushing guidance matters, since brushing about 100 strokes a day can contribute to split ends. A small amount of pomade or wax (not gel, which gets crunchy) patted onto the problem area gives it weight without looking sticky.
If the cowlick is at your hairline or nape, a light holding spray applied with a fine-tooth comb gives more control.
Managing the flip-out phase
The flip-out (where the ends of your hair curl outward no matter what you do) happens when your hair reaches a length where it rests on your shoulders or collarbone and the ends have nowhere to go but out. This is a geometry problem more than a hair problem. The fix is either a moisturizing balm applied to the ends and then a round brush blowout to direct them under, or simply embracing a slight wave by scrunching in a curl cream and letting it become a style. Fighting the flip with a flat iron every day is exhausting and damaging. Work with it instead.
Trimming strategy that keeps progress
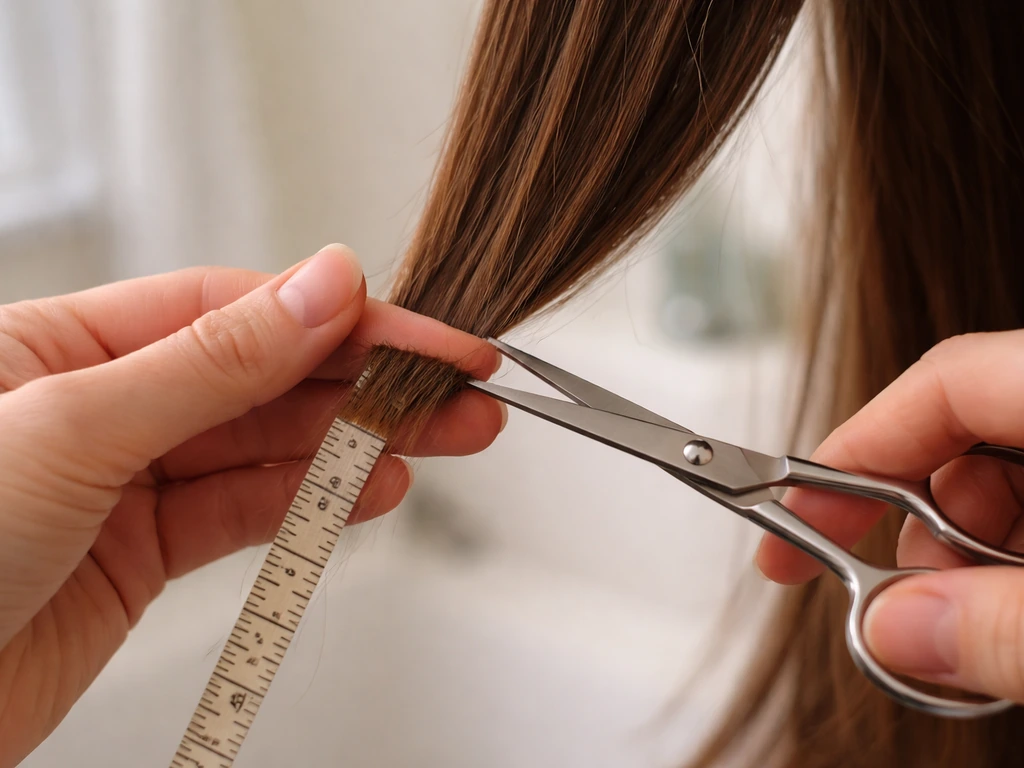
This is where most people make the mistake that sends them back to square one. Trims do not make hair grow faster, but they also do not need to set back your progress if you do them right. The goal of a maintenance trim during grow-out is to remove damage and correct shape without sacrificing the length you have worked months to accumulate.
The rule of thumb is to trim no more than a quarter inch every eight to twelve weeks, and only when you have split ends that are actively causing tangling or breakage. If your ends are reasonably healthy, you can stretch trims to every three to four months. Be very specific with your stylist. Say: 'I am growing this out and I want to keep all the length. Please take off no more than a quarter inch, just to clean up the ends.' Show them with your fingers exactly how much that is. Some stylists trim generously by habit, so being explicit is not rude, it is necessary.
The exception to this rule is when the shape of your cut has become so lopsided or heavy that it is creating real styling problems. In that case, a small reshaping (not a length removal) to blend the weight line or soften an angle is worth it. A good stylist can reshape without taking off length, which is different from a full trim. Ask for a shape-up, not a cut.
The one thing that genuinely resets your progress is a reactive trim after a frustrating day, where you go in and ask to cut back to something comfortable. If you feel that urge coming on, style your hair first, look at it at its best, and make the appointment decision from there, not from a bad hair morning.
Products and routines to make the grow-out smoother
The right product routine will not make hair grow faster, but it will make every inch of growth look better and reduce the breakage that steals length before you even notice it.
Washing and conditioning
Wash two to three times a week maximum. Daily washing strips natural oils that coat and protect the hair shaft. On non-wash days, a dry shampoo at the roots gives you the fresh feeling without the dryness. Use a sulfate-free shampoo if your hair is color-treated or on the drier side.
Conditioner is non-negotiable at every wash, applied mid-shaft to ends (not the scalp) and left on for two to three minutes before rinsing. The American Academy of Dermatology notes that leave-in conditioner can be left on hair for up to a week when it is applied from mid-strands to ends, not the scalp [Conditioner is non-negotiable at every wash, applied mid-shaft to ends (not the scalp) and left on for two to three minutes before rinsing. ](https://www. aad.
org/public/everyday-care/hair-scalp-care/hair/leave-in-conditioner-tips). If your hair is coarse, curly, or damaged, swap your regular conditioner for a deep conditioning mask once a week.
Heat and protection
During a grow-out, every bit of length is precious, and heat damage is the main thief. Apply a heat protectant spray or serum to damp hair before any blow drying, flat ironing, or curling. Keep tools at or below 375°F (190°C) for most hair types, and lower (300°F or less) for fine or chemically processed hair. Air drying whenever possible is not just a cliche, it genuinely reduces the cumulative damage that causes breakage and splits over months of daily styling.
Leave-in products and styling aids
- Leave-in conditioner or detangling spray: apply to damp hair after washing to reduce breakage from brushing
- Lightweight hair oil (argan or jojoba): a few drops on the ends seal in moisture and reduce frizz without weighing hair down
- Texturizing or salt spray: adds separation and movement to in-between lengths that look flat or shapeless
- Light hold pomade or wax: best for cowlick control and piece-y texture without crunch
- Curl cream or defining cream: for wavy or curly hair, enhances the natural pattern so in-between lengths look intentional
Supplements and internal health
Hair growth rate is largely genetic, but deficiencies in certain nutrients can slow it down or increase shedding. Biotin, iron, zinc, and vitamin D are the most commonly linked to hair health. If you are eating a varied diet and not under unusual stress, you are probably fine. If you have noticed more shedding than usual or your growth seems unusually slow, it is worth a blood panel with your doctor before buying supplements. A general hair, skin, and nails supplement will not hurt, but it is not a magic accelerator either. Eating enough protein (hair is made of keratin, a protein) matters more than any single supplement.
Color and natural regrowth during the transition
If your hair is colored, the grow-out process gets an extra layer of complexity. As natural roots come in, you get a visible line of demarcation that can make any length look messy if it is not managed deliberately. The good news is that you have real options beyond either re-dyeing every six weeks or doing a dramatic chop.
Blending regrowth without a full re-dye
Root smudging or shadow rooting is a technique where a colorist blends your natural root shade into the existing color with a soft gradient rather than a hard line. This can extend the life of a full color service by six to eight weeks and makes the regrowth look intentional rather than neglected. If you color at home, root touch-up products (tinted sprays, root concealers, or semi-permanent root blurs) can buy you two to four weeks of a cleaner look between sessions.
Transitioning from colored hair to natural
If your goal is to get back to your natural color entirely, the grow-out will have a period where you have two distinct colors on the same strand. The least damaging approach is to stop applying permanent color, let the natural hair grow in, and use a demi-permanent or toner in a shade that blends the two zones together. Some colorists can also soften the line with balayage or highlights placed strategically to break up the contrast. Cutting the colored ends off is the fastest way to a fully natural head, but it is obviously a length sacrifice, so most people choose a slower blend-down approach.
Protecting color while growing
Color-safe, sulfate-free shampoo is essential if you are maintaining any level of color. UV exposure and heat are the two biggest reasons color fades faster than it should. A UV-protecting leave-in spray or hair sunscreen is worth adding to your routine if you spend time outdoors. Less washing, cooler water temperatures, and rinsing with cool water at the end of a shower all help color last longer, which means fewer appointments and less chemical stress on hair that is already going through a structural transition.
Confidence carries: protective styles, accessories, and when it is okay to pivot
The hardest part of growing hair out is not the hair itself. It is the weeks where you look in the mirror and the hair just looks bad no matter what you try. These same styling and trimming tips also answer how to grow out your hair and still look good through each awkward phase. Having a go-to rescue toolkit makes those days survivable.
Accessories that actually help
Headbands, clips, and barrettes do real work during grow-out. A wide elastic headband pushes hair back off the face and gives a pulled-together look even when hair is mid-length chaos. Claw clips handle the stubby ponytail phase by gathering everything up without requiring a full ponytail length. Bobby pins tame pieces that are too short to stay tucked. Silk or satin scrunchies are gentler on hair that is already stressed from transition, and they look intentional in a way that elastic bands do not.
Quick protective styles for in-between lengths
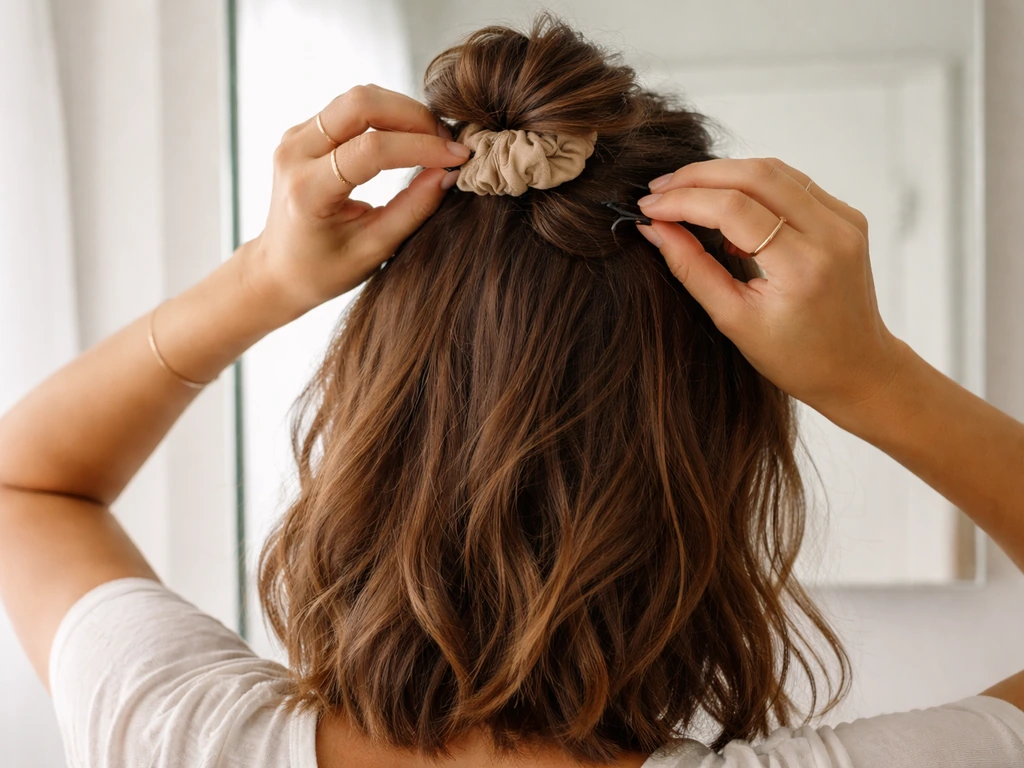
- Half-up top knot: works from about three inches on top; keeps shorter layers off the face while longer layers show
- Twisted or pinned sections: twist two front sections back and pin with bobby pins behind the ears for a clean, intentional look
- Braid or micro-braid at the nape: tucks in the awkward nape pieces that are not quite long enough to blend in
- Headband slick-back: apply a smoothing serum, brush everything straight back with a boar bristle brush, and secure with a headband
- Low ponytail with a ribbon or scarf: works even when a ponytail is barely long enough; the accessory makes it look finished
When it is okay to pivot (and when it is not)
Sometimes the grow-out plan changes because life changes. If you genuinely want to try a different length or you have discovered mid-journey that a lob actually works better for your lifestyle than the long hair you imagined, cutting back to a better-looking interim length is a completely valid choice, not a failure. What is worth avoiding is cutting back in a moment of frustration that passes by the following morning.
A good test: if you have wanted to cut it for two weeks in a row, including on good hair days, the pivot is probably right. If the urge comes and goes based on how a particular day went, push through it with a good style and a saved photo of the length you are working toward.
If you are navigating a professional environment while growing out, or if you are a man managing the specific phases of a men's grow-out, the styling needs and social dynamics have some unique angles worth exploring separately. To specifically learn how to grow out men's hair without looking bad, focus on managing awkward lengths with the right trims, styling, and product routine.
If you want to grow your hair out and look professional at the same time, you will need a plan that keeps your style intentional while it transitions. These same strategies also help you grow out men's hair while keeping your look intentional instead of messy. The core principles here apply across all of those scenarios: work with what the hair is doing at each stage, protect your length, and stay intentional rather than reactive.
FAQ
What should I do if my hair grows unevenly, so one side hits the awkward length before the other?
Treat it like a “length imbalance” problem, not a hair quality problem. Use clips or a half-up section to visually equalize while you wait, then ask your stylist for micro-corrections (shape-up, not a bulk trim) focused on the heavier side to restore symmetry without taking off overall length.
How can I avoid needing frequent trims when I want to minimize awkwardness but keep every inch?
Schedule fewer, smaller interventions: aim for a light end cleanup only when split ends or tangling start, and keep the rest of the work styling-based. If you need structure, ask for a shape-up that blends edges rather than removing length, and request a clear “no more than X” guideline in writing.
My crown cowlick looks worse in photos, even though it behaves in real life. Is there a camera-specific fix?
Yes. Photos exaggerate separation because flash and different angles reveal lift. Use a boar bristle pass only on the cowlick area, then set with cool air, and finish with a tiny amount of wax or pomade patted directly on the direction you want. Avoid gel, which can catch the light and look rigid.
How do I stop my hair from looking greasy during the grow-out when it won’t tuck yet?
Grease shows more at mid-length because hair is contacting your face and collar. Keep washing to 2 to 3 times weekly, use dry shampoo at the roots between washes, and style with a light hold product focused on the ends so the roots don’t get coated and weigh down.
Is it okay to use protective styles while growing out, and will they cause breakage?
Protective styles help, as long as they are not too tight and you avoid rough detangling. Choose loose claw clips, gentle headbands, and silk or satin scrunchies. When removing, detangle from ends upward and keep tension off any crown or hairline cowlick areas.
What if my hair keeps flipping out even after using a round-brush blowout?
If the flip happens consistently at the same length, it may need a “blend” rather than more heat. Try directing ends under with less force, then soften the perimeter using a texture spray or a small curl-enhancing product to create a controlled wave instead of fighting a hard outward curve.
How should I handle the awkward neckline when I’m growing from an undercut or with a shorter underlayer?
Decide in advance whether you want the look neat or the timeline fast. If you want neat, fade and raise the fade line gradually as the underlayer grows so the ridge disappears before lengths fully match. If you go cold turkey, be prepared for a visible bulk window between about two and six months.
Can I speed up the grow-out by getting more trims or using stronger oils and treatments?
Trims do not accelerate growth, and heavy oils or frequent deep treatments won’t make follicles produce more hair. The real speed lever is preventing breakage: use heat protection, keep tool temperatures appropriate, and prioritize conditioner or masks when hair feels dry so it holds onto length.
Is it better to train bangs immediately, or should I wait until they are long enough to tuck?
Start training early if they are already past the brow, because the direction you set while they are damp becomes easier to maintain as they lengthen. Clip to the side while air drying, then keep a round brush routine in the morning for the first few months until they regain consistent fall.
What should I do if I’m growing out colored hair and the line looks too harsh, but I don’t want to dye more often?
Use blending options between full sessions. Shadow rooting or root smudging can soften the demarcation for several weeks. If doing it yourself, try tinted root concealers or semi-permanent root blurs for short-term camouflage, then consider a demi-permanent toner to harmonize the two zones.
When is it a good idea to ask for a reshape instead of waiting for the next scheduled trim?
Ask sooner when the cut becomes unmanageable, not just “ugly.” If a weight line causes constant boxiness, or the shape makes normal styling fail repeatedly, a stylist can reshape without removing much length. Bring photos and specify you want a blend, not a reduction.
What blood tests or nutrition checks should I ask for if shedding seems higher during grow-out?
If shedding is noticeably increased or growth feels unusually slow, request a blood panel with your clinician that includes common hair-related markers like iron status (often ferritin), vitamin D, and other relevant labs based on your history. Be cautious with supplement megadoses, since excess iron or vitamin D can be harmful.