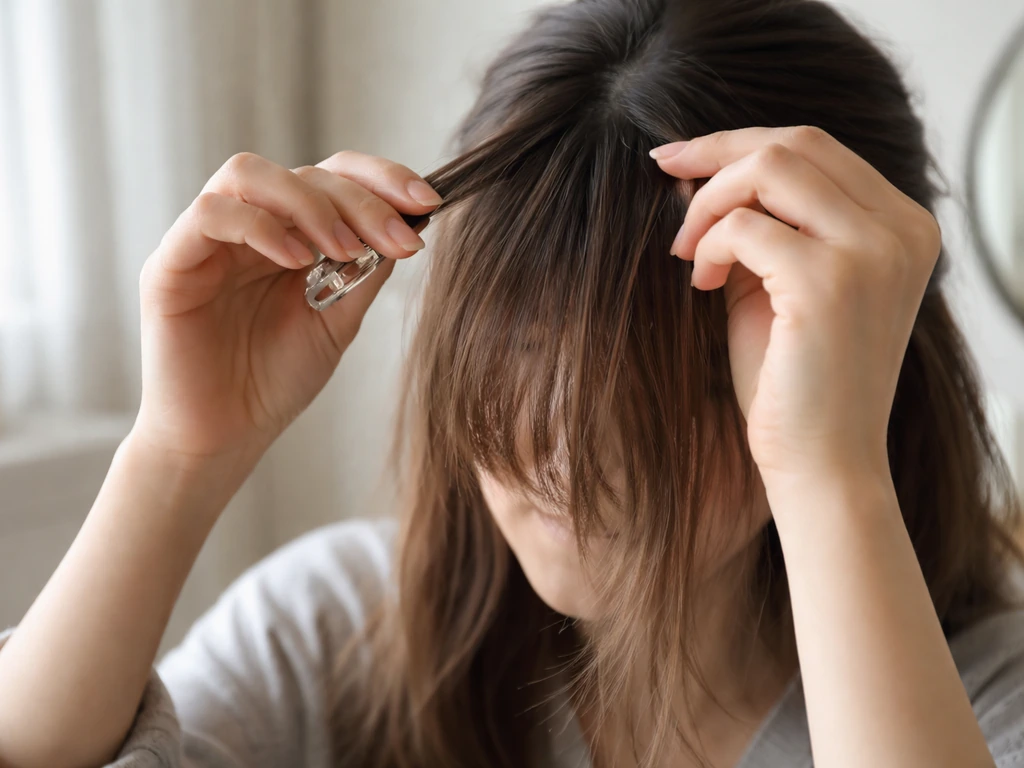
Growing out a fringe is one of those hair transitions that feels deceptively simple until you're three weeks in and your bangs are poking you in the eye at a weird angle. Here's the honest answer: you can't dramatically speed up how fast your hair grows, but you can absolutely prevent the breakage and damage that steals your progress.
How to Grow a Fringe Out Fast: Timeline and Tips

Marcus Vickers
2 Apr 2026
If you're also trying to figure out how to grow a jewfro, the same focus on preventing breakage and protecting your new growth matters most. Combined with the right styling and trimming approach at each awkward stage, that's what actually gets you to a blended, grown-out length faster. This guide covers every part of that process, from the real timeline to expect through to which products and tools to use when your fringe refuses to sit flat.
What growing out a fringe actually means
In British, Australian, and NZ English, "fringe" is what North Americans call "bangs", strands of hair cut to fall over the front hairline, usually landing somewhere around or above the eyebrows. In hairdressing terms, the fringe area is a triangular section that begins at the front hairline and extends back toward the crown. That's important to know because when you grow a fringe out, you're not just waiting for a few front strands to get longer. You're actually waiting for that whole triangular section of hair to grow long enough to blend into the rest of your hair, whether that's the sides, the top, or both.
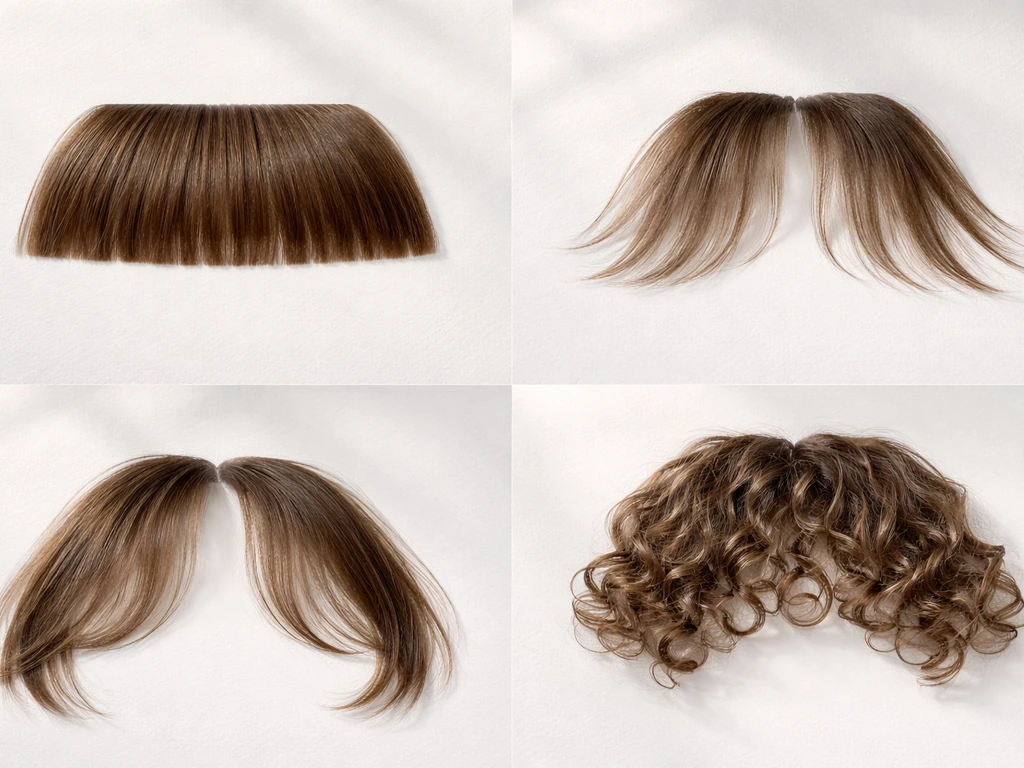
Fringes come in several forms, and which one you're dealing with affects how you approach the grow-out. A full blunt fringe sits straight across the forehead and needs the most length before it blends naturally. A side fringe (or side-swept fringe) already angles to one side, which makes the transition a bit more forgiving since you can lean into that direction while it grows. Curtain bangs and wispy or tapered fringes tend to grow out with less drama because the edges are already softened. If you have a textured or curly fringe, your grow-out path will look different again, more on that in the styling section.
How long this actually takes, honest timeline
Scalp hair grows at roughly 1 cm per month on average, though the real range is wider than most people expect: anywhere from about 0. 6 cm to 3.
36 cm per month depending on genetics, health, age, and even the time of year. That means a fringe sitting just above your eyebrows, call it around 5 to 7 cm from where it needs to be to blend into the rest of your hair, will take roughly five to seven months to reach a genuinely blendable length for most people.
If your fringe is only a few centimetres short of where you want it, you could be looking at two to three months. If you've just cut a very short full fringe, budget closer to eight to ten months to reach jaw length.
One thing worth knowing: newly growing hairs take about seven to ten days just to emerge at the scalp surface, so if you've recently had a trim or a short cut, don't expect to see visible progress in the first couple of weeks. The first month tends to feel the most discouraging. By month two and three, you'll have enough length to start working with it, and that's when the styling strategies in this guide become genuinely useful.
| Fringe starting length | Target (blend into hair) | Approx. time at 1 cm/month |
|---|---|---|
| Very short (1–2 cm) | Chin/jaw length (~15 cm) | 12–14 months |
| At brow level (~4–5 cm) | Cheekbone/chin length (~10 cm) | 5–7 months |
| Just past brows (~6–7 cm) | Shoulder-ish (~8 cm to go) | 3–5 months |
| Side fringe, close to blending | Layered into sides (~3–4 cm) | 2–3 months |
What genuinely speeds up your grow-out
Let's be direct here: no supplement, shampoo, or scalp massage is going to double your hair growth rate. What you can actually control is retention, keeping the length you grow instead of losing it to breakage. Most people who feel like their fringe "isn't growing" are growing hair just fine; they're just breaking it off at the same rate it comes in. Fixing that is where the real speed-up happens.
Reduce mechanical damage
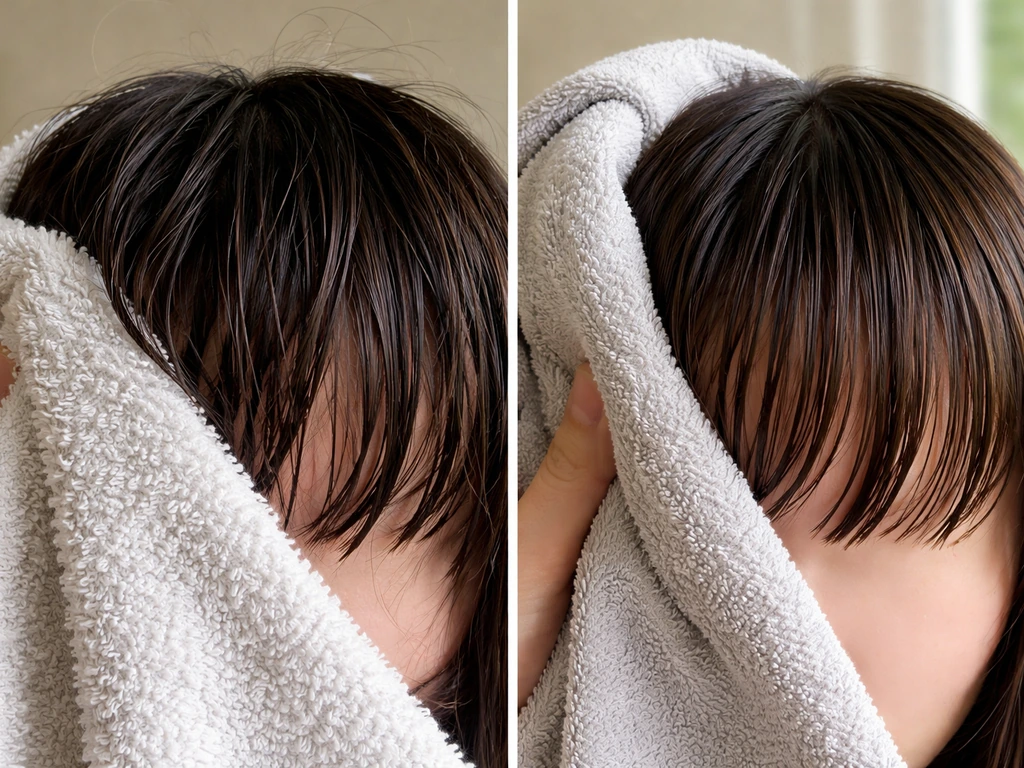
Wet hair is structurally weaker than dry hair, and rough towel-drying causes repeated micro-trauma to hair shafts. This is especially relevant for fringe hair because it's often the first section you grab with a towel or blast with a dryer. Switch to gently squeezing (not rubbing) with a microfibre towel or a soft cotton T-shirt, and always detangle fringe hair when it's damp rather than dripping. Brushing also increases friction significantly, which can contribute to breakage over time, use a wide-tooth comb or a soft-bristle brush and work gently.
Keep your scalp healthy
A healthy scalp is a non-negotiable foundation. If you have dandruff or seborrheic dermatitis, both very common along the front hairline, the inflammation and flaking can disrupt the hair environment in ways that affect retention and quality of new growth. Clinical evidence shows that treating scalp conditions like seborrheic dermatitis with ketoconazole 2% shampoo can produce significant improvement within about four weeks, and maintaining that improvement over months keeps the scalp environment stable for consistent growth. If your scalp is itchy, flaky, or irritated, addressing it early in your grow-out plan is worth the effort.
Daily habits that protect your fringe
- Sleep on a silk or satin pillowcase — cotton creates friction that can roughen and snap fine fringe hairs overnight
- Avoid elastic bands directly on the fringe area; use soft clips or bobby pins instead
- Stay consistent with trims (more on this below) so split ends don't travel up the shaft
- Keep hair well moisturised with a lightweight leave-in conditioner — dry, brittle hair breaks more easily
- Drink enough water and eat enough protein; hair is made of keratin, and chronic nutrient deficiency shows up in growth quality
Styling the awkward stages (month by month)
This is the part most guides skip over, and it's where most people give up and cut everything back. The awkward phase is real, but every stage has a workable styling solution. The goal at each point is to make your fringe look intentional, not half-finished.
Stage 1: Still too short to do much (months 1–2)
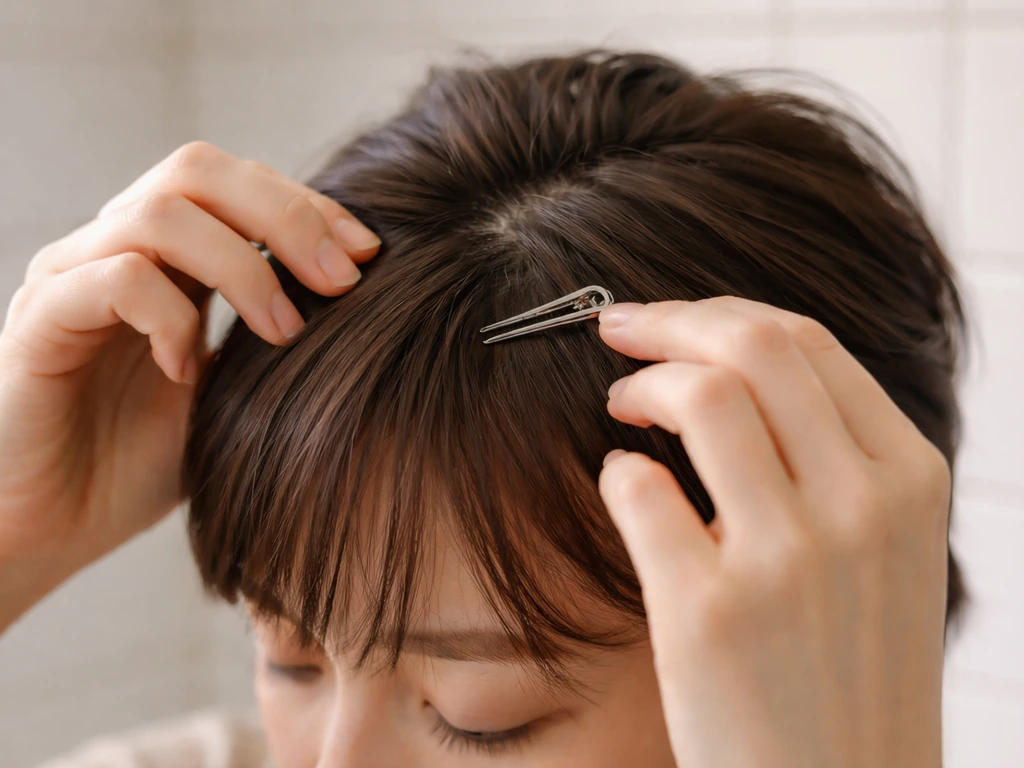
When your fringe is at its most annoying, long enough to hit your eyes but not long enough to stay anywhere, your best friend is a clip or a pin. Side-part the fringe and clip it back with a small barrette or a row of bobby pins. If you're growing a full fringe, try parting it down the middle and pinning each side back to create a temporary curtain effect.
Headbands and cloth bands work too, and unlike a few years ago, they genuinely look intentional right now. This is also when setting the direction of your fringe becomes critical, start training it to fall the way you want it to go by consistently drying it in that direction every single time.
Stage 2: Long enough to sweep but still floppy (months 2–4)
By now your fringe is probably reaching between mid-forehead and nose level. If you're going for a side-swept finish, this is the stage where you push it firmly to one side every time you dry it. The styling direction you reinforce now will make the final grown-out look much easier to maintain. A great in-between style to aim for here is what Wella calls "bottleneck bangs", where the center of the fringe stays a little shorter and the sides feather out toward the temples. It's specifically designed as a transition look between a full fringe and a grown-out one, and it can be achieved with minimal effort at this stage.
Stage 3: Reaching the cheekbone area (months 4–7)
This is where things start to feel genuinely manageable. The fringe is long enough to tuck behind the ear on one or both sides, to blend into face-framing layers, or to sit naturally as part of a curtain-bang style. Focus on blending the fringe into your layers, if there's a visible line where the fringe ends and the rest of your hair begins, that's a signal to talk to your stylist about some face-framing cuts to even out the transition. For those growing a fringe out from a male-specific cut, this stage often coincides with the sides and top catching up, so keep the overall shape in mind too.
Curly and textured fringes
If your hair is curly or coily, your fringe grows out differently because curl patterns mean the hair doesn't hang straight, it contracts. A 5 cm curl may only appear to be 3 cm long when it springs up. Curlier hair also experiences higher friction during styling, which means it's more vulnerable to breakage from rough handling. Side-swept is often the most practical grow-out direction for curly fringes, as face-framing layers on one side move with the curl rather than against it. Define curls with a gel or cream to keep the fringe from going frizzy and formless during the in-between stage.
Trimming strategy: what to cut and what to leave alone
This is where a lot of people accidentally stall their own progress. You do need some maintenance trimming during a grow-out, but the goal is to manage shape and remove damage, not to tidy the fringe back to where it was.
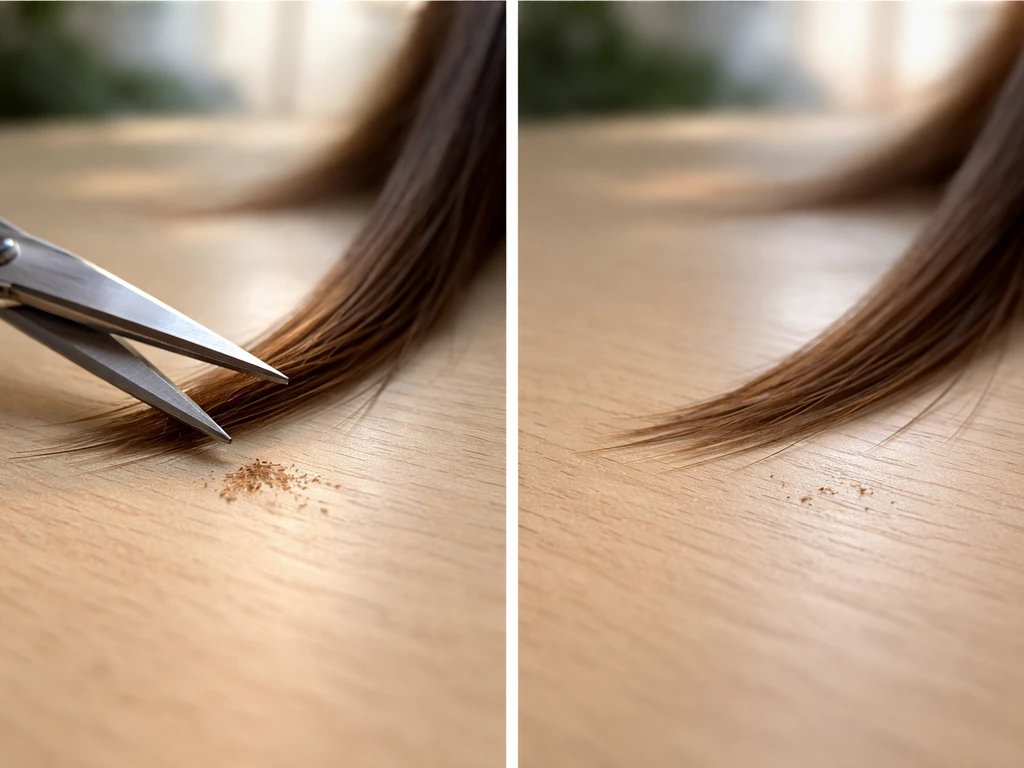
The concept of a micro trim is your baseline: removing less than 6 mm (roughly a quarter inch) at a time, every six to eight weeks, or whenever you see split ends starting to form. This keeps the fringe healthy enough to retain length without cutting off meaningful growth. When trimming, use point-cutting (small snips into the ends at an angle) rather than cutting a straight line across, this softens the edge and makes the growing fringe blend more naturally into the rest of your hair. A straight blunt cut at every maintenance trim will keep giving you a blunt fringe that looks more intentional as a fringe than as a growing-out style.
What to avoid: trimming the overall length of the fringe to neaten it up. Every time you cut it back to just above the brow "to tidy it," you're resetting weeks of growth. Instead, only cut what's necessary, split ends, pieces that are dramatically uneven due to breakage, or a single section that's growing faster than the rest and disrupting the shape. If you're unsure, err on the side of doing less.
Heat, products, and tools to set your fringe's direction
Styling with heat can genuinely help set the direction your fringe grows without damaging it, if you do it correctly. The key principle is that you need to apply heat while the hair is still slightly damp and then let it fully cool in the direction you want before touching it.
Dyson's guidance for styling bangs recommends directing airflow against the direction of hair growth for a lift effect, or drying slightly outward and back for a face-framing result. For a side-swept fringe, direct the airflow toward the side you want the hair to land, sweeping it with a round or flat brush as you go. To deal with a cowlick or a piece that keeps flipping forward, use a flat brush and move the dryer back and forth in an "X" motion across the affected area, this trains the hair to lie flat rather than flick in one direction. Once dry, place flat clips across the fringe in the desired direction and leave them for a few minutes to set the shape.
For heat tools, a flat iron or straightener at low to medium heat (around 160–180°C for most hair types, lower for fine or damaged hair) can smooth and direct the fringe without needing to repeat the process multiple times. Always use a heat protectant spray first. Chemical damage and mechanical stress already increase hair friction and vulnerability, so repeatedly using high heat on a fringe you're trying to grow out is counterproductive, keep heat use moderate and intentional.
In terms of products, a light-hold pomade or styling cream gives you the most control for pressing the fringe to one side during the awkward stage. Avoid heavy waxes that weigh down fine fringe hair and make it look lank. A small amount of flexible-hold hairspray after drying locks in the direction without stiffness. If your fringe keeps springing back mid-day, try a small amount of gel applied to damp hair before drying, it sets harder and holds direction better than cream-based products.
When to see a pro, and when to adjust your plan
Most of the grow-out process you can manage at home, but there are a few situations where a professional visit is worth it and will actually save you time in the long run.
Uneven growth
It's normal for one side of the fringe to grow slightly faster than the other, especially if you have a natural cowlick at the hairline. But if the difference is more than a centimetre or two, or if one section keeps breaking off while the rest grows fine, it's worth checking in with a stylist. They can point-cut the longer side to even things up while taking as little length as possible, and they can also assess whether the unevenness is from breakage (a product or handling issue) or just growth pattern (which usually self-corrects with time).
Undercut or layer blending
If you're growing a fringe out alongside an undercut or a style with significant layers, like a quiff or a comb-over, the fringe grow-out is just one piece of a more complex transition. The fringe, the top, and the sides all need to be growing toward the same endpoint. Anyone managing this kind of multi-zone grow-out might find it helpful to look at how the approach changes with different base cuts: the considerations for growing out a comb over and for growing out a quiff both overlap significantly with fringe grow-out in terms of top-section management and how to blend the front into the rest. A stylist can map out a unified grow-out plan rather than addressing the fringe in isolation.
Colored or chemically treated hair
If your fringe is bleached, highlighted, or chemically processed, it's structurally more fragile than the rest of your hair. This doesn't mean you can't grow it out, it just means your breakage risk is higher and you need to be more careful with heat and mechanical handling. One option some people choose is to add face-framing highlights or color to the sections around the fringe as it grows, which helps camouflage the transition between the old color and the regrowth. If you're coloring during the grow-out process, Wella's guidance suggests trimming to your desired baseline length and perfecting the style before the color development step, so time your trims and color appointments together rather than doing them independently.
Scalp issues that aren't improving
If you've been dealing with persistent dandruff, scalp irritation, or flaking along the front hairline and it hasn't improved after a few weeks of targeted treatment, see a dermatologist rather than waiting it out. Seborrheic dermatitis is a chronic, relapsing condition, it doesn't always clear up on its own, and ongoing inflammation can affect the quality of hair you're growing in that area. Getting it under control early in your grow-out plan is a much better use of your time than struggling with it for months.
Planning for a longer grow-out
If you're starting from a very short cut and growing significant length, not just the fringe but the whole style, it's worth reading up on what the full journey looks like for your specific starting point. The strategies that apply to growing out a flat top, for example, share a lot of DNA with a full-fringe grow-out in terms of managing the front section and crown as they shift shape. Similarly, people with very tight curl patterns who are growing from a fade will face a different set of considerations, the experience of growing an afro from a fade involves thinking about the front section and fringe area as part of the overall shape from day one. And if you're targeting a style like a jewfro, the fringe area blends into the overall volume rather than growing out as a distinct section, worth knowing before you assume the same approach applies.
The bottom line is that growing a fringe out is genuinely a months-long process for most people, but it's entirely manageable with the right approach at each stage. Protect your length through better handling, keep your scalp healthy, use heat intentionally to set direction, and resist the urge to tidy the fringe back to where it was every few weeks. The awkward phase is temporary, and with the styling strategies above, it doesn't have to look awkward while you wait it out.
FAQ
My fringe grows but keeps flipping forward. How can I train it to stay down or side-swept without cutting it again?
If your fringe feels like it is growing, but it never “lands” where you want, the problem is usually direction and cowlicks rather than growth speed. After washing, dry the fringe in the intended direction while it is still slightly damp, then use a couple of flat clips (left and right segments) to hold it in place until fully cool. This works better than repeatedly restyling throughout the day, which adds friction and can increase breakage.
What’s the correct way to detangle and brush fringe hair during a grow-out?
Don’t brush dry fringe aggressively. Use a wide-tooth comb or a soft brush only after the fringe is damp, and detangle gently from ends upward. If you must detangle dry, finger-comb first and keep the brush strokes slow, because dry detangling is where many people unintentionally create the breakage that makes the fringe look stuck.
Why does my fringe revert after I straighten it, and how do I stop that?
Heat “sets” direction best when the hair is slightly damp and then allowed to cool while held in the final shape. If you straighten or blow-dry fully dry hair and immediately touch it, it will revert faster, and you’ll be tempted to redo it repeatedly. Low to medium heat plus a heat protectant, with minimal passes, is the safer approach for a growing fringe.
Which product types work best for fine fringe hair so it doesn’t look weighed down?
If your hair is thin or very fine, heavy products make the fringe look flatter and stringier, even if the length is there. Start with a pea-sized amount of light cream or pomade, emulsify it in your hands, apply lightly from mid-length to ends, then finish with a light hairspray only if needed. For many people, this also reduces the “greasy” appearance that makes the grow-out look worse.
How often should I micro trim, and what exactly should I cut during a fringe grow-out?
A micro trim is meant to remove damage, not reshape the fringe. Aim to trim only split ends or obviously uneven broken sections, about every six to eight weeks (or sooner if splits appear). Use point-cutting so the edge softens, and avoid cutting a straight across line that keeps the fringe blunt and obvious during the transition.
What should I do if I see split ends while my fringe is still short?
If you have split ends that travel upward, you cannot “protect your way out” of that damage, the splits will keep breaking higher. In that case, a maintenance trim becomes the priority for retention. Consider trimming earlier than your usual interval and keep the heat and friction low for the next few weeks to prevent new splits from forming.
My fringe is uneven, one side is longer, is it ever worth seeing a stylist before it gets too long?
If one side grows much longer, it can be from a cowlick, parting habits, or breakage on the other side. A stylist can point-cut the longer side to reduce the visual gap while taking minimal length, and they can also assess whether the shorter side is breaking. Doing nothing often leads to uneven length that takes longer to blend than a small targeted adjustment.
Is it harder to grow out a dyed or bleached fringe, and what handling changes should I make?
If your fringe is bleached or highlighted, treat it like “high breakage risk” even when it still looks healthy. Keep heat and brushing friction lower, use more gentle detangling, and consider conditioning-focused treatments during the grow-out window. Also watch for dryness around the hairline, because chemically processed fringe often becomes porous and tangles sooner.
What if my dandruff improves but doesn’t fully go away during the grow-out?
If you have dandruff along the hairline, focus on treating the scalp at the front area consistently, not just when flakes get bad. If ketoconazole-based shampoo helps but doesn’t fully clear it after about a month, don’t keep waiting it out, check in with a dermatologist for an ongoing plan since seborrheic dermatitis often relapses and needs maintenance control.
At what point does styling not work anymore, and I should adjust the cut instead?
If you are constantly pinned or tucked because you cannot get it to behave, you may need a change in cut shape or sectioning. The goal is a transition that looks intentional even when you remove clips. If you have clips everywhere, schedule a stylist consult to adjust face-framing or point-cut the perimeter so the fringe blends at multiple lengths, not just one.